Questa traduzione è stata generata automaticamente e non è stata ancora revisionata da una persona. Parli questa lingua? Dai un’occhiata.
Introduzione
Questa è una delle guide allo smontaggio più semplici per questo dispositivo. L'involucro si rimuove facilmente, ma l'operazione invaliderà qualsiasi garanzia ancora esistente sul dispositivo. Rimuovere l'involucro è necessario per accedere a qualsiasi componente interno.
Cosa ti serve
-
-
-
Fai leva su tutti e quattro i piedini in plastica sul fondo del telaio usando lo strumento di apertura.
 Chiedi a FixBot
-
-
-
Svita le quattro viti precedentemente coperte dai piedini con un cacciavite a croce Phillips #1.
-
-
-
-
Gira il dispositivo con il lato rivolto verso l'alto.
-
Fai scorrere delicatamente l'involucro verso l'alto e rimuovilo dal disco rigido.
-
-
-
Capovolgi nuovamente il dispositivo.
-
Fai leva delicatamente per staccare la scocca grigia inferiore dal dispositivo.
-
-
-
Ruota il dispositivo in modo che il retro sia rivolto verso di te.
-
Fai leva delicatamente per rimuovere la scocca posteriore.
-
Una volta rimossa la scocca posteriore, la ventola si staccherà.
-
-


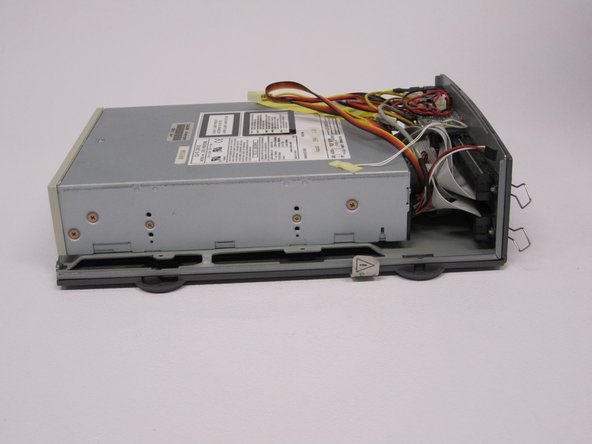
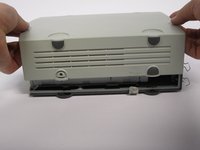
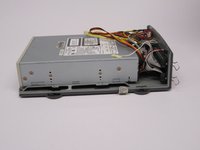


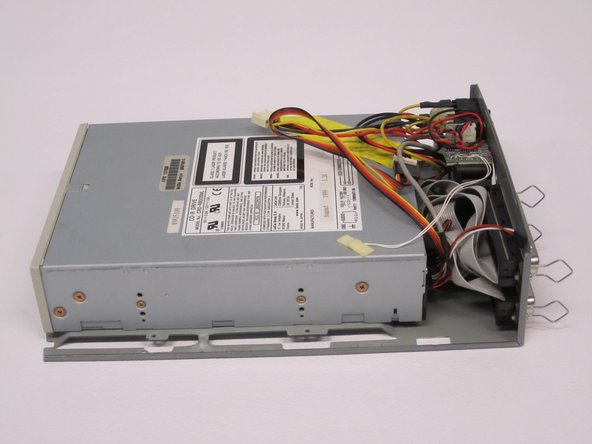
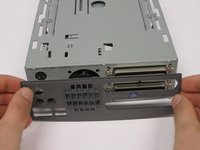
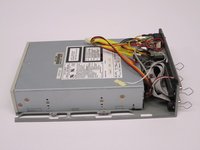
Per rimontare il dispositivo, segui queste istruzioni in ordine inverso.
Annulla: non ho completato questa guida.
Un'altra persona ha completato questa guida.

Team

Cal Poly, Team 24-60, Amido Spring 2011 Membro di Cal Poly, Team 24-60, Amido Spring 2011
CPSU-AMIDO-S11S24G60
5 Membri
72 guide realizzate
