Salta al contenuto principale

Come riparare un caricatore Apple Lightning sfilacciato

Inglese
Italiano

Traduzione in corso passo 3

Passo 3
How to Repair a Frayed Apple Lightning Charger: passo 0, immagine 1 di 3 How to Repair a Frayed Apple Lightning Charger: passo 0, immagine 2 di 3 How to Repair a Frayed Apple Lightning Charger: passo 0, immagine 3 di 3
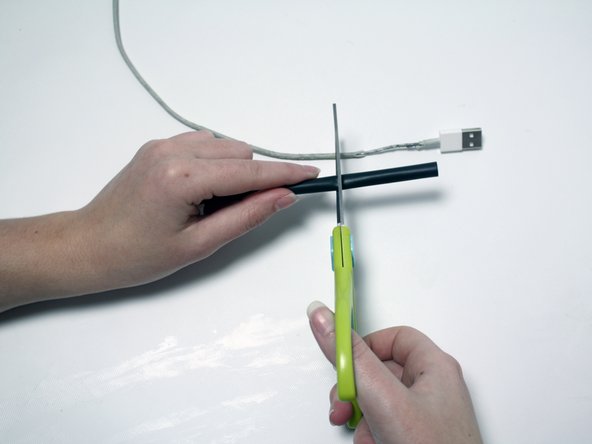
  • Measure the approximate length of heat shrink needed to cover the frayed or exposed area.

  • While cutting, keep the length of the heat shrink longer than the length of the frayed or damaged area.

Misurate la quantità di guaina termorestringente che vi serve per coprire l'area esposta.

Tagliate un pezzo di guaina termorestringente più lungo della zona danneggiata da coprire.

I tuoi contributi sono usati su licenza in base alla licenza open source Creative Commons.