Salta al contenuto principale

Come riparare un caricatore Apple Lightning sfilacciato

Cosa ti serve

  1. Come riparare un caricatore Apple Lightning sfilacciato, Come riparare un caricatore Apple Lightning sfilacciato: passo 1, immagine 1 di 2 Come riparare un caricatore Apple Lightning sfilacciato, Come riparare un caricatore Apple Lightning sfilacciato: passo 1, immagine 2 di 2
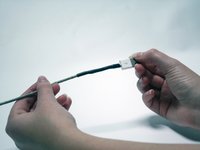
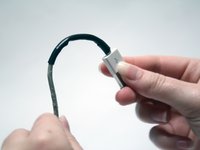
    • Localizzate la zona sfilacciata o usurata del cavo Lightning.

    • Potrebbe essere necessario scoprire ancora più il cavo per effettuare la riparazione. Tirate delicatamente con le dita la guaina rotta fino a che non si stacca dal cavo.

  2. Come riparare un caricatore Apple Lightning sfilacciato: passo 2, immagine 1 di 2 Come riparare un caricatore Apple Lightning sfilacciato: passo 2, immagine 2 di 2
    • Rimuovete la guaina in eccesso tagliandola con le forbici.

  3. Come riparare un caricatore Apple Lightning sfilacciato: passo 3, immagine 1 di 3 Come riparare un caricatore Apple Lightning sfilacciato: passo 3, immagine 2 di 3 Come riparare un caricatore Apple Lightning sfilacciato: passo 3, immagine 3 di 3
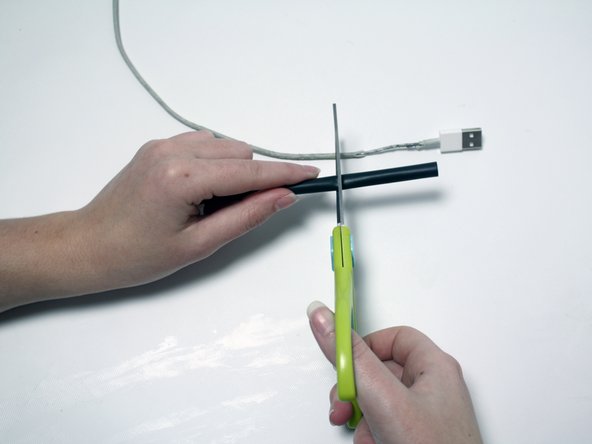
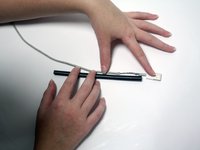
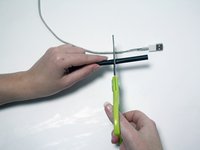
    • Misurate la quantità di guaina termorestringente che vi serve per coprire l'area esposta.

    • Tagliate un pezzo di guaina termorestringente più lungo della zona danneggiata da coprire.

  4. Come riparare un caricatore Apple Lightning sfilacciato: passo 4, immagine 1 di 3 Come riparare un caricatore Apple Lightning sfilacciato: passo 4, immagine 2 di 3 Come riparare un caricatore Apple Lightning sfilacciato: passo 4, immagine 3 di 3
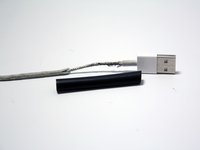
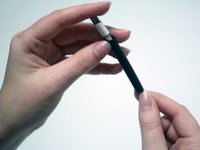
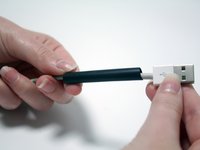
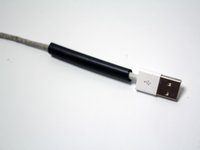
    • Infilate la guaina termorestringente sul cavo fino a coprire tutta la zona danneggiata.

    • La guaina termorestringente da 1/4 di pollice è troppo stretta perché possiate far passare il connettore USB. Inseritela dall'altro lato del cavo e fatela scorrere sulla zona danneggiata.

  5. Come riparare un caricatore Apple Lightning sfilacciato: passo 5, immagine 1 di 2 Come riparare un caricatore Apple Lightning sfilacciato: passo 5, immagine 2 di 2
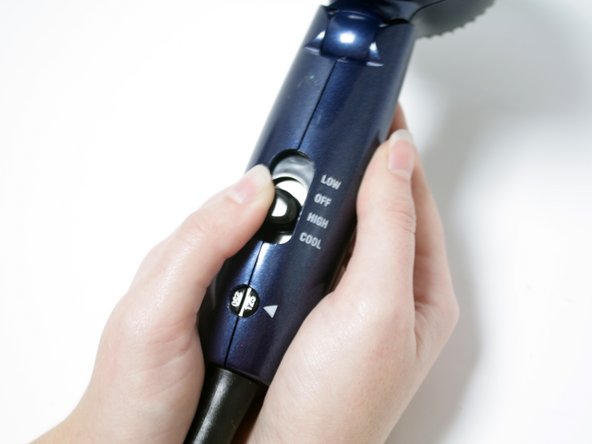
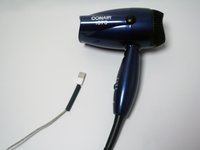
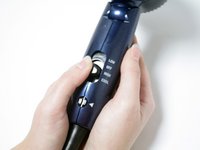
    • Per riscaldare il phon accendetelo e portate il calore al massimo.

  6. Come riparare un caricatore Apple Lightning sfilacciato: passo 6, immagine 1 di 2 Come riparare un caricatore Apple Lightning sfilacciato: passo 6, immagine 2 di 2
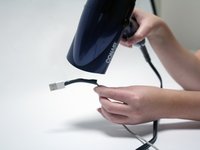
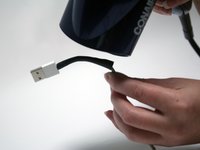
    • Scaldate la guaina termorestringente.

    • Mentre scaldate la guaina dovete tenere il phon in movimento. Se vi concentrate su una zona per troppo tempo potreste surriscaldarla e danneggiare ulteriormente il cavo sottostante oppure fondere la guaina nuova.

  7. Come riparare un caricatore Apple Lightning sfilacciato: passo 7, immagine 1 di 1
    • Fate raffreddare la guaina termorestringente per un paio di minuti.

  8. Come riparare un caricatore Apple Lightning sfilacciato: passo 8, immagine 1 di 2 Come riparare un caricatore Apple Lightning sfilacciato: passo 8, immagine 2 di 2
    • Per testare il lavoro svolto, flettete la guaina in varie direzioni.

    • Se la guaina è troppo larga, aggiungetene un ulteriore strato ripetendo i passaggi da 3 a 7.

Conclusione

Per rimontare il vostro dispositivo, seguite questa guida in ordine inverso.

Altre 6 persone hanno completato questa guida.

Un ringraziamento speciale a questi traduttori:

en it

100%

ricky-fe ci sta aiutando ad aggiustare il mondo! Vuoi partecipare?
Inizia a tradurre ›

7 Commenti

Thank you for taking the time to post your pictures and the steps to repair a lightening cord. I plan to do this repair, and also, apply heat shrink to the other end BEFORE that one frays. Thanks!!

craig.eden - Replica

I have cables that do not work anymore due to the fraying at the lightning port end. Are there instructions on how to fix this?

Christine Lucas - Replica

The wiring is too intricate, Christine. It’s not worth the time it would take, IMO.

Dave -

Kills me as I recently fixed 3 separate lighting cables at the power converter end, but took no pictures! You have to razor the seam around the outside of the case, split the case apart by pulling out with pliers in the cord-wrap flap area (careful don’t split it) and then attach a new cord to the solder spots on the circuit board, or just to the wire stubs. Best to just order a replacement cord as these include the little stopper that fits into the case between the halves. If you’re good at solder-joining cables you can just do this and shrink-wrap ‘em, but I prefer to use a little crimp joiner, and then fill the crimp with solder before sliding the shrink-wrap down over it. It’s tricky because the join has to fit a small space inside the case. You can get replacement cords at AliExpress. I use duct-tape to tightly close the case in case of more repairs.

https://nl.aliexpress.com/wholesale?catI...

Atticus Mullikin -

Does this work with plastic straws instead of heat shrink?

joris van de noort - Replica

Aggiungi Commento

Visualizza Statistiche:

Ultime 24 Ore: 8

Ultimi 7 Giorni: 105

Ultimi 30 Giorni: 419

Tutti i Tempi: 56,310