Salta al contenuto principale

Installazione dell'SSD Dual Drive nel Mac Mini, versione metà 2011

Avviso: Stai modificando una guida prerequisita. Tutte le modifiche avranno effetto sulla guida che include questo passo.

Inglese
Italiano

Traduzione in corso passo 9

Passo 9
Installing Mac mini Mid 2011 Dual Hard Drive Kit: passo 0, immagine 1 di 3 Installing Mac mini Mid 2011 Dual Hard Drive Kit: passo 0, immagine 2 di 3 Installing Mac mini Mid 2011 Dual Hard Drive Kit: passo 0, immagine 3 di 3
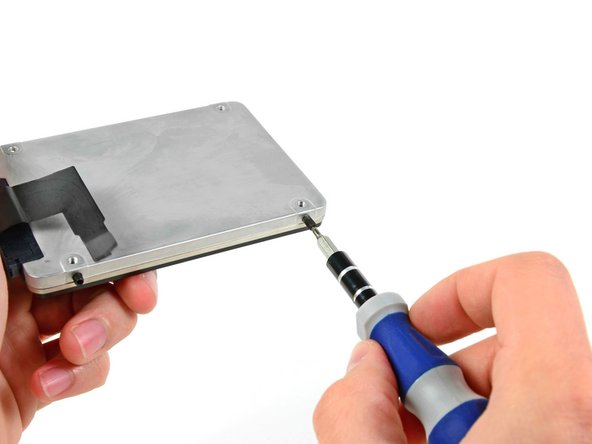
  • Use a T6 Torx screwdriver to install two of the set screws on the side of the hard drive closest to the end of the hard drive cable that attaches to the logic board.

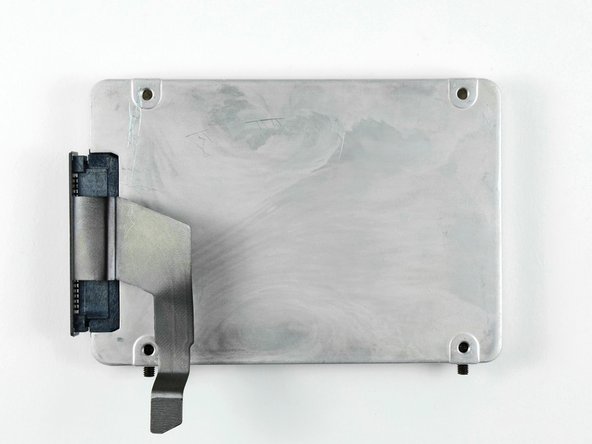
  • Tighten the screws until they contact the end of the threaded holes in the side of the hard drive. They are shown correctly installed in the third picture.

Utilizzare un cacciavite Torx T6 per installare due delle viti di fissaggio sul lato del disco rigido più vicino al rispettivo cavo che si collega alla scheda logica.

Serrare le viti finché non entrano in contatto con l'estremità dei fori filettati nel lato del disco rigido. La corretta installazione è indicata nella terza immagine.

I tuoi contributi sono usati su licenza in base alla licenza open source Creative Commons.