Avviso: Stai modificando una guida prerequisita. Tutte le modifiche avranno effetto su tutte le guide che includono questo passo.
Traduzione in corso passo 2
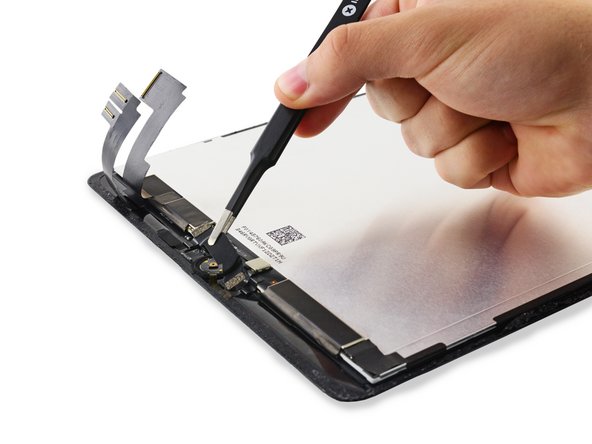
Passo 2


-
Remove the Home Button bracket and peel up the tape connected to it.
-
Scrape off as much of the old adhesive residue from the bracket as you can, then clean it with acetone or high-concentration (90% or greater) isopropyl alcohol.
-
Secure the bracket with hot-melt glue, superglue, or high-strength double-sided tape. Make sure the bracket is aligned correctly before allowing your adhesive to cure, or the home button will not click when pressed.
I tuoi contributi sono usati su licenza in base alla licenza open source Creative Commons.