Avviso: Stai modificando una guida prerequisita. Tutte le modifiche avranno effetto su tutte le guide che includono questo passo.
Traduzione in corso passo 28
Passo 28

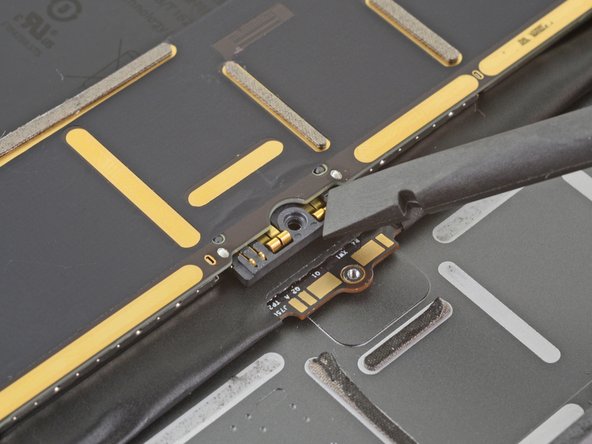
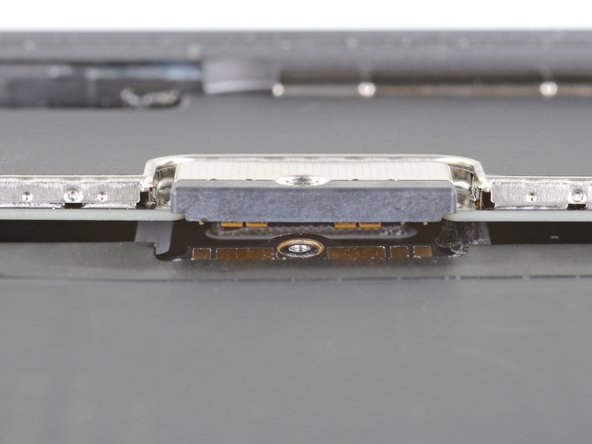


Battery connector information
I tuoi contributi sono usati su licenza in base alla licenza open source Creative Commons.