Salta al contenuto principale

MacBook Pro 13" Retina Display Ende 2013 Akku austauschen

Avviso: Stai modificando una guida prerequisita. Tutte le modifiche avranno effetto su tutte le guide che includono questo passo.

Inglese
Tedesco

Traduzione in corso passo 9

Passo 9
MacBook Pro 13" Retina Display Late 2013 Battery Replacement: passo 0, immagine 1 di 3 MacBook Pro 13" Retina Display Late 2013 Battery Replacement: passo 0, immagine 2 di 3 MacBook Pro 13" Retina Display Late 2013 Battery Replacement: passo 0, immagine 3 di 3
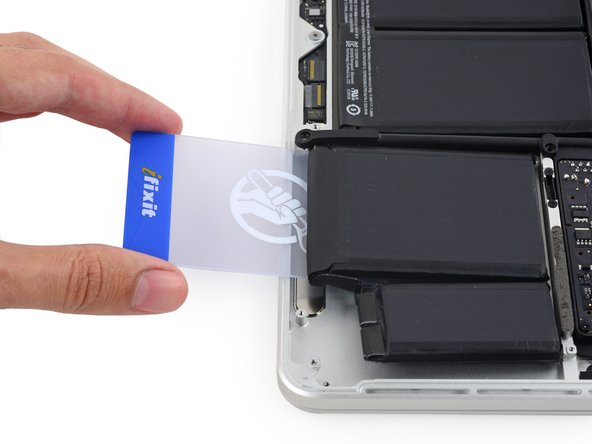
  • Repeat this procedure with the adjacent battery cell:

  • Apply a small amount of liquid adhesive remover under the battery cell, and wait 2-3 minutes for it to penetrate and soften the adhesive.

  • Alternatively, re-heat this section with your iOpener if needed.

  • Push a plastic card about an inch between the battery cell and the upper case, and slowly pry the cell up to separate all of the adhesive.

Wiederhole die obigen Schritte mit der benachbarten Akkuzelle:

Gib eine kleine Menge des flüssigen Klebstoffentferners unter die Akkuzelle und warte 2-3 Minuten, damit er einziehen und den Kleber auflösen kann.

Wenn du mit der alternativen Methode arbeitest, erhitze bei Bedarf den Bereich erneut mit dem iOpener.

Schiebe eine Plastikkarte etwa zweieinhalb Zentimeter zwischen den Akku und das obere Gehäuse. Dann heble die Zelle langsam nach oben, damit der ganze Kleber sich löst.

I tuoi contributi sono usati su licenza in base alla licenza open source Creative Commons.