Traduzione in corso passo 8
Passo 8

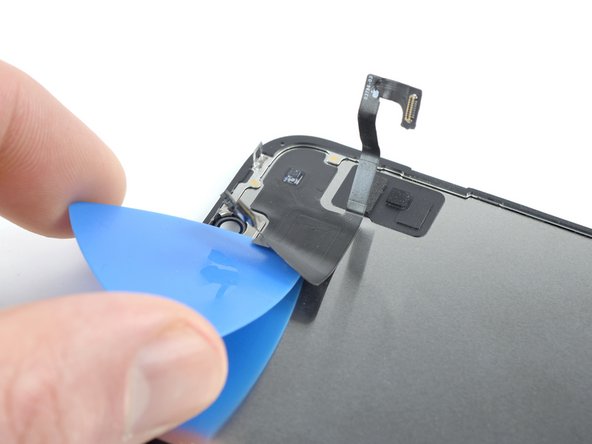


Remove the front sensor assembly
-
Insert an opening pick under the left side of the front sensor assembly.
-
Slide the pick under the assembly to separate it from the frame.
I tuoi contributi sono usati su licenza in base alla licenza open source Creative Commons.