Salta al contenuto principale

Nintendo Switch Right Joy-Con SL/SR Button Board Replacement

Inglese
Olandese

Traduzione in corso passo 5

Passo 5
Nintendo Switch Right Joy-Con SL/SR Button Board Replacement: passo 0, immagine 1 di 3 Nintendo Switch Right Joy-Con SL/SR Button Board Replacement: passo 0, immagine 2 di 3 Nintendo Switch Right Joy-Con SL/SR Button Board Replacement: passo 0, immagine 3 di 3
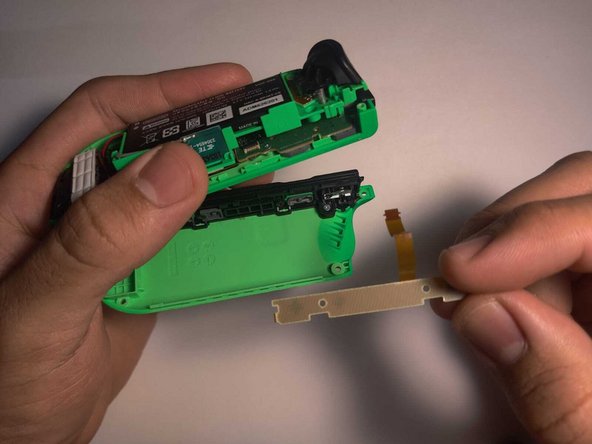
  • Use the plastic spudger tool to lift the tab lock holding the bent button board cable. Lightly lift the battery compartment to have more space while doing so.

  • Once the tab is unlocked, remove the bent cable.

Inserisci qui la traduzione

Inserisci qui la traduzione

I tuoi contributi sono usati su licenza in base alla licenza open source Creative Commons.