Salta al contenuto principale

iPad Mini CDMAモデルの液晶ディスプレイアセンブリの交換

Avviso: Stai modificando una guida prerequisita. Tutte le modifiche avranno effetto su tutte le guide che includono questo passo.

Inglese
Giapponese

Traduzione in corso passo 2

Passo 2
iPad Mini CDMA LCD Assembly Replacement: passo 0, immagine 1 di 2 iPad Mini CDMA LCD Assembly Replacement: passo 0, immagine 2 di 2
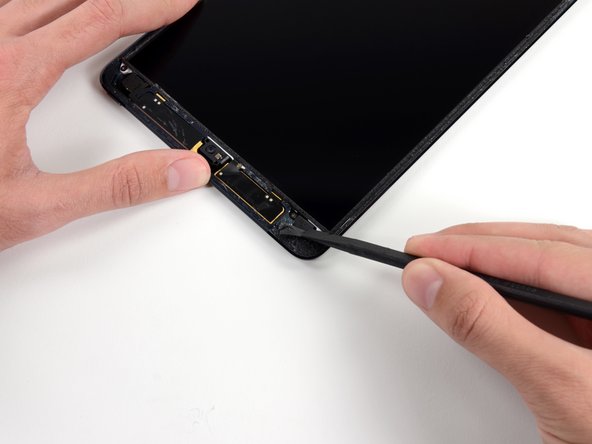
  • The top left LCD screw may be covered by adhesive tape from the front panel.

  • If the tape is present, use the flat end of a spudger to pry the tape up and away, exposing the LCD screw beneath.

液晶ディスプレイ上部左側のネジは正面パネルからの接着テープによって覆われていることがあります。

テープが確認できたら、スパッジャーの平面側先端を使ってテープを取り除き、下にある液晶ディスプレイのネジを現します。

I tuoi contributi sono usati su licenza in base alla licenza open source Creative Commons.