Salta al contenuto principale

2012 Kawasaki Ninja Chain Tightening Replacement

Inglese
Italiano

Traduzione in corso passo 4

Passo 4
2012 Kawasaki Ninja Chain Tightening Replacement: passo 0, immagine 1 di 3 2012 Kawasaki Ninja Chain Tightening Replacement: passo 0, immagine 2 di 3 2012 Kawasaki Ninja Chain Tightening Replacement: passo 0, immagine 3 di 3
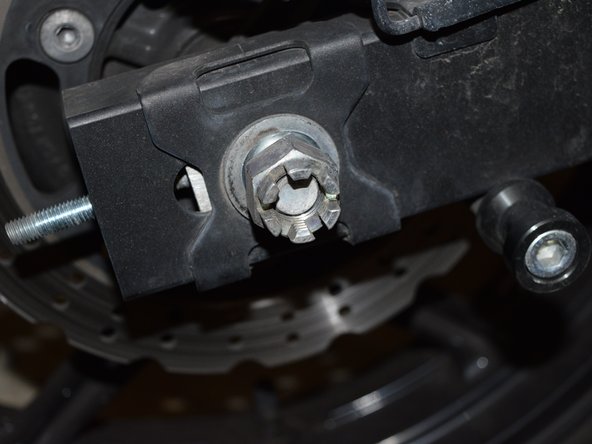
  • Remove the locking pin

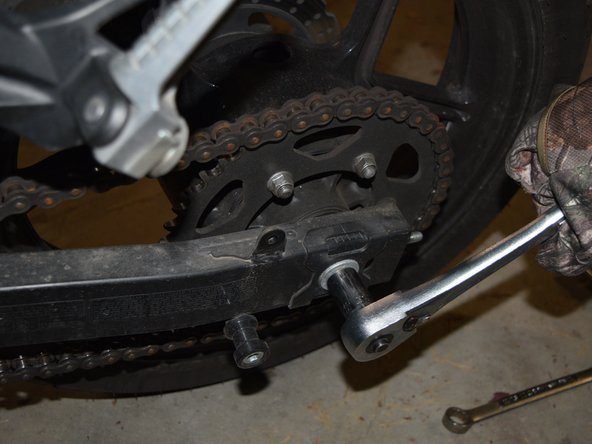
  • Place your 17mm socket on the bolt side and the 1 inch side over the nut

  • This is where the breaker bar would help as it could be very tight

  • Loosen the bolt to about half way

  • Do not take the bolt out or the nut off

Inserisci qui la traduzione

Inserisci qui la traduzione

Inserisci qui la traduzione

Inserisci qui la traduzione

Inserisci qui la traduzione

I tuoi contributi sono usati su licenza in base alla licenza open source Creative Commons.