Traduzione in corso passo 3
Passo 3


-
Use a Phillips #00 screwdriver to remove the two 5mm screws connecting the motor arm to the drone's body.
-
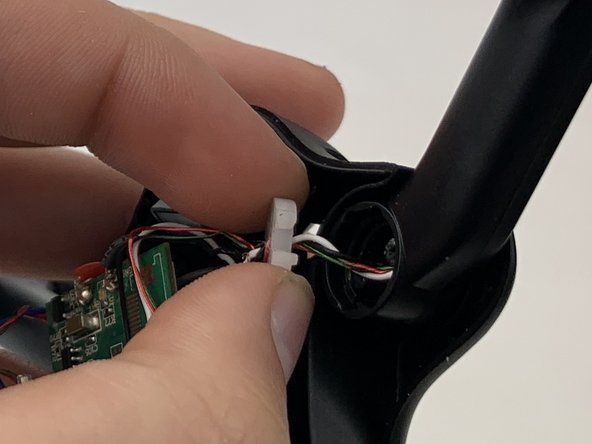
Use your fingers to gently pull the white plastic disc out of the motor arm.
I tuoi contributi sono usati su licenza in base alla licenza open source Creative Commons.