Salta al contenuto principale
Unisciti alla Community delle riparazioni - Crea un account

iRulu AX760 Screen Display Replacement

Cosa ti serve

    1. iRulu AX760 Screen Display Replacement, Battery: passo 1, immagine 1 di 3 iRulu AX760 Screen Display Replacement, Battery: passo 1, immagine 2 di 3 iRulu AX760 Screen Display Replacement, Battery: passo 1, immagine 3 di 3
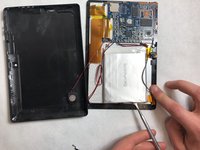
      • Use a plastic opening tool or metal spudger to free the rear cover.

      • Insert your spudger into the side of your tablet.

      • Crack open each edge and remove the cover.

      Chiedi a FixBot

      Aggiungi Commento

    2. iRulu AX760 Screen Display Replacement: passo 2, immagine 1 di 1
      • Open your tablet.

      Chiedi a FixBot

      Aggiungi Commento

    3. iRulu AX760 Screen Display Replacement: passo 3, immagine 1 di 1
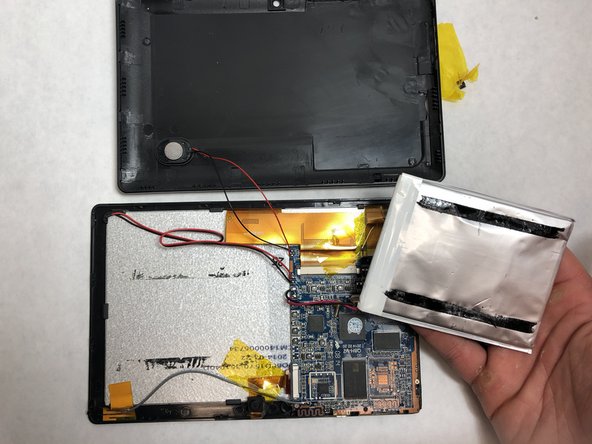
      • Take your plastic flat head tool and insert it under the battery.

      • Lift the battery up.

      • Make sure to remove any tape from the battery.

      Chiedi a FixBot

      Aggiungi Commento

    4. iRulu AX760 Screen Display Replacement: passo 4, immagine 1 di 2 iRulu AX760 Screen Display Replacement: passo 4, immagine 2 di 2
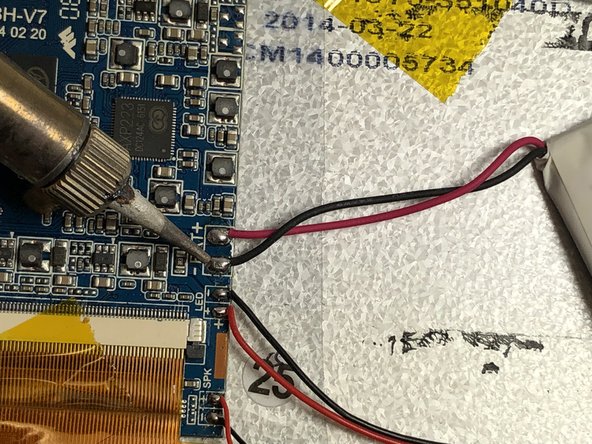
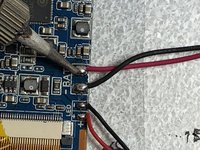
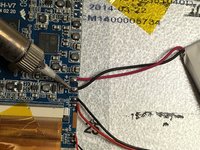
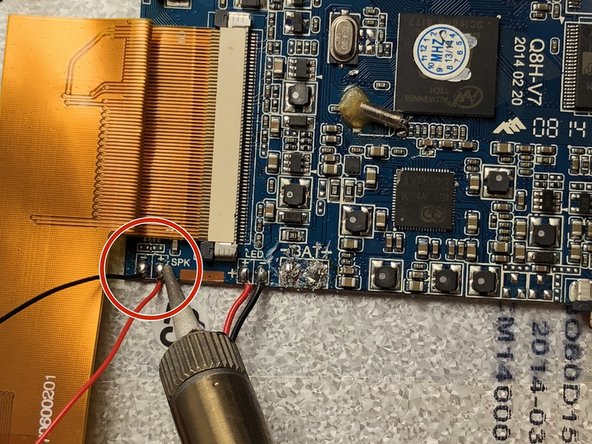
      • Use a soldering iron to remove the solder that connects the black and red wires of the battery to the motherboard.

      • Keep the wires of the battery taught.

      • The iron should only be pressed to the solder for 2-3 seconds max.

      • Be very carful, the soldering iron will be very hot!

      • Visit this link for information about soldering. Come saldare e dissaldare componenti elettrici

      Chiedi a FixBot

      Aggiungi Commento

    5. iRulu AX760 Screen Display Replacement: passo 5, immagine 1 di 1
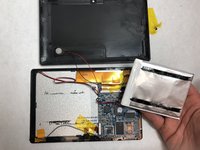
      • Remove your old battery and replace it with the new battery.

      Chiedi a FixBot

      Aggiungi Commento

    1. iRulu AX760 Screen Display Replacement, Camera: passo 6, immagine 1 di 2 iRulu AX760 Screen Display Replacement, Camera: passo 6, immagine 2 di 2
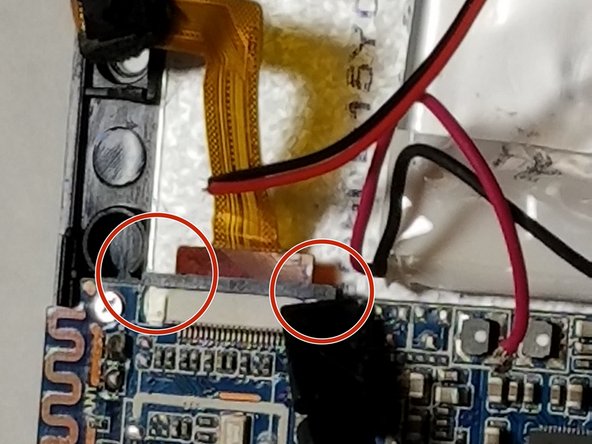
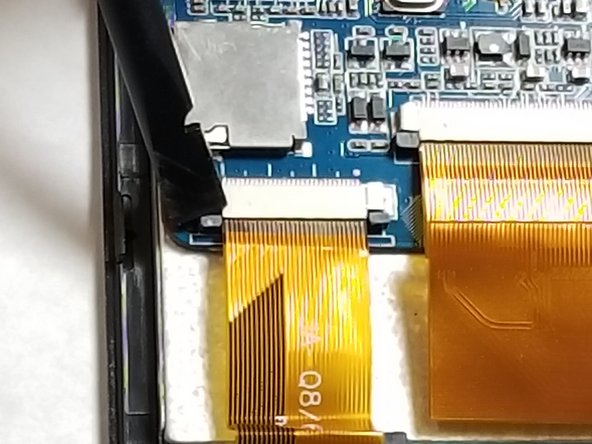
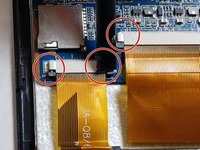
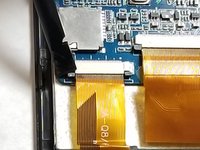
      • Use the plastic spudger to pry the tabs open on the digitizer ribbon sockets.

      Chiedi a FixBot

      Aggiungi Commento

    2. iRulu AX760 Screen Display Replacement: passo 7, immagine 1 di 1
      • Pull the digitizer ribbon cables straight out of their sockets.

      Chiedi a FixBot

      Aggiungi Commento

    3. iRulu AX760 Screen Display Replacement: passo 8, immagine 1 di 1
      • Pull the camera out of the device.

      Chiedi a FixBot

      Aggiungi Commento

    1. iRulu AX760 Screen Display Replacement, Motherboard: passo 9, immagine 1 di 2 iRulu AX760 Screen Display Replacement, Motherboard: passo 9, immagine 2 di 2
      Strumento utilizzato in questo passaggio:
      Plastic Cards
      $2.99
      • There are two thin adhesive strips under the battery that run vertically along the left and right side.

      • Carefully wedge a plastic card or spudger under the battery and along both adhesive strips. Gently work the card or spudger up and down to free the battery.

      • Do not use metal tools, and do not bend or puncture the battery.

      Chiedi a FixBot

      Aggiungi Commento

    2. iRulu AX760 Screen Display Replacement: passo 10, immagine 1 di 3 iRulu AX760 Screen Display Replacement: passo 10, immagine 2 di 3 iRulu AX760 Screen Display Replacement: passo 10, immagine 3 di 3
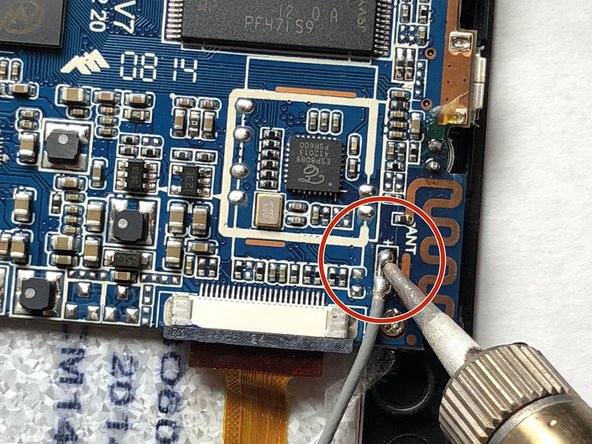
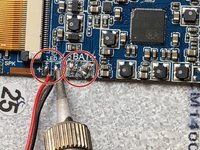
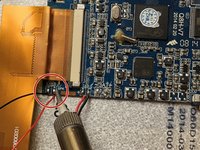
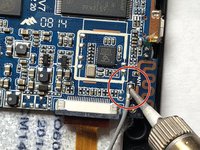
      • WARNING: SOLDERING IRONS BECOME EXTREMELY HOT. DO NOT TOUCH

      • For information on soldering and desoldering, check this link.

      • You must desolder several sets of contacts before attempting to remove the motherboard.

      • You must desolder the BAT (battery), LED, SPK (speaker), and ANT (antenna) contacts.

      Chiedi a FixBot

      Aggiungi Commento

    3. iRulu AX760 Screen Display Replacement: passo 11, immagine 1 di 2 iRulu AX760 Screen Display Replacement: passo 11, immagine 2 di 2
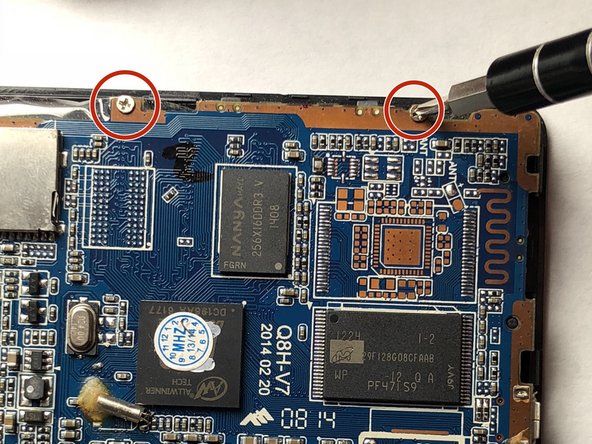
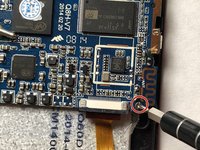
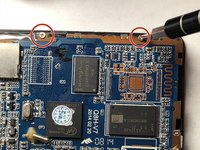
      • Unscrew the motherboard from the screen with the JIS #000 Screwdriver, a Phillips-head type screwdriver

      Chiedi a FixBot

      Aggiungi Commento

    4. iRulu AX760 Screen Display Replacement: passo 12, immagine 1 di 2 iRulu AX760 Screen Display Replacement: passo 12, immagine 2 di 2
      • Use a plastic spudger to push the tab, releasing the motherboard from the screen. You can now remove the old motherboard.

      • You will not need a metal spudger in order to re-place the motherboard

      Chiedi a FixBot

      Aggiungi Commento

    1. iRulu AX760 Screen Display Replacement, Screen Display: passo 13, immagine 1 di 1
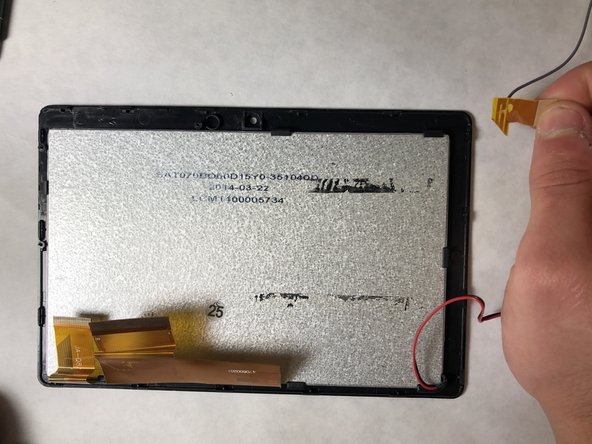
      • Remove the plastic peel attached to the back of the screen display.

      Chiedi a FixBot

      Aggiungi Commento

    2. iRulu AX760 Screen Display Replacement: passo 14, immagine 1 di 2 iRulu AX760 Screen Display Replacement: passo 14, immagine 2 di 2
      • Remove the grey wire from the back of the screen display.

      Chiedi a FixBot

      Aggiungi Commento

    3. iRulu AX760 Screen Display Replacement: passo 15, immagine 1 di 1
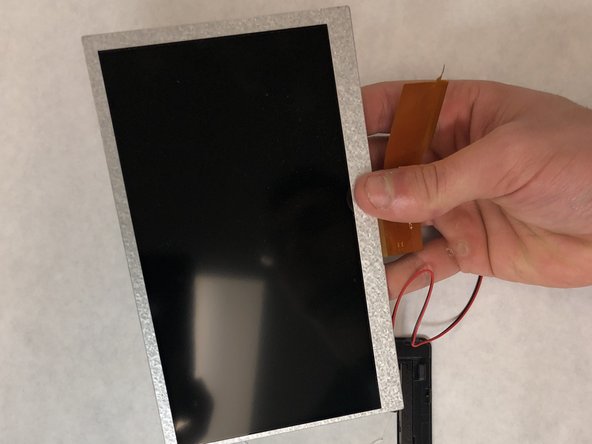
      • Insert the plastic spudger underneath the screen display and lift.

      Chiedi a FixBot

      Aggiungi Commento

    4. iRulu AX760 Screen Display Replacement: passo 16, immagine 1 di 2 iRulu AX760 Screen Display Replacement: passo 16, immagine 2 di 2
      • Continue lifting the screen by hand and pull it out until it is completely removed.

      Chiedi a FixBot

      Aggiungi Commento

Conclusione

To reassemble your device, follow these instructions in reverse order.

Annulla: non ho completato questa guida.

Un'altra persona ha completato questa guida.

Team

IUPUI, Team S6-G4, Baechle Spring 2018 Membro di IUPUI, Team S6-G4, Baechle Spring 2018

IUPUI-BAECHLE-S18S6G4

4 Membri

8 guide realizzate

0Commenti sulla guida

Aggiungi Commento

Visualizza statistiche:

Ultime 24 ore: 2

Ultimi 7 giorni: 9

Ultimi 30 giorni: 33

Tutti i Tempi: 787