Questa guida ha delle modifiche più recenti. Passa all'ultima versione non verificata.
Introduzione
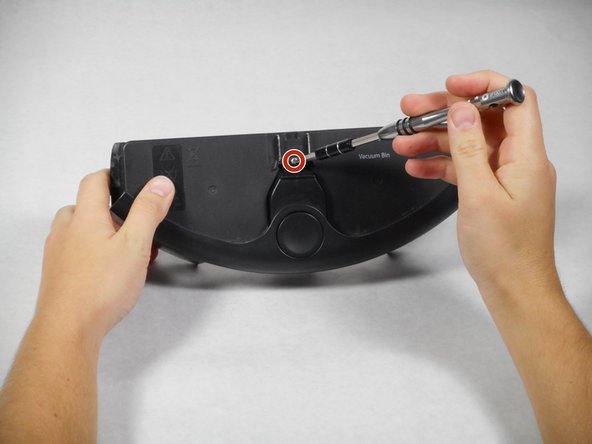
This guide outlines how to replace the entire fan unit rather than fixing the entire unit itself, because doing so would require advanced techniques such as soldering. This replacement is needed when dirt clogs the fan due to the close proximity between the fan and the vacuum bin.
Cosa ti serve
-
-
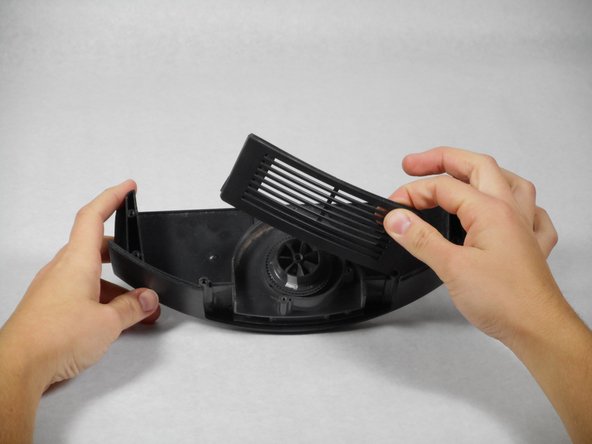
Press the black circular button on the back end of the Roomba and pull the bin out towards you to remove the vacuum bin.
-
-


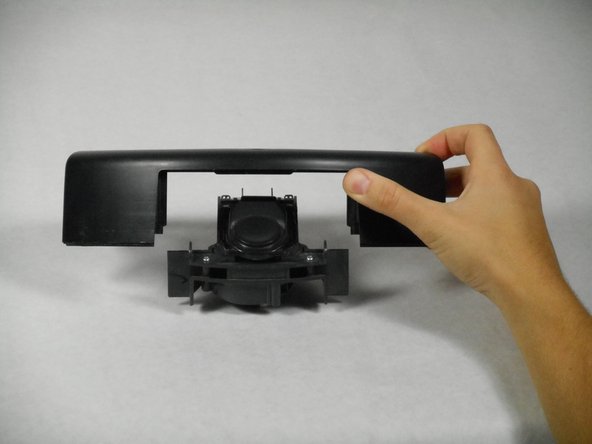

To reassemble your device, follow these instructions in reverse order.
To reassemble your device, follow these instructions in reverse order.
Annulla: non ho completato questa guida.
Altre 2 persone hanno completato questa guida.
Team

Cal Poly, Team 1-22, Maness Fall 2015 Membro di Cal Poly, Team 1-22, Maness Fall 2015
CPSU-MANESS-F15S1G22
4 Membri
14 Guide realizzate