Introduzione
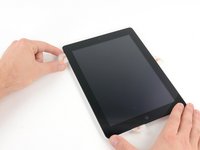
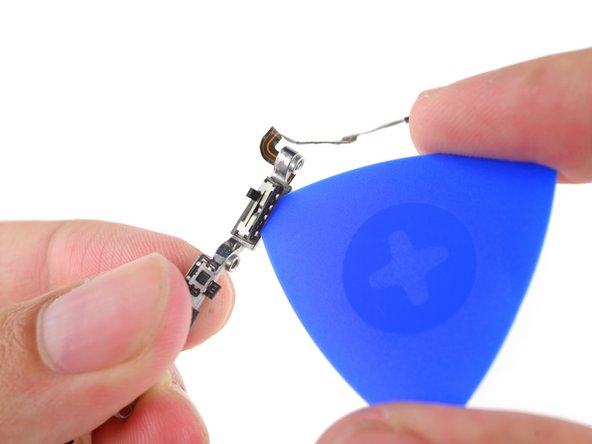
Use this guide to replace the volume and power button cable assembly in your iPad 2 Wi-Fi EMC 2560. This assembly also includes the sensor responsible for detecting the magnet in a Smart Cover.
Cosa ti serve
-
-
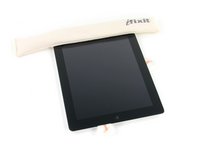
Fill a pot or pan with enough water to fully submerge an iOpener.
-
Heat the water to a boil. Turn off the heat.
-
Place an iOpener into the hot water for 2-3 minutes. Make sure the iOpener is fully submerged in the water.
-
Use tongs to extract the heated iOpener from the hot water.
-
Thoroughly dry the iOpener with a towel.
-
Your iOpener is ready for use! If you need to reheat the iOpener, heat the water to a boil, turn off the heat, and place the iOpener in the water for 2-3 minutes.
-
-
-
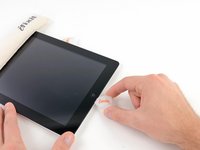
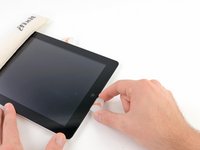
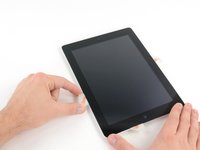
If your display glass is cracked, keep further breakage contained and prevent bodily harm during your repair by taping the glass.
-
Lay overlapping strips of clear packing tape over the iPad's display until the whole face is covered.
-
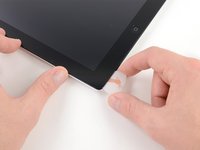
Do your best to follow the rest of the guide as described. However, once the glass is broken, it will likely continue to crack as you work, and you may need to use a metal prying tool to scoop the glass out.
-
-
Attrezzo utilizzato in questo passaggio:Safety Glasses$3.19
-
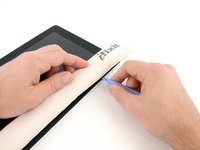
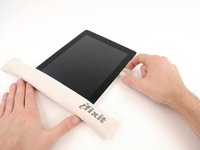
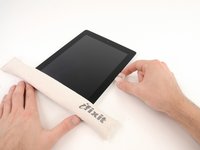
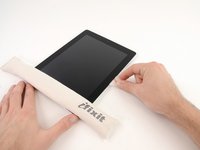
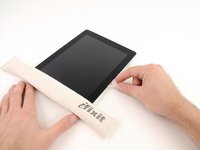
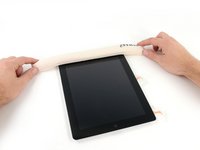
Lay the iOpener flat on the right edge of the iPad, smoothing it out so that there is good contact between the surface of the iPad and the iOpener.
-
Let the bag sit on the iPad for approximately 90 seconds before attempting to open the front panel.
-
-
-
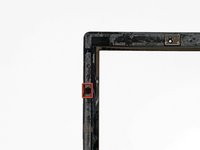
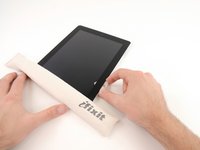
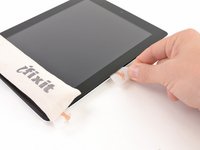
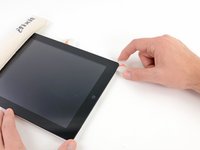
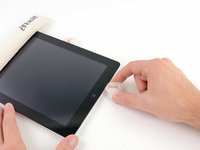
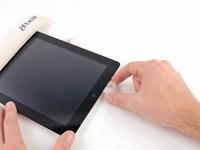
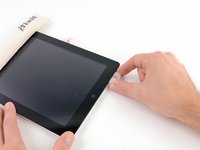
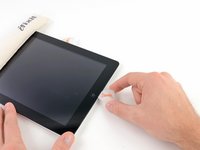
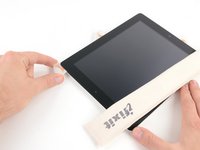
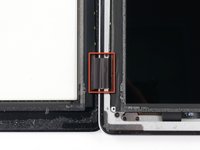
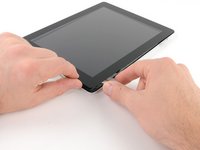
There is a small gap in the iPad's adhesive ring in the upper right corner of the iPad, approximately 2.0 inches (~5 cm) from the top of the iPad. You are going to exploit this weakness.
-
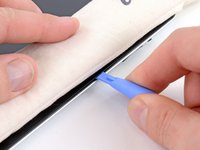
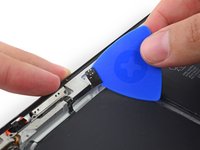
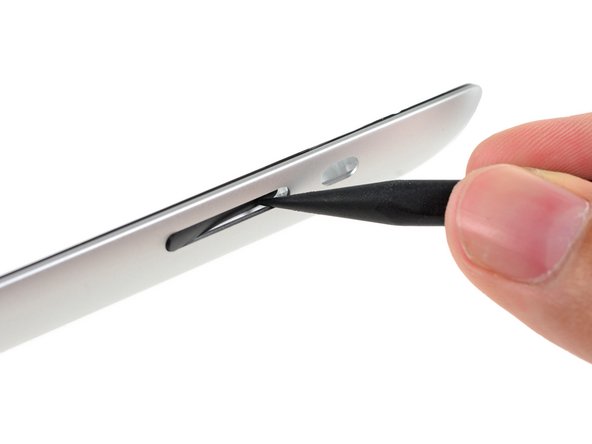
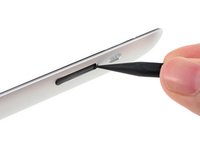
Align the tool with the mute button. Insert the tip of a plastic opening tool into the gap between the front glass and the plastic bezel. Just insert the very tip of the opening tool, just enough to widen the crack.
-
-
-
-
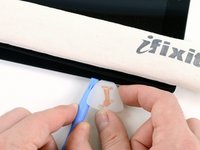
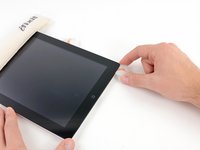
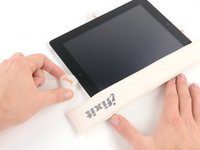
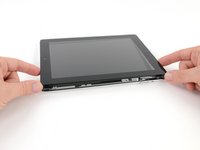
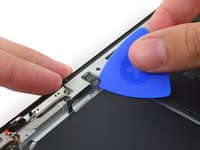
Once you have moved past the Wi-FI antenna (approximately 3" (75 mm) from the right edge, or right next to the home button) re-insert the opening pick to its full depth.
-
Slide the pick to the right, releasing the adhesive securing the Wi-Fi antenna to the front glass.
-
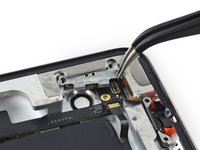
The antenna is attached to the bottom of the iPad via screws and a cable. This step detaches the antenna from the front panel, ensuring that when you remove the panel, the antenna will not be damaged.
-
-
-
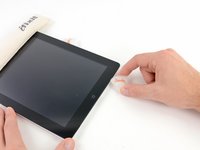
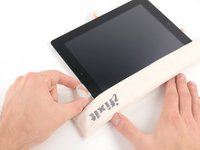
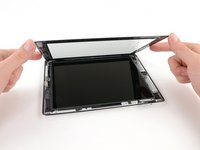
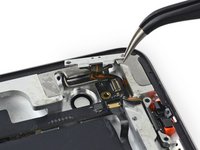
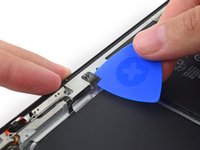
Slide the opening pick along the top edge of the iPad, pulling it out slightly to go around the front-facing camera bracket.
-
The adhesive along this section is very thick, and a fair amount of force may be required. Work carefully and slowly, making sure to not slip and damage yourself or your iPad.
-
-
Attrezzo utilizzato in questo passaggio:Tweezers$4.99
-
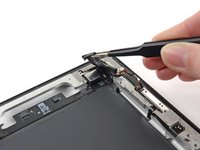
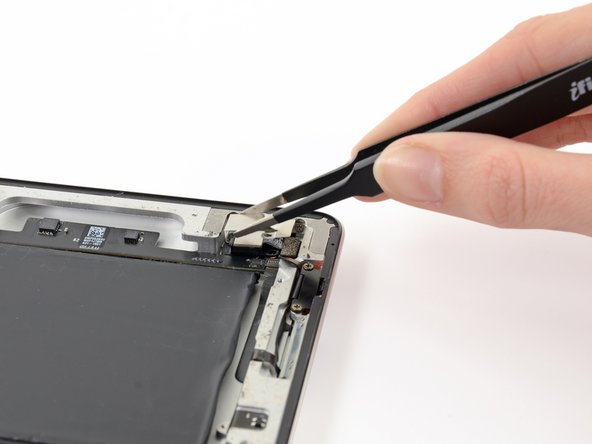
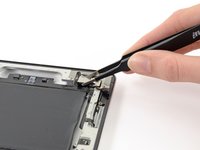
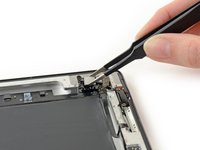
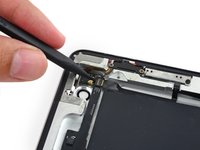
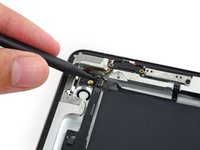
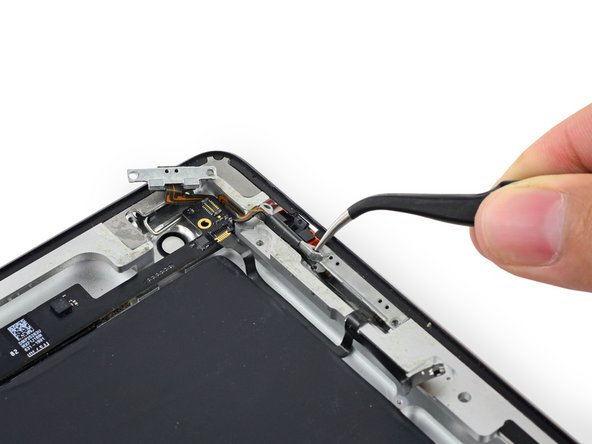
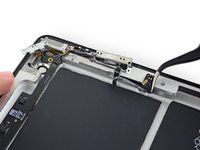
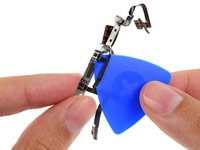
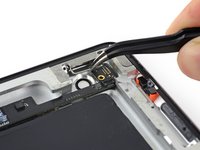
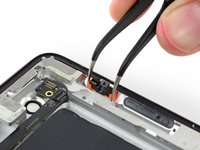
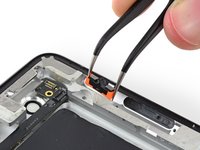
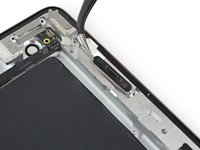
Use a pair of tweezers to remove the rubber cover up off the rear-facing camera housing.
-
-
-
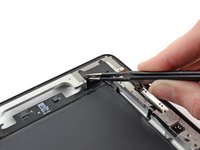
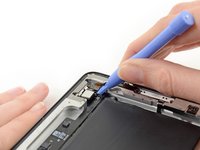
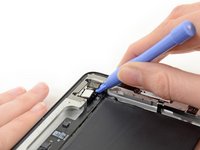
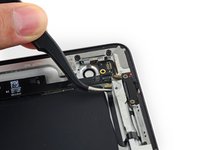
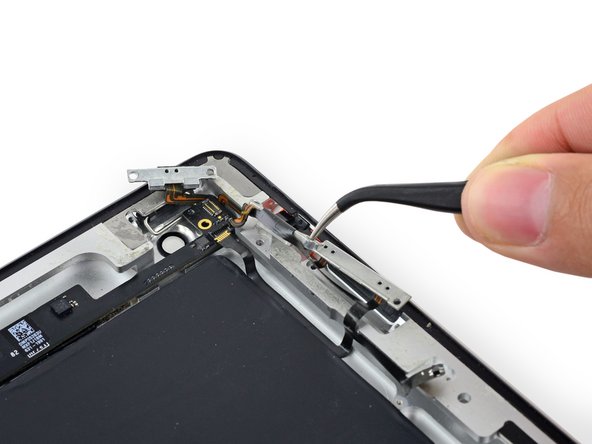
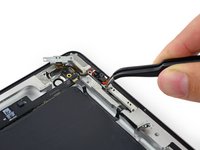
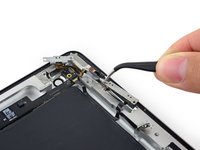
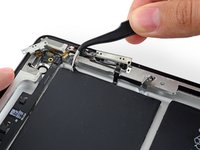
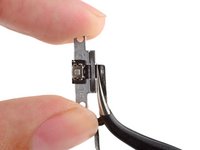
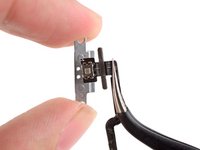
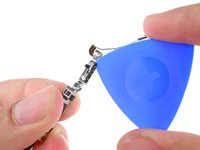
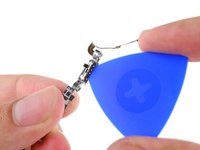
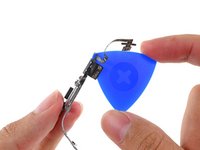
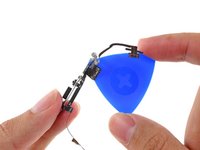
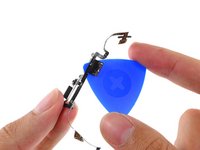
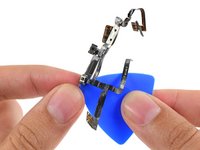
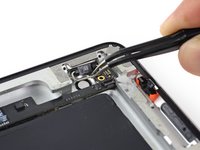
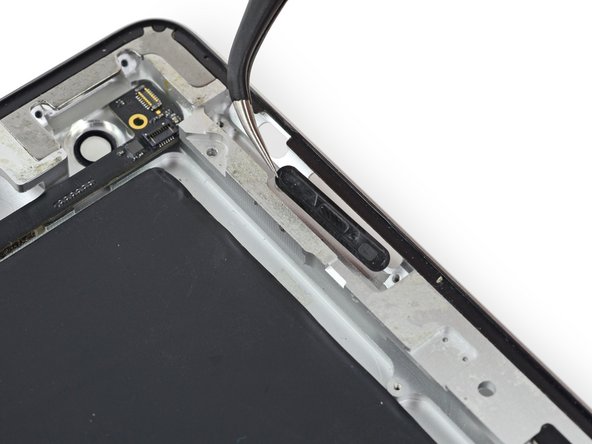
Remove the single 2.0 mm Phillips #000 screw securing the camera bracket.
-


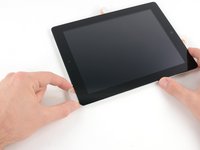


To reassemble your device, follow these instructions in reverse order.
To reassemble your device, follow these instructions in reverse order.
Annulla: non ho completato questa guida.
Altre 46 persone hanno completato questa guida.


4 Commenti
Depends on what’s not working Mariano. If no power, your install may be good. Sometimes the contacts on the batteries for this model don’t make a connection and require ever-so-slight bending before you secure it with the set screw. Give it a try. There are a couple YouTube videos on this. Good luck. I’m doing my 1st flex cable install with this tutorial. Amazingly accurate and graphically stunning presentation. Love the zoom feature. These guys deserve a statue!
Thanks for the great guide, this was a tricky one, power and volume did not work after installation. I had a look around and noticed the small ZIF connector was a bit askew, probably due to the new cable being stiff, straighten it out and taped the cable down(the self-adhesive was too weak) and now tests good!