Introduzione
Follow the steps in this guide to replace the FaceTime HD camera in a 21.5" Retina 4K Late 2015 iMac.
Cosa ti serve
-
Attrezzo utilizzato in questo passaggio:iMac Intel 21.5" Cardboard Service Wedge$4.99
-
Before beginning any work on your iMac: Unplug the computer and press and hold the power button for ten seconds to discharge the power supply's capacitors.
-
-
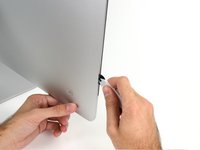
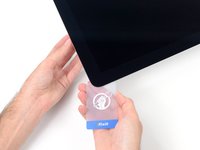
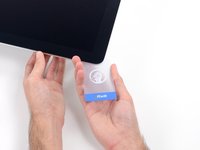
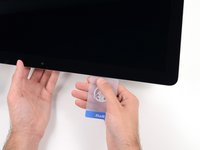
Attrezzo utilizzato in questo passaggio:Plastic Cards$2.99
-
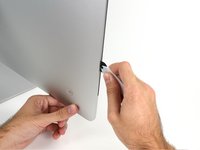
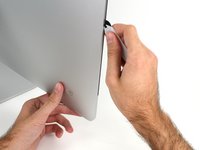
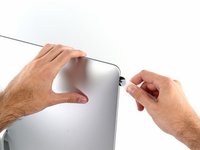
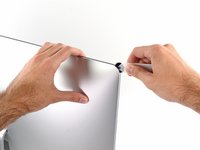
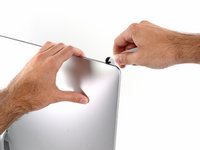
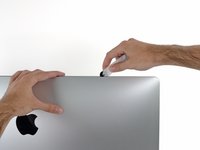
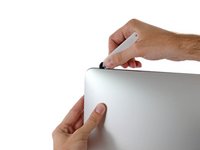
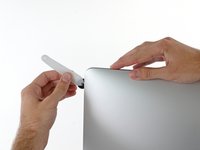
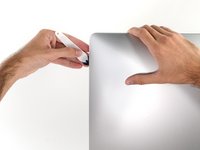
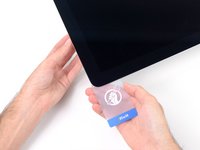
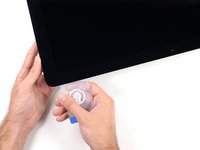
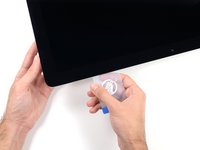
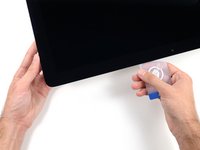
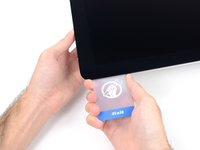
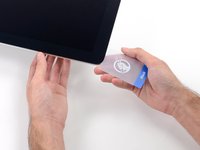
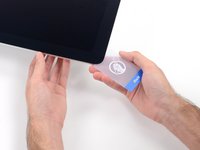
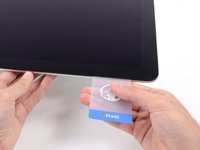
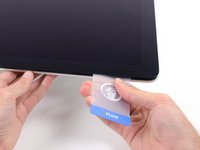
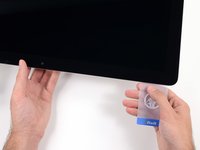
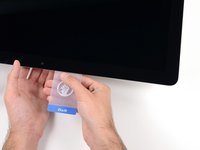
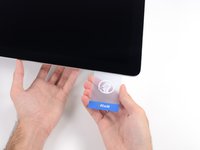
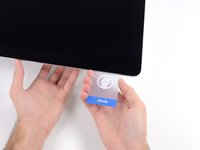
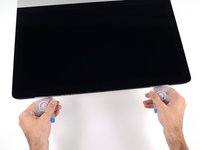
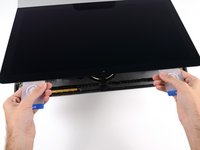
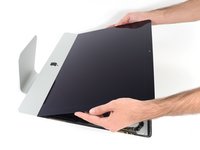
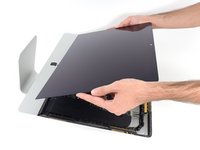
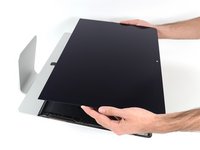
Starting from the top right corner of the iMac, wedge a plastic card between the display and frame.
-
-
-
-
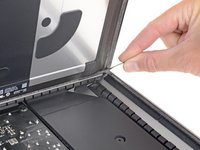
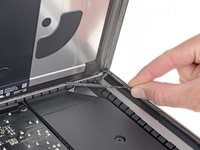
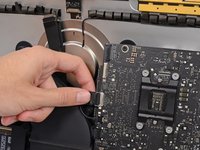
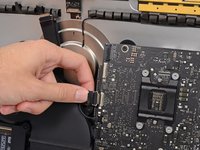
Hold the display with one hand while using your other hand to unplug the display power cable.
-
-
-
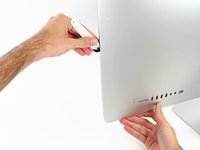
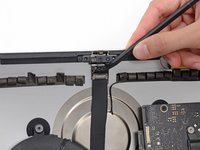
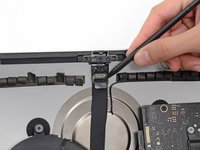
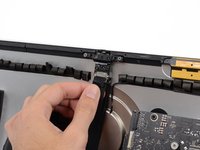
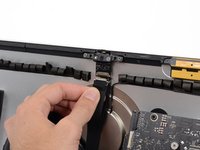
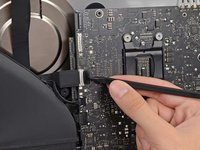
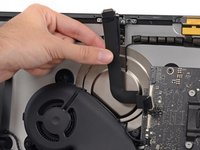
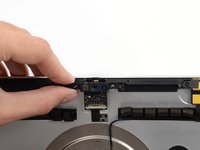
Use the tip of a spudger to flip down the metal retaining bracket on the camera cable.
-
-
-
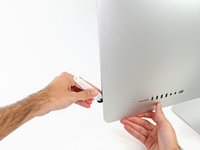
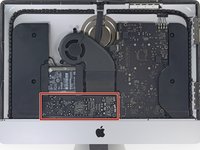
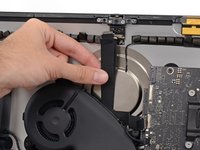
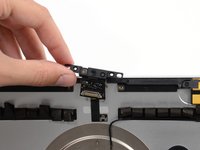
Remove the two 4.3 mm T5 Torx screws securing the camera board to the top of the rear enclosure.
-


To reassemble your device, follow these instructions in reverse order.
Annulla: non ho completato questa guida.
Un'altra persona ha completato questa guida.
