Introduzione
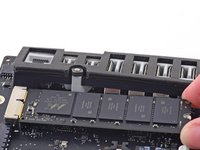
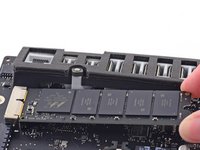
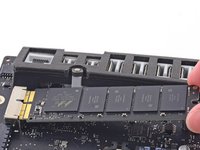
Use this guide to replace or upgrade Apple's proprietary blade SSD (NVMe/PCIe x4) in a 21.5" Retina 4K Late 2015 iMac equipped with an SSD (Fusion Drive or blade SSD configurations).
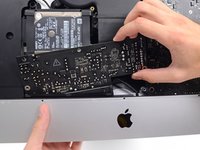
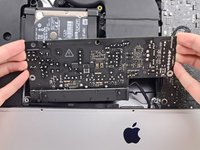
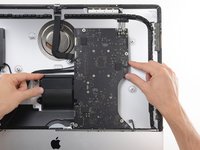
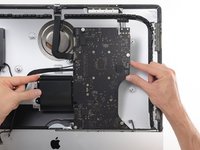
The SSD is located on the back side of the logic board, requiring logic board removal for access.
All iMacs also come with a traditional hard drive, which you can replace by following this guide instead.
Cosa ti serve
-
Attrezzo utilizzato in questo passaggio:iMac Intel 21.5" Cardboard Service Wedge$4.99
-
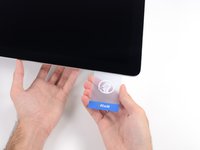
Before beginning any work on your iMac: Unplug the computer and press and hold the power button for ten seconds to discharge the power supply's capacitors.
-
-
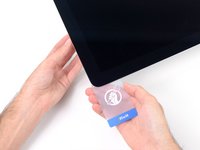
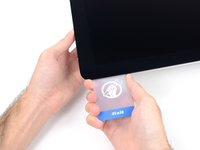
Attrezzo utilizzato in questo passaggio:Plastic Cards$2.99
-
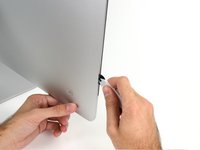
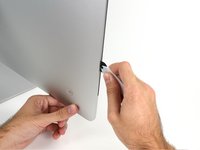
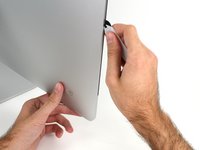
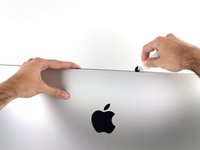
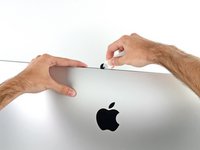
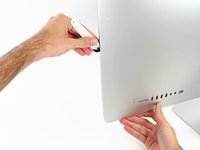
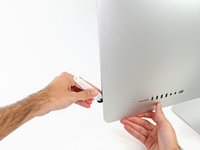
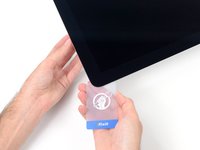
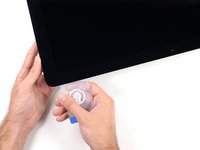
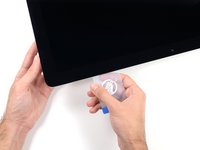
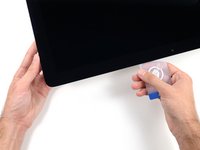
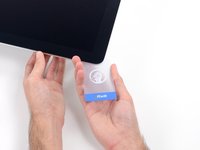
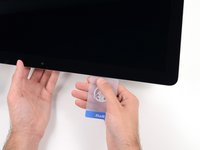
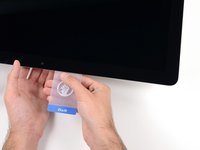
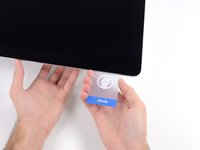
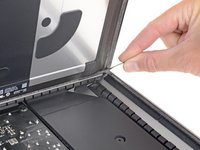
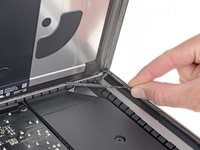
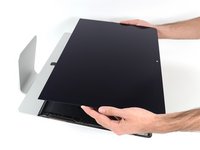
Starting from the top right corner of the iMac, wedge a plastic card between the display and frame.
-
-
-
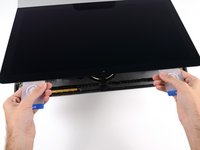
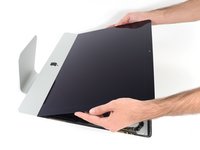
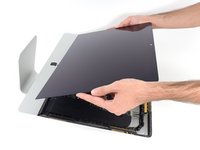
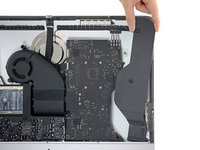
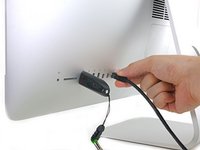
Hold the display with one hand while using your other hand to unplug the display power cable.
-
-
-
-
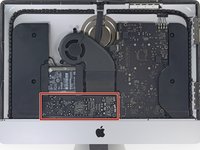
Remove the following five Phillips screws holding the lower support bracket in place:
-
Four 3.2 mm screws
-
One 1.7 mm screw
-
-
-
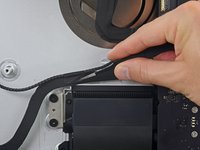
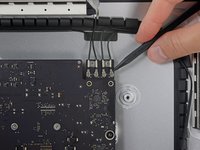
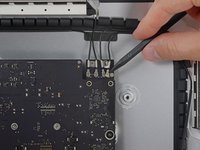
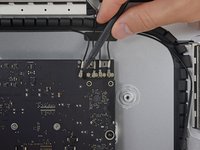
Gently pull the right speaker cable connector straight down and out of its socket on the logic board.
-
-
-
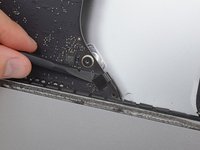
Remove the following T10 Torx screws securing the hard drive brackets to the iMac:
-
Two 21 mm screws
-
One 9 mm screw
-
One 27 mm screw
-
-
-
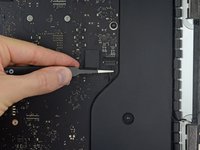
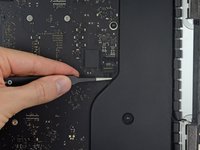
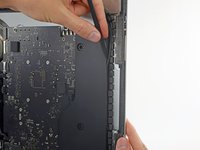
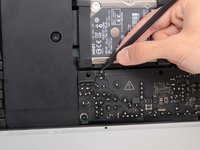
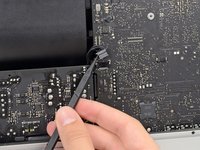
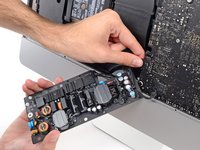
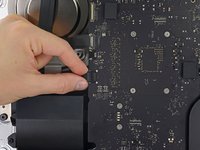
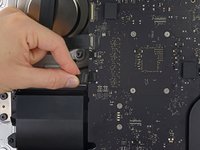
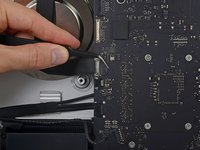
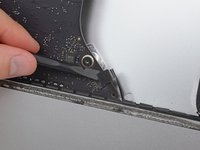
Use the tip of a spudger to push each side of the power button cable connector and gently walk it out of its socket.
-
-
-
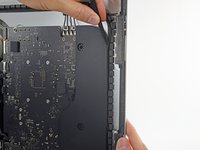
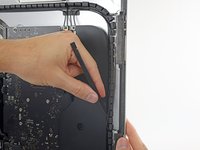
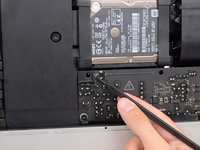
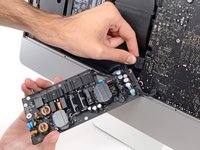
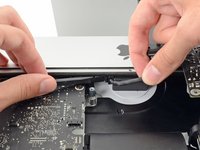
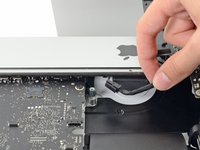
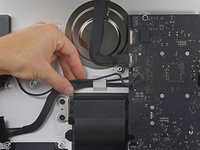
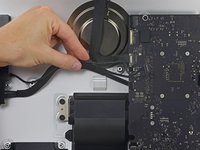
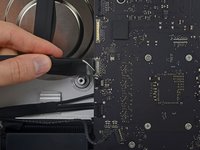
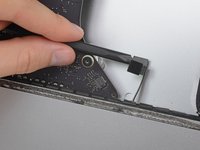
Gently pull the fan cable connector straight out of its socket on the logic board.
-
-
-
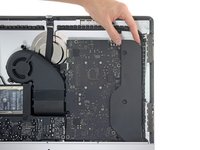
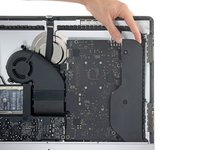
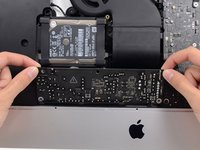
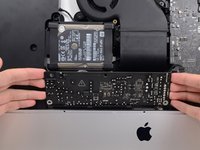
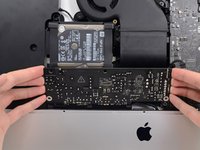
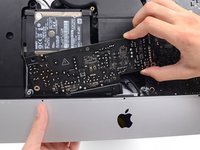
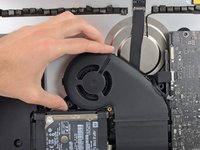
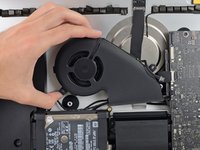
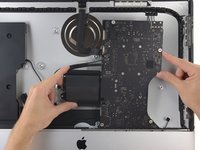
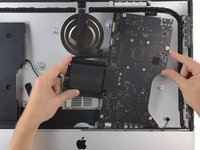
Lift the hard drive from the edge nearest the logic board and pull it slightly out of its recess.
-
-
-
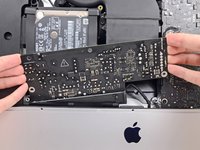
Remove the single 7.2 mm T10 screw securing the hard drive tray to the rear enclosure.
-
-
-
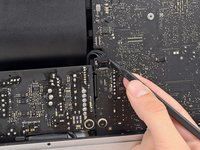
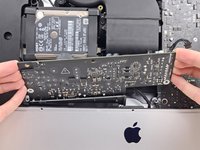
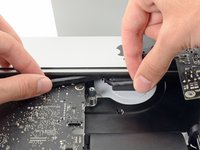
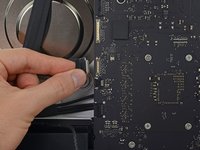
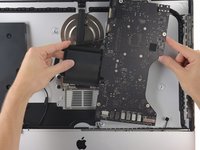
Gently pull the left speaker cable straight out of its socket on the logic board.
-


To reassemble your device, follow these instructions in reverse order.
Annulla: non ho completato questa guida.
Altre 26 persone hanno completato questa guida.

11Commenti sulla guida
could this work for imac 2019 4k?
Refer to this great guide: The Ultimate Guide to Apple’s Proprietary SSDs
DanJ -
Yes! Both 1 TB and 2TB drives are possible
Custom Apple Samsung SSPOLARIS 1 or 2 TB NVMe SSD or OWC Aura Pro X2 1 or 2TB NVMe SSD
DanJ -
But on other sites write that motherboards do not have a connector if the version is without fusion drive.