Questa versione può contenere modifiche errate. Passa all'ultima istantanea verificata.
Cosa ti serve
-
-
Allenta le due viti a croce Phillips imperdibili che fissano la porta di accesso all'iMac.
-
Rimuovi la port di accesso dall'iMac.
-
-
-
Rimuovi le seguenti quattro viti:
-
Tre Torx T8 da 6 mm
-
Una Torx T8 da 8 mm
-
-
-
Capovolgi il tuo iMac e appoggialo con il lato del supporto rivolto verso il basso su una superficie piana.
-
Per rimuovere contemporaneamente la cornice anteriore dall'iMac:
-
Utilizza i pollici per premere nei bracci della RAM e tenere fermo l'iMac.
-
Utilizza gli indici per tirare verso di te il piccolo ponte di materiale sulla cornice anteriore.
-
Tira verso l'alto la cornice anteriore con gli indici.
-
Una volta che il piccolo ponte di materiale ha liberato i bracci della RAM, solleva la cornice anteriore dal suo bordo inferiore quanto basta per liberare il bordo inferiore del case posteriore.
-
-
-
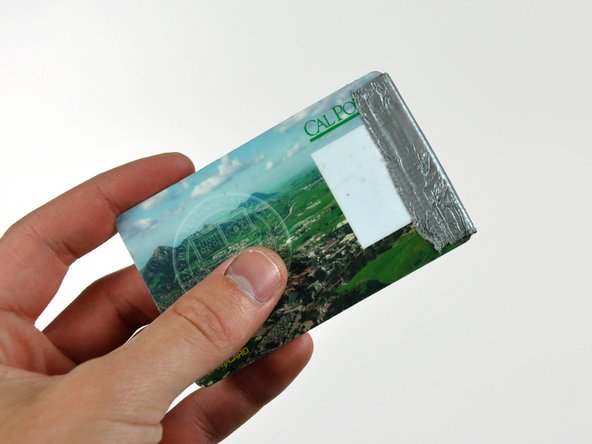
Inserisci una scheda di plastica nell'angolo della fessura della presa d'aria vicino alla parte superiore del case posteriore.
-
Spingi la scheda verso la parte superiore dell'iMac per rilasciare il fermo della cornice anteriore.
-
Allontana la cornice anteriore dal case posteriore.
-
Ripeti questa procedura per l'altro lato della cornice anteriore.
-
Se la cornice si rifiuta di sbloccarsi, prova a premere il bordo inferiore sul case posteriore e ripeti questa procedura di apertura.
-
-
-
Appoggia il tuo iMac su un tavolo con il lato del supporto rivolto verso il basso.
-
Solleva la cornice anteriore dal suo bordo inferiore e ruotala allontanandola dal resto dell'iMac, facendo attenzione ai bracci RAM che potrebbero rimanere incastrati.
-
Appoggia la cornice anteriore sopra il resto dell'iMac.
-
-
-
Questo passaggio è privo di traduzione. Aiuta a tradurlo
-
Peel up the lower EMI shield from the rear case.
-
-
Questo passaggio è privo di traduzione. Aiuta a tradurlo
-
Remove the two 4.8 mm T6 Torx screws securing the display data cable to the logic board.
-
Grab the display data cable connector by its black tab and pull it straight up off the logic board.
-
-
Questo passaggio è privo di traduzione. Aiuta a tradurlo
-
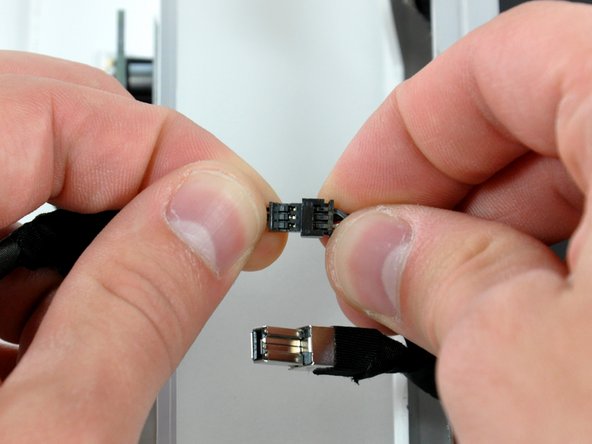
Inverter cable on 24inch iMac pulls off to the left.
-
Pull the inverter cable connector straight up off its socket on the logic board.
-
-
Questo passaggio è privo di traduzione. Aiuta a tradurlo
-
Peel back the aluminum EMI tape from the two vertical edges of the display.
-
-
Questo passaggio è privo di traduzione. Aiuta a tradurlo
-
Remove the four 8 mm with 2 mm thick head coarse-thread T10 Torx screws securing the display to the rear case.
-
-
Questo passaggio è privo di traduzione. Aiuta a tradurlo
-
Lift the display from its lower edge and pull it toward yourself to peel off the EMI shield attached to its top edge.
-
-
Questo passaggio è privo di traduzione. Aiuta a tradurlo
-
De-route the bundle of power supply cables from behind the hard drive bracket.
-
-
Questo passaggio è privo di traduzione. Aiuta a tradurlo
-
Pull the hard drive thermal sensor connector away from its socket on the logic board.
-
-
Questo passaggio è privo di traduzione. Aiuta a tradurlo
-
Press the hard drive bracket down to free it from the rear case, then rotate the top of the drive toward yourself.
-
-
Questo passaggio è privo di traduzione. Aiuta a tradurlo
-
Lift the hard drive off its lower pins and pull it out of the rear case, minding the power supply cables that may get caught.
-
-
Questo passaggio è privo di traduzione. Aiuta a tradurlo
-
Insert a spudger between the SATA connectors and twist it to separate the connector from the hard drive.
-
Disconnect both SATA connectors.
-
-
Questo passaggio è privo di traduzione. Aiuta a tradurlo
-
Remove the two T8 Torx screws securing the hard drive bracket to the hard drive.
-
-
Questo passaggio è privo di traduzione. Aiuta a tradurlo
-
Remove the two T8 Torx hard drive pin on the other side of the drive.
-
Annulla: non ho completato questa guida.
Altre 301 persone hanno completato questa guida.
19 Commenti
It was a fun way to spend a sunday! We didn't have a magnetic screwdriver so we used a glue stick and dipped our screwdriver in the "goop" and used it to secure the screws to the driver for the deep screw section. Fun stuff!
Thanks to this guide and a RAM upgrade my imac has at least a couple more years left on it. I did not disconnect the front bezel or LCD I just laid them aside (the LCD had to be propped up a little to prevent pulling). The scariest part was removing the HD heat sensor. I just went really slow and most of the glue was still attached to the sensor so that all I had to do was press it against the new HD and it affixed just fine. One week later and everything is working great! Magnetizing the Torx driver with the remote magnet is a great idea. I purchased a stand alone magnetizer/demagnetizer myself though.
Very handy guide. I just replaced the internal drive on my iMac and it's working well. Here also is a pretty good video of the procedure:
Part 1: http://www.youtube.com/watch?v=ShY8zuT-w...
Part 2: http://www.youtube.com/watch?v=RjsIU1XEk...
Thanks to this very good description. Now these Mac has 10x more HD-Size than before! (1.5 TB). I wrote this from the IMAc so that you see: it works fine!
Thank you!
Dirk


