Questa versione può contenere modifiche errate. Passa all'ultima istantanea verificata.
Cosa ti serve
-
Questo passaggio è privo di traduzione. Aiuta a tradurlo
-
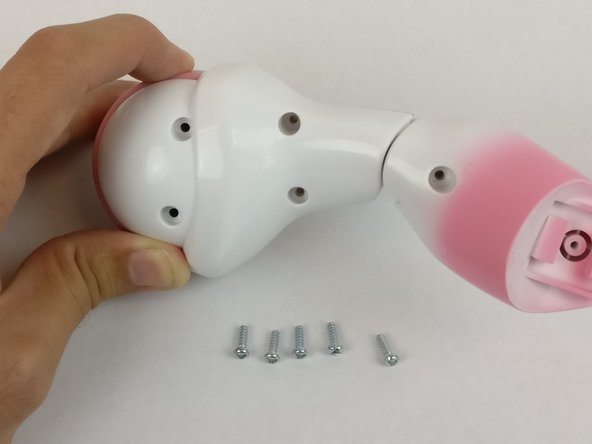
Flip the pony over.
-
Remove the five Triangle 3 screws from underneath.
-
-
Questo passaggio è privo di traduzione. Aiuta a tradurlo
-
Disconnect all of the wires between the head and leg sections.
-
To replace the power/volume switch, remove the two Phillips #0 screws from the switch.
-
Lift the switch out to replace.
-
-
Questo passaggio è privo di traduzione. Aiuta a tradurlo
-
Remove the black bar by unscrewing the two triangle screws marked in yellow. These screws are recessed into the black bar so you may need an extender for your triangle bit.
-
-
-
Questo passaggio è privo di traduzione. Aiuta a tradurlo
-
If you are not replacing the pony's speaker, skip the next bullet point.
-
Lift out the speaker, again making sure that it is disconnected, and replace with a new one.
-
-
Questo passaggio è privo di traduzione. Aiuta a tradurlo
-
Remove all five triangular screws located on the backside of the leg.
-
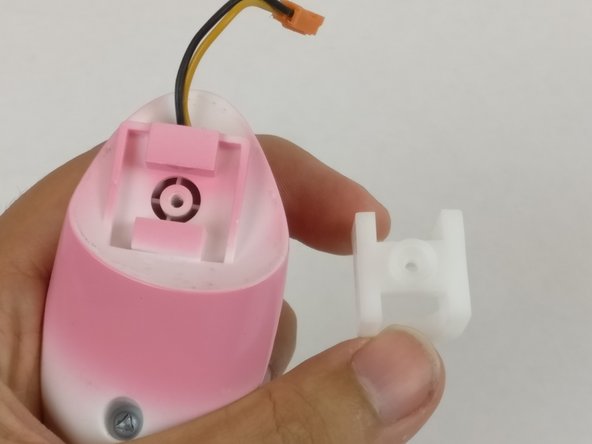
Remove the Phillips head screw holding the white leg bracket.
-
Detach the plastic mount at the top of the leg by sliding it in a vertical motion from the position shown.
-
-
Questo passaggio è privo di traduzione. Aiuta a tradurlo
-
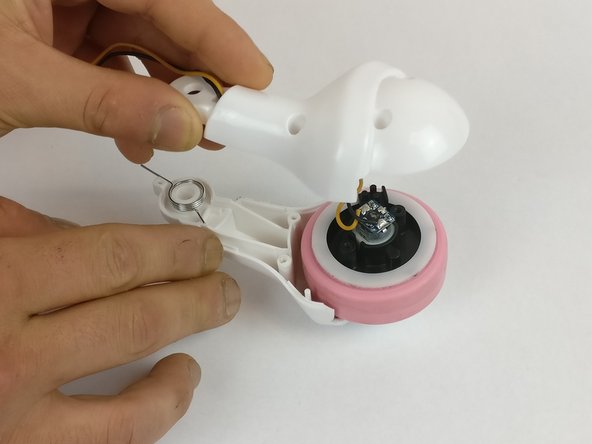
Lift up on the plastic housing located on the upper portion of the leg (where it connects to the body).
-
Carefully separate the plastic housing at the base of the leg.
-
-
Questo passaggio è privo di traduzione. Aiuta a tradurlo
-
The spring will be exposed as shown. Remove the broken or damaged spring and replace it with a new one.
-
-
Questo passaggio è privo di traduzione. Aiuta a tradurlo
-
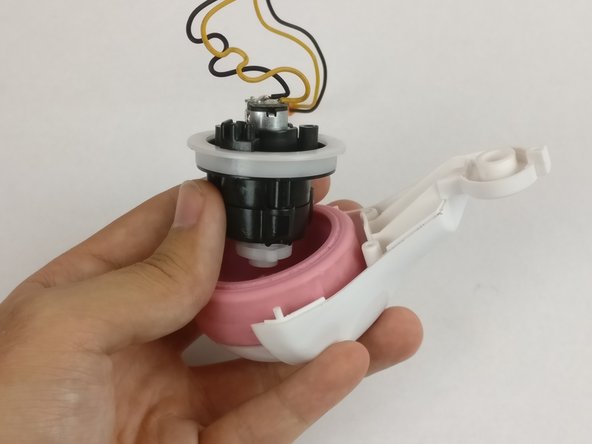
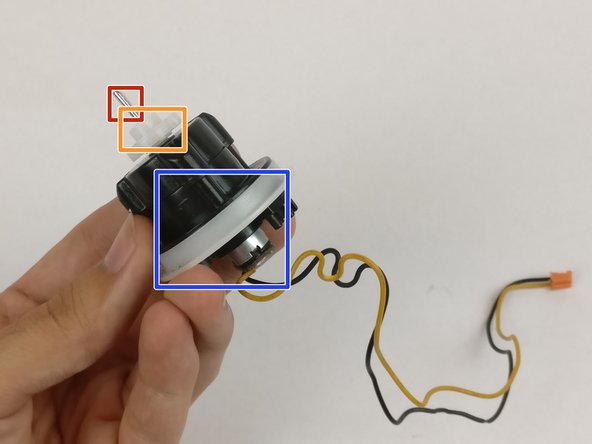
Pull motor out of pink wheel
-
Remove pin (red), plastic piece connected to pin (orange), and plastic rim around motor (blue).
-


Annulla: non ho completato questa guida.
Un'altra persona ha completato questa guida.
Team

USF Tampa, Team S20-G5, Passmore Spring 2018 Membro di USF Tampa, Team S20-G5, Passmore Spring 2018
USFT-PASSMORE-S18S20G5
4 Membri
10 Guide realizzate