Questa versione può contenere modifiche errate. Passa all'ultima istantanea verificata.
Cosa ti serve
-
Questo passaggio è privo di traduzione. Aiuta a tradurlo
-
Using the Triangle driver remove the four 7.5 mm screws.
-
-
Questo passaggio è privo di traduzione. Aiuta a tradurlo
-
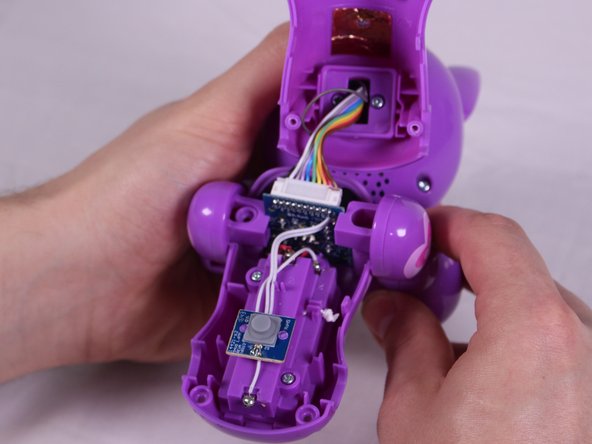
Turn the device so that the the device is on its side.
-
Hold the back and belly on the device and gently pull apart.
-
-
-
Questo passaggio è privo di traduzione. Aiuta a tradurlo
-
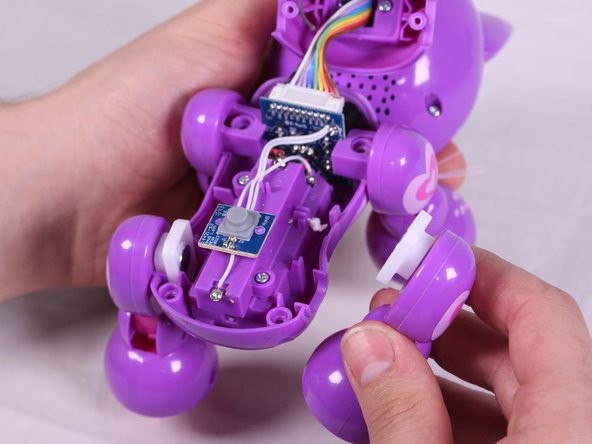
With insides exposed, grab leg and gently pull up and away from the body to detach them. Repeat for all legs needed.
-
-
Questo passaggio è privo di traduzione. Aiuta a tradurlo
-
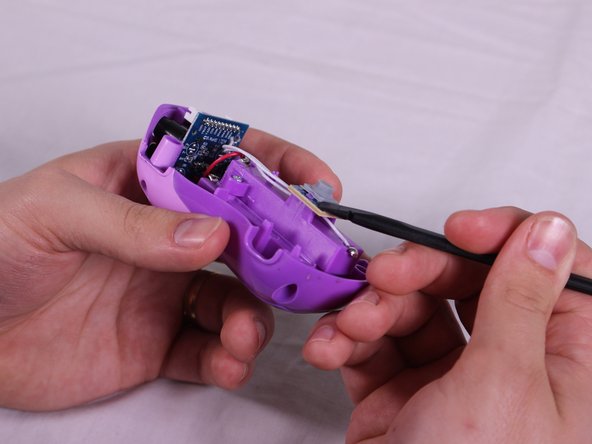
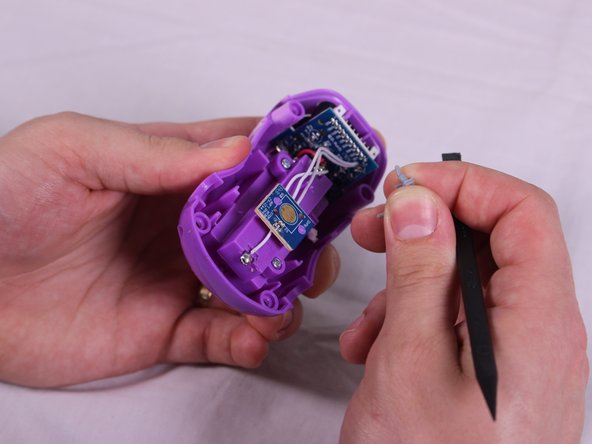
Locate the gray rubber contact in the middle of the bottom half of the device. Using the spudger, lift one corner of the contact until it pops loose.
-
Grab the contact and gently pull until the other side detaches.
-


Team

USF Tampa, Team S6-G2, Eyestone Spring 2018 Membro di USF Tampa, Team S6-G2, Eyestone Spring 2018
USFT-EYESTONE-S18S6G2
3 Membri
16 Guide realizzate