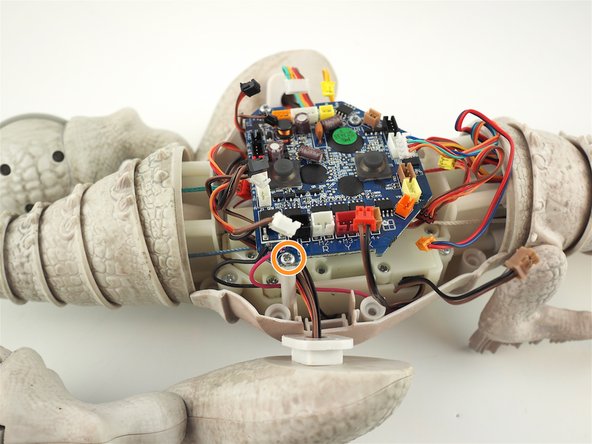
Salta al contenuto principale

Zoomer Jurassic World Indominus Rex Motherboard Replacement

Cosa ti serve

  1. Zoomer Jurassic World Indominus Rex Motherboard Replacement, Back Cover: passo 1, immagine 1 di 1
    • Turn off and unplug Zoomer Jurassic World Indominus Rex from any power source before doing replacements.

    • Remove all eight (8) 9.3mm Phillips screws using Phillips #1 screwdriver.

  2. Zoomer Jurassic World Indominus Rex Motherboard Replacement: passo 2, immagine 1 di 2 Zoomer Jurassic World Indominus Rex Motherboard Replacement: passo 2, immagine 2 di 2
    • Pry apart the back cover of the Jurassic Indominus Rex and the rest of the body using a spudger.

    • Do not take out the back cover immediately as it it still attached to the motherboard by a wire.

  3. Zoomer Jurassic World Indominus Rex Motherboard Replacement: passo 3, immagine 1 di 2 Zoomer Jurassic World Indominus Rex Motherboard Replacement: passo 3, immagine 2 di 2
    • Disconnect the orange wire that connects the motherboard and the back cover.

    • Separate the back cover and the rest of the Zoomer Jurassic World Indominus Rex.

    • Gently press the tab on the side of the orange connector if you are having trouble disconnecting the wire.

  4. Zoomer Jurassic World Indominus Rex Motherboard Replacement, Motherboard: passo 4, immagine 1 di 2 Zoomer Jurassic World Indominus Rex Motherboard Replacement, Motherboard: passo 4, immagine 2 di 2
    • Let the toy rest firmly on a flat surface before processing to the next step.

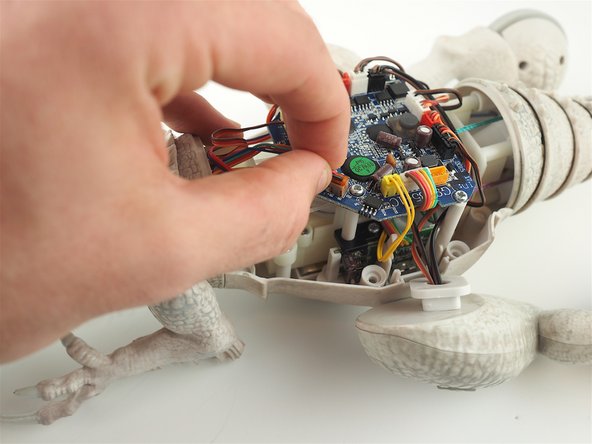
    • Gently pull each wire out of the connector on the motherboard. Use a set of tweezers, if necessary.

  5. Zoomer Jurassic World Indominus Rex Motherboard Replacement: passo 5, immagine 1 di 2 Zoomer Jurassic World Indominus Rex Motherboard Replacement: passo 5, immagine 2 di 2
    • Remove the two (2) #0 7.5mm phillips screws from the left side of the motherboard.

    • Remove the one (1) 7.5mm #0 phillips screw from the right side of the motherboard.

  6. Zoomer Jurassic World Indominus Rex Motherboard Replacement: passo 6, immagine 1 di 1
    • Use a soldering iron to remove the red and black wires from the motherboard .

    • Soldering technique guide from iFixit can be found here.

    • Use caution while soldering to avoid being burned.

Conclusione

To reassemble your device, follow these instructions in reverse order.

Anh Le

Membro da: 01/20/16

504 Reputazione

3 Guide realizzate

Team

USF Tampa, Team 10-3, Remmell Spring 2016 Membro di USF Tampa, Team 10-3, Remmell Spring 2016

USFT-REMMELL-S16S10G3

4 Membri

14 Guide realizzate

0 Commenti

Aggiungi Commento

Visualizza Statistiche:

Ultime 24 Ore: 0

Ultimi 7 Giorni: 1

Ultimi 30 Giorni: 7

Tutti i Tempi: 762