Introduzione
If your device isn’t turning on or if the power switch isn’t properly working, it may be time to replace the power switch in the printer. Follow these instructions to replace the power switch in the Zebra ZP 450.
In order to complete this guide, you’ll need to know how to solder. Please visit the How to Solder and Desolder Connections guide for more information on proper soldering technique.
Cosa ti serve
-
-
Remove the three 12mm screws from the bottom of the printer using a Phillips #1 screwdriver.
-
Using the TR10 Torx screwdriver, remove the four 8mm screws from the bottom of the device.
-
-
-
-
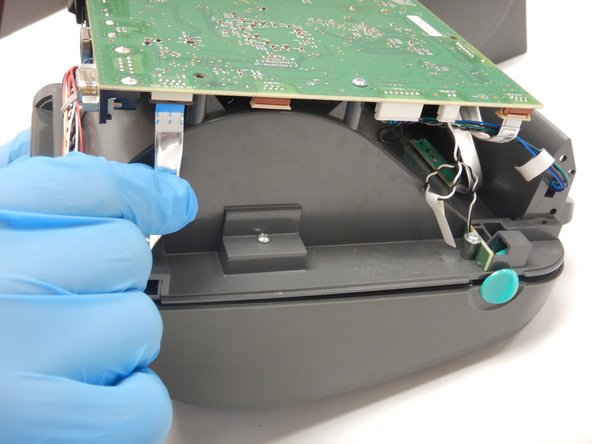
Using the soldering iron, unsolder the joints on the back of the motherboard connecting the power switch to the motherboard.
-
For more information on proper soldering technique, please visit the How to Solder and Desolder Connections guide.
-


To reassemble your device, follow these instructions in reverse order.

Team

The Citadel Military College of South Carolina, Team S1-G6, Eggleston Spring 2021 Membro di The Citadel Military College of South Carolina, Team S1-G6, Eggleston Spring 2021
CMCSC-EGGLESTON-S21S1G6
2 Membri
6 Guide realizzate