Introduzione
This guide will help you replace the back panel in your ZTE Prestige 2. Before you start, check out our troubleshooting page that will help you decipher any basic problems before taking your device apart. Some reasons you may need to conduct this replacement is because there may be water damage or it may have fallen and cracked, resulting in it not fitting properly anymore. Before beginning, make sure to power off your device completely and disconnect from any external power source.
Cosa ti serve
-
-
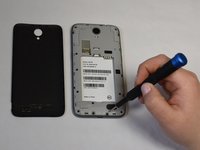
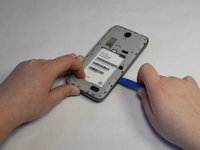
Use the iFixit opening tool to open up the device by wedging the tool under the back case and popping it open.
-
-
-
-
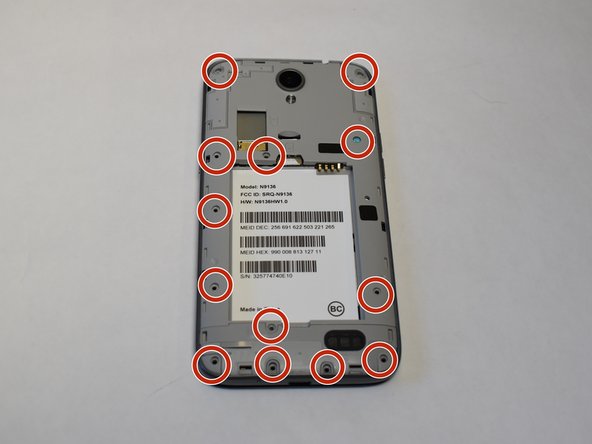
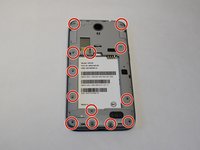
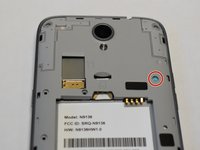
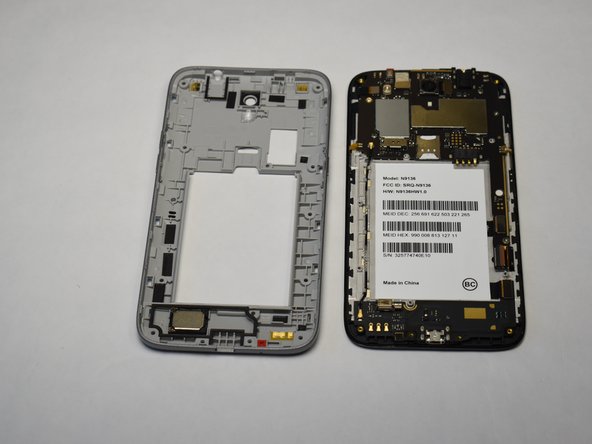
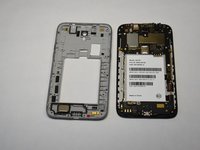
Use a Phillips #00 screwdriver to unscrew all 12 of the 3 mm Phillips screws located along the edges of the device’s back panel, as well as the blue 3mm Phillips screw labeled “ZTE” located towards the top right.
-


To reassemble your device, follow these instructions in reverse order.
To reassemble your device, follow these instructions in reverse order.

Team

UW Stout, Team S1-G4, Schneider-Bateman Spring 2020 Membro di UW Stout, Team S1-G4, Schneider-Bateman Spring 2020
UWSTOUT-SCHNEIDER-BATEMAN-S20S1G4
3 Membri
14 Guide realizzate