Salta al contenuto principale

WarioWare: Twisted! Rumble Motor Replacement

Cosa ti serve

  1. WarioWare: Twisted! Rumble Motor Replacement, Rumble Motor: passo 1, immagine 1 di 2 WarioWare: Twisted! Rumble Motor Replacement, Rumble Motor: passo 1, immagine 2 di 2
    • Use a Tri-point Y0 screwdriver to remove the single 3 mm screw located at the back of the game.

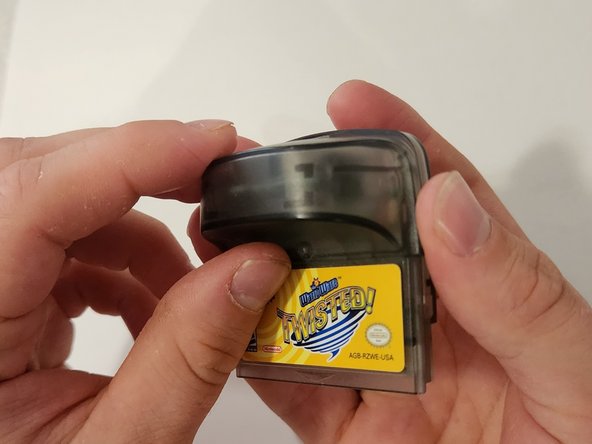
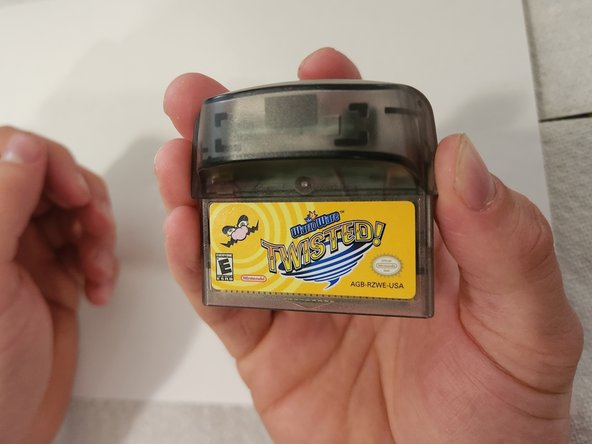
    • Remove the cover to expose the control module electronics board underneath.

  2. WarioWare: Twisted! Rumble Motor Replacement: passo 2, immagine 1 di 3 WarioWare: Twisted! Rumble Motor Replacement: passo 2, immagine 2 di 3 WarioWare: Twisted! Rumble Motor Replacement: passo 2, immagine 3 di 3
    • Heat up the soldering iron to approximately 350 degrees Fahrenheit.

    • Remove the rumble motor from the slot.

    • For more information on soldering, refer to How to Solder and Desolder Connections.

    • Apply the tip of the soldering iron to the connection points, causing the red and blue wires to melt and detach.

    • Separate the old rumble motor from the board and set it aside.

    • The soldering iron will be very hot. Do not touch the tip of the iron. It will cause severe burns.

  3. WarioWare: Twisted! Rumble Motor Replacement: passo 3, immagine 1 di 3 WarioWare: Twisted! Rumble Motor Replacement: passo 3, immagine 2 di 3 WarioWare: Twisted! Rumble Motor Replacement: passo 3, immagine 3 di 3
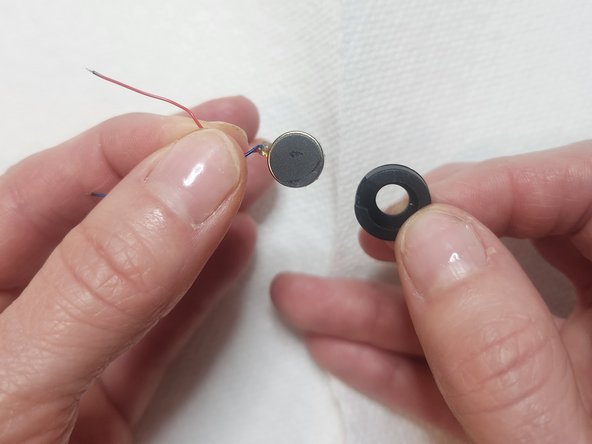
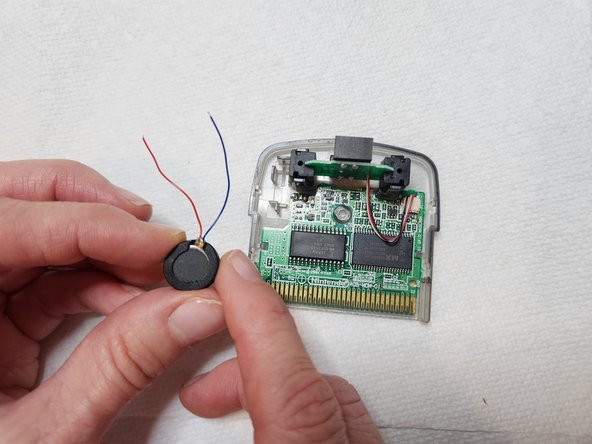
    • Use your hands to remove the black sleeve from the old rumble motor.

    • Set the old rumble motor aside.

    • Use your hands to place the black sleeve onto the new rumble motor you're using.

  4. WarioWare: Twisted! Rumble Motor Replacement: passo 4, immagine 1 di 3 WarioWare: Twisted! Rumble Motor Replacement: passo 4, immagine 2 di 3 WarioWare: Twisted! Rumble Motor Replacement: passo 4, immagine 3 di 3
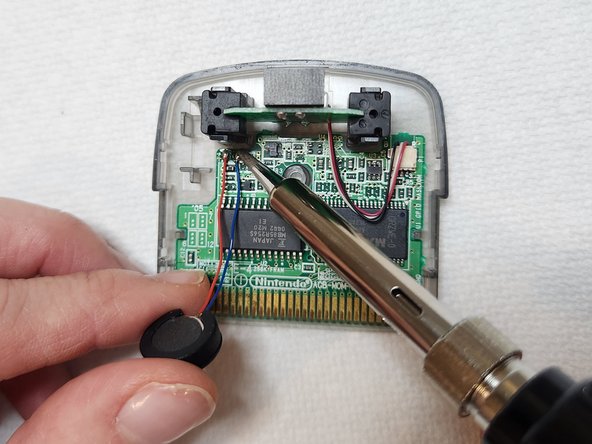
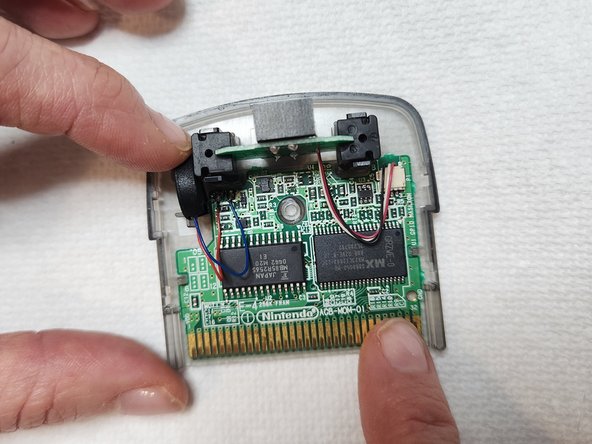
    • Place the red wire onto the plus (left) side, and the blue wire onto the minus (right) side.

    • To reattach the red and blue wires, carefully bring the tip of the soldering iron into contact with the connection points.

    • The soldering iron will be hot. Do not touch the tip of the iron.

    • Place the new rumble motor back in its slot.

    • Turn off the soldering iron after you finish this step.

  5. WarioWare: Twisted! Rumble Motor Replacement: passo 5, immagine 1 di 3 WarioWare: Twisted! Rumble Motor Replacement: passo 5, immagine 2 di 3 WarioWare: Twisted! Rumble Motor Replacement: passo 5, immagine 3 di 3
    • Put the cover back on the game.

    • Gently push the two sides back together.

  6. WarioWare: Twisted! Rumble Motor Replacement: passo 6, immagine 1 di 2 WarioWare: Twisted! Rumble Motor Replacement: passo 6, immagine 2 di 2
    • Use your Tri-point Y0 screwdriver to screw the single 3 mm screw back into place.

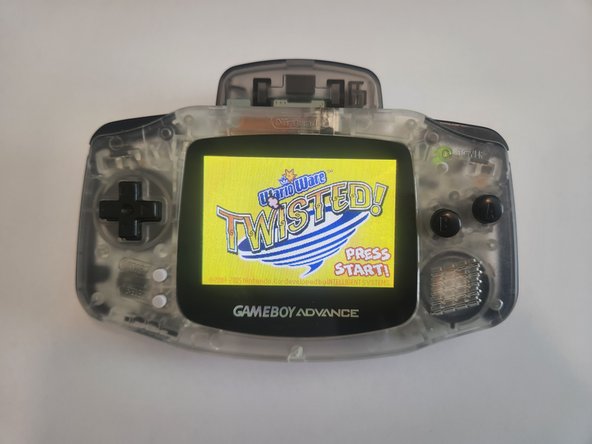
    • Test the game to make sure the problem is fixed and you should be ready to play!

Conclusione

I hope this guide solved your problem, and your game should work like new again!

Un'altra persona ha completato questa guida.

Un commento

Nice post and please provide more information. Thanks for sharing.

cunez - Replica

Aggiungi Commento

Visualizza Statistiche:

Ultime 24 Ore: 2

Ultimi 7 Giorni: 11

Ultimi 30 Giorni: 54

Tutti i Tempi: 698