Salta al contenuto principale

WRS315SDHW Inlet Valve Assembly Replacement

Cosa ti serve

  1. WRS315SDHW Inlet Valve Assembly Replacement, Safety precautions: passo 1, immagine 1 di 1
    • Before you begin your repair, perform the following:

    • Turn off your main water supply

    • Unplug your device

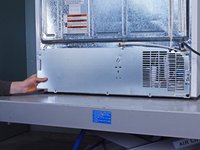
  2. WRS315SDHW Inlet Valve Assembly Replacement, Unfasten the rear panel: passo 2, immagine 1 di 3 WRS315SDHW Inlet Valve Assembly Replacement, Unfasten the rear panel: passo 2, immagine 2 di 3 WRS315SDHW Inlet Valve Assembly Replacement, Unfasten the rear panel: passo 2, immagine 3 di 3
    • Use a 1/4 inch socket wrench, or a flathead screwdriver, to remove the seven 16.2 mm-long screws securing the rear panel.

    • Use a 1/4 inch socket wrench to loosen the screw securing the water hose enough for the rear panel to freely move.

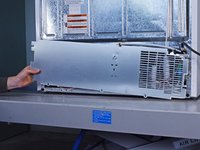
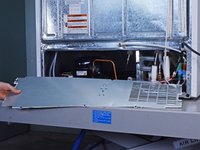
  3. WRS315SDHW Inlet Valve Assembly Replacement, Remove the rear panel: passo 3, immagine 1 di 3 WRS315SDHW Inlet Valve Assembly Replacement, Remove the rear panel: passo 3, immagine 2 di 3 WRS315SDHW Inlet Valve Assembly Replacement, Remove the rear panel: passo 3, immagine 3 di 3
    • Pull the rear panel off the chassis to remove it.

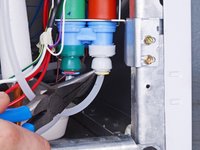
  4. WRS315SDHW Inlet Valve Assembly Replacement, Remove the clip: passo 4, immagine 1 di 2 WRS315SDHW Inlet Valve Assembly Replacement, Remove the clip: passo 4, immagine 2 di 2
    • Use needle nose pliers, or your fingers, to remove the plastic clip on the inlet valve assembly.

  5. WRS315SDHW Inlet Valve Assembly Replacement, Disconnect the front water hose: passo 5, immagine 1 di 3 WRS315SDHW Inlet Valve Assembly Replacement, Disconnect the front water hose: passo 5, immagine 2 di 3 WRS315SDHW Inlet Valve Assembly Replacement, Disconnect the front water hose: passo 5, immagine 3 di 3
    • Push the plastic ring above the front water hose to release its clips.

    • As you push the ring, pull the water hose downward to disconnect it.

    • Repeat the disconnection procedure for the other water hose on the inlet valve assembly.

  6. WRS315SDHW Inlet Valve Assembly Replacement, Unfasten the inlet valve assembly: passo 6, immagine 1 di 1
    • Use a 1/4 inch socket wrench to remove the two 15.6 mm-long screws securing the inlet valve assembly.

  7. WRS315SDHW Inlet Valve Assembly Replacement, Reposition the inlet valve assembly: passo 7, immagine 1 di 3 WRS315SDHW Inlet Valve Assembly Replacement, Reposition the inlet valve assembly: passo 7, immagine 2 di 3 WRS315SDHW Inlet Valve Assembly Replacement, Reposition the inlet valve assembly: passo 7, immagine 3 di 3
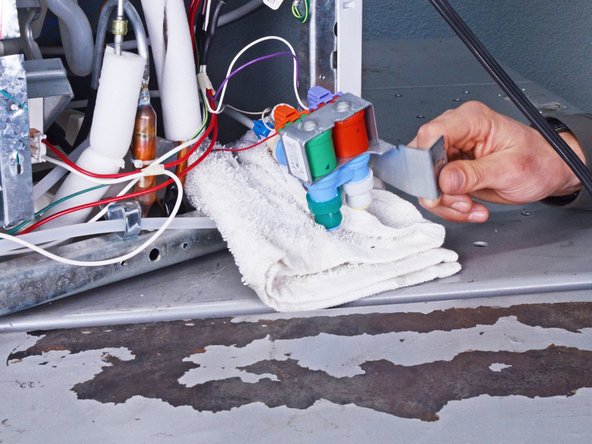
    • Pull the inlet valve assembly off its slot in the chassis and rest it on the floor.

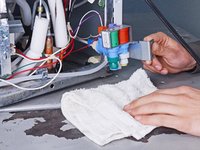
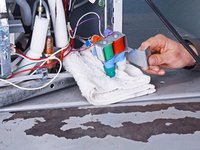
  8. WRS315SDHW Inlet Valve Assembly Replacement: passo 8, immagine 1 di 2 WRS315SDHW Inlet Valve Assembly Replacement: passo 8, immagine 2 di 2
    • Place a clean and dry rag under the inlet valve assembly before continuing.

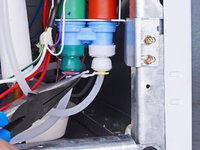
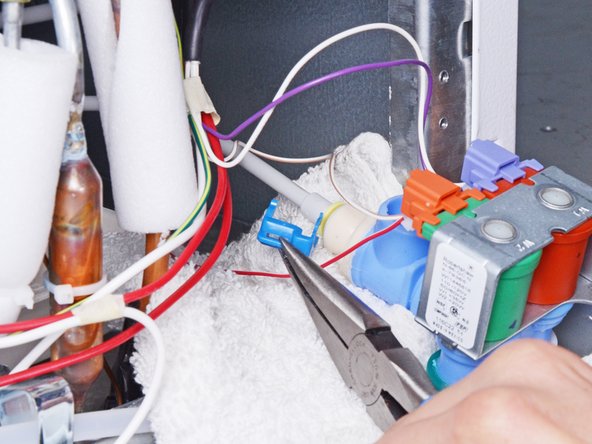
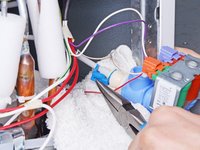
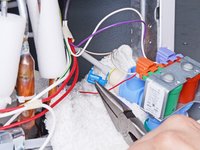
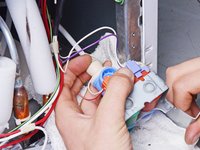
  9. WRS315SDHW Inlet Valve Assembly Replacement, Remove the clip: passo 9, immagine 1 di 2 WRS315SDHW Inlet Valve Assembly Replacement, Remove the clip: passo 9, immagine 2 di 2
    • Use needle nose pliers, or your hands, to pull the blue clip off the rear water hose.

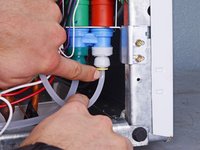
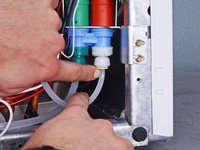
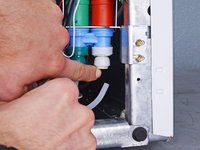
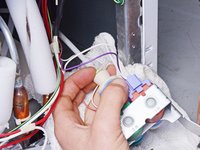
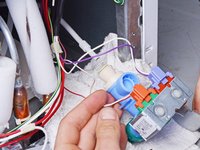
  10. WRS315SDHW Inlet Valve Assembly Replacement: passo 10, immagine 1 di 3 WRS315SDHW Inlet Valve Assembly Replacement: passo 10, immagine 2 di 3 WRS315SDHW Inlet Valve Assembly Replacement: passo 10, immagine 3 di 3
    • Push the yellow plastic ring above the rear water hose to release its clips.

    • As you push the ring, pull the water hose away from the inlet valve assembly to disconnect it.

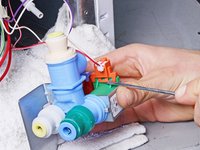
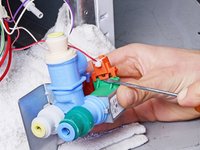
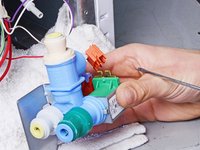
  11. WRS315SDHW Inlet Valve Assembly Replacement, Disconnect the assembly wire connector: passo 11, immagine 1 di 3 WRS315SDHW Inlet Valve Assembly Replacement, Disconnect the assembly wire connector: passo 11, immagine 2 di 3 WRS315SDHW Inlet Valve Assembly Replacement, Disconnect the assembly wire connector: passo 11, immagine 3 di 3
    • Use a flathead screwdriver, or a similar tool, to disconnect the inlet valve assembly wire connector.

  12. WRS315SDHW Inlet Valve Assembly Replacement, Remove the inlet valve assembly: passo 12, immagine 1 di 1
    • Remove the inlet valve assembly from the chassis.

Conclusione

To reassemble your device, follow these instructions in reverse order.

Take your e-waste to an R2 or e-Stewards certified recycler.

Repair didn’t go as planned? Ask our Answers community for help.

Un'altra persona ha completato questa guida.

nicO

Membro da: 04/14/15

15.927 Reputazione

88 Guide realizzate

Team

Global Fixers Membro di Global Fixers

Community

33 Membri

557 Guide realizzate

0 Commenti

Aggiungi Commento

Visualizza Statistiche:

Ultime 24 Ore: 0

Ultimi 7 Giorni: 0

Ultimi 30 Giorni: 1

Tutti i Tempi: 79