Questa versione può contenere modifiche errate. Passa all'ultima istantanea verificata.
Cosa ti serve
-
Questo passaggio è privo di traduzione. Aiuta a tradurlo
-
For the best access to the oil drain plug, and for optimal oil drainage, it is recommended that the scooter be stood upright.
-
-
Questo passaggio è privo di traduzione. Aiuta a tradurlo
-
Using your hand, pull the engine cover retaining latch away from the scooter frame, then twist the latch clockwise to release the engine cover.
-
-
Questo passaggio è privo di traduzione. Aiuta a tradurlo
-
Carefully lift the engine cover up and away from the scooter, mindful of the mounting bracket near the rear of the engine.
-
-
-
Questo passaggio è privo di traduzione. Aiuta a tradurlo
-
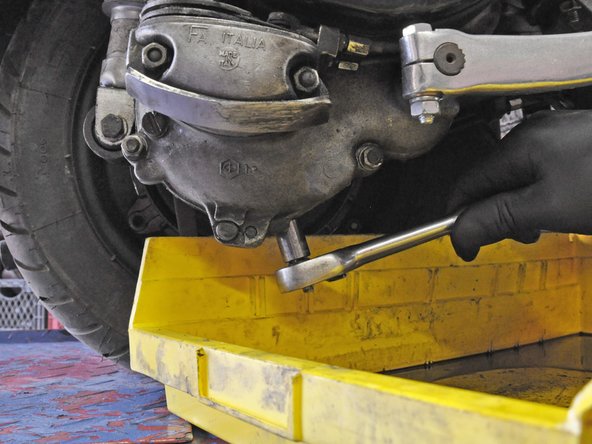
Place an oil drain pan below the engine to catch the used oil.
-
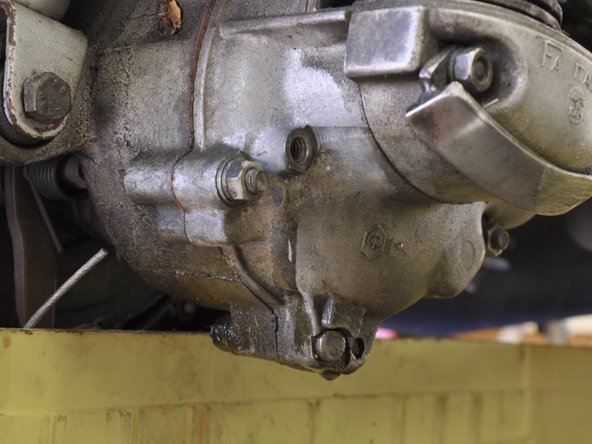
Using an 10mm socket, unscrew the oil drain plug
-
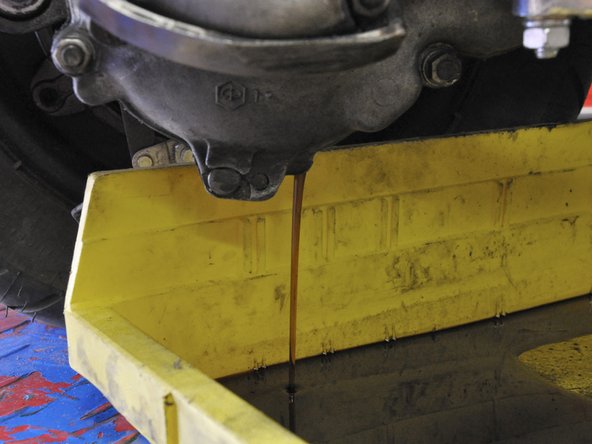
Remove the oil drain plug, letting the oil drain out of the engine.
-
Wait for almost all of the oil to drain out of the engine, about five minutes.
-
-
Questo passaggio è privo di traduzione. Aiuta a tradurlo
-
Using your fingers, re-install and hand tighten the oil drain plug.
-
Using a 10mm socket, tighten the oil drain plug.
-
-
Questo passaggio è privo di traduzione. Aiuta a tradurlo
-
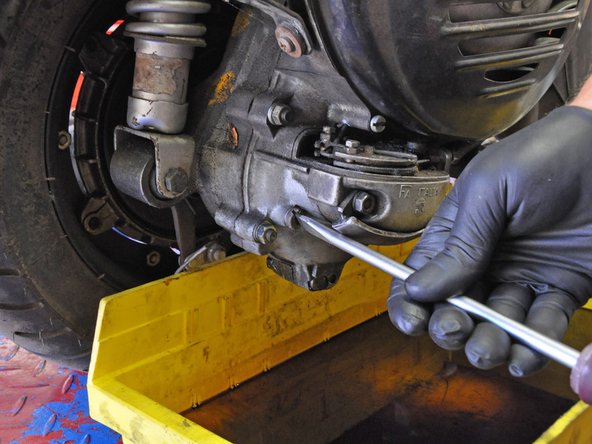
Use a large flathead screwdriver to remove the oil fill plug.
-
-
Questo passaggio è privo di traduzione. Aiuta a tradurlo
-
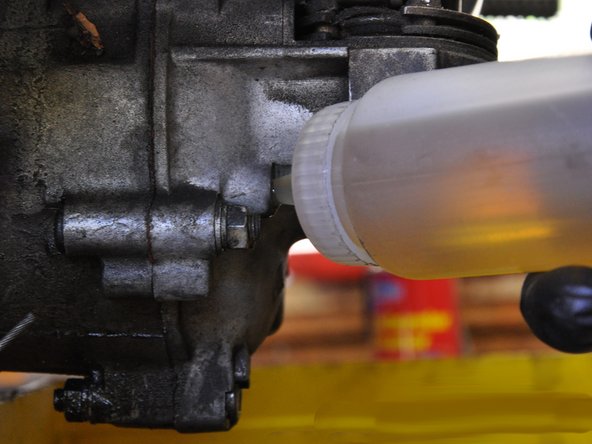
Put the nozzle of the oil bottle into the oil fill hole and pour or squirt oil into the engine until it is filled level with the fill hole.
-
-
Questo passaggio è privo di traduzione. Aiuta a tradurlo
-
Using your hands, insert and hand-tighten the oil fill plug.
-
Using a large flathead screwdriver, tighten the oil fill plug.
-
There is no necessary torque specification for the oil fill plug. However, make sure that it is tight enough that it doesn't rattle out. It also should not be so tight that the threads strip.
-


Annulla: non ho completato questa guida.
Altre 16 persone hanno completato questa guida.


3 Commenti
What about the oil to flush the engine before filling up ?
It's been recommend by VESPA drivers...
What do you think about that and what *type* of oil a VESPA will take?
10-50? 20-50? Or a standard thickness?
I have a 1986 LML 150 model.
Please reply.
Thank you.
Oil. SAE 30. Non-detergent type, aka ND30