Questa versione può contenere modifiche errate. Passa all'ultima istantanea verificata.
Cosa ti serve
-
Questo passaggio è privo di traduzione. Aiuta a tradurlo
-
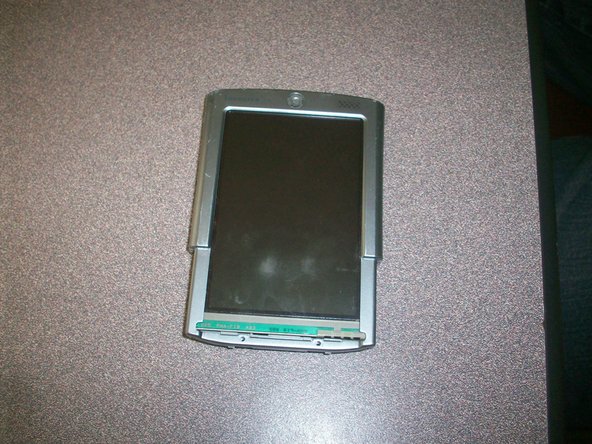
To remove the cover press down on the center indentation and remove from device.
-
Reminder: If you have a memory card inserted into your device make sure to remove it.
-
-
Questo passaggio è privo di traduzione. Aiuta a tradurlo
-
There will be a set of screws located on each side of your device. Remove these by using a Phillips head screwdriver.
-
-
Questo passaggio è privo di traduzione. Aiuta a tradurlo
-
The back panel must be removed in order to proceed. Slide the cover so that it is fully extended.
-
The arrows in the picture indicate two small holes located at the top of the device. Insert a paper clip or a tack simultaneously into each of these holes and moderately push downward.
-
The springs will give as pressure is exerted. Once you feel this take place, pull down the cover with the paper clip/tack while continuing to push downward. This will release the back cover.
-
-
Questo passaggio è privo di traduzione. Aiuta a tradurlo
-
Now the buttons and sliding tray will be connected to the main body only by an orange cable.
-
Gently peel this cable from the device.
-
-
Questo passaggio è privo di traduzione. Aiuta a tradurlo
-
Make sure that the cable remains connected to the buttons. Do not sever its connection to the sliding tray.
-
Disconnect the cable from the main body of the device by pulling upward.
-
Set aside the buttons and slide tray, making sure the orange cable is with it.
-
-
Questo passaggio è privo di traduzione. Aiuta a tradurlo
-
The arrows indicate two small screws. Using a Phillips head screwdriver, remove them.
-
-
-
Questo passaggio è privo di traduzione. Aiuta a tradurlo
-
To open the device, the sides must be (with moderate force) pried apart using a prying tool as seen in the picture.
-
Both sides must be separated from one another.
-
Tip: The right side may be slightly more difficult. It will be easiest to begin on the left.
-
Beginning with the left side, gently pry at the division of the face plates until they separate from one another.
-
Repeat this process on the other side of the device.
-
-
Questo passaggio è privo di traduzione. Aiuta a tradurlo
-
Hint: There will be pressure points along the side (as seen in the picture). Exerting pressure in these points will allow the sides to separate more easily.
-
-
Questo passaggio è privo di traduzione. Aiuta a tradurlo
-
Remove the face plate and set aside. This will leave the core of the device in front of you.
-
Reminder: The core of the device will be connected by various cables. Gently lift the screen and mother board (as in picture).
-
As labeled in the picture, the orange screen cable will connect on the lower right side of the motherboard.
-
Disconnect the cable by pulling it upward from the motherboard connection. Depending on your device, it may require little to moderate force.
-
Carefully remove your screen.
-
-
Questo passaggio è privo di traduzione. Aiuta a tradurlo
-
Next, the new screen must be connected to the motherboard.
-
Connect the new orange cable into the same location as the previous screen. (Location noted in picture by arrow). Make sure the cable is placed facing downward on the connection.
-
Lower the motherboard into place. Make sure to keep the back facing downward. Hint: This will be the side where all cables are connected.
-
Gently lay the screen on the core of the device.
-
-
Questo passaggio è privo di traduzione. Aiuta a tradurlo
-
As seen in figure one, the core and screen are now in tact.
-
Lay the face plate on device. It must be snapped into place.
-
-
Questo passaggio è privo di traduzione. Aiuta a tradurlo
-
Hint: when attaching the tray to the main device, the cable must be in the position as seen in the left figure.
-
Hint: On each side, the prongs must be adjusted so that they fit into their respective slots.
-
-
Questo passaggio è privo di traduzione. Aiuta a tradurlo
-
To reconnect the sliding tray and buttons, lay the device on its face.
-
Reminder: The orange button cable must be raised above sliding tray and connected to its respective port (as seen in picture).
-
-
Questo passaggio è privo di traduzione. Aiuta a tradurlo
-
To reconnect the sliding track, align the hooks and tracks (noted in picture).
-
Push the hooks into the tracks and slide the tray upward. This should lock the hooks in place.
-
To ensure that it has been connected properly, slide up and down.
-
-
Questo passaggio è privo di traduzione. Aiuta a tradurlo
-
Install the screws on both sides of device as seen in the picture.
-
-
Questo passaggio è privo di traduzione. Aiuta a tradurlo
-
Here is your repaired Tungsten T3 Palm Pilot. Enjoy!
-


Team

University of Maine, Team 1-14, Diaz Fall 2011 Membro di University of Maine, Team 1-14, Diaz Fall 2011
UMAINE-DIAZ-F11S1G14
2 Membri
3 Guide realizzate