Introduzione
A broken touchpad is annoying on any laptop. Sometimes this is an easy fix. Use this guide to fix a disconnected touchpad on your Toshiba Satellite P755 S5390.
Cosa ti serve
-
-
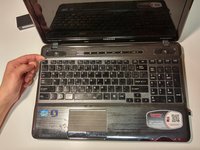
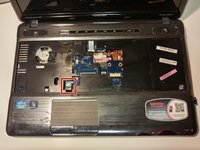
Close the cover and turn the laptop over so that the spine is facing away from you.
-
-
-
-
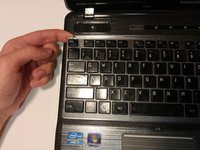
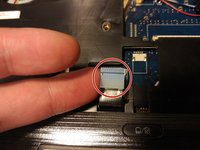
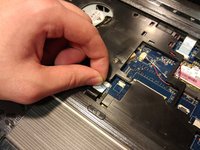
Grab the blue plastic above the touch pad wire.
-
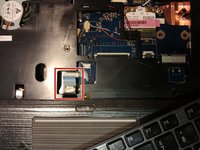
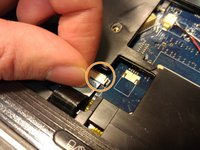
Firmly plug the cable into its socket on the motherboard.
-
If you need information on how to remove or replace connectors take a look at the Recognizing and Disconnecting Cable Connectors guide.
-


To reassemble your device, follow these instructions in reverse order.
To reassemble your device, follow these instructions in reverse order.
Annulla: non ho completato questa guida.
Altre 5 persone hanno completato questa guida.
Team

Michigan Tech, Team 1-20, Lauer Spring 2016 Membro di Michigan Tech, Team 1-20, Lauer Spring 2016
MTU-LAUER-S16S1G20
1 Membro
3 Guide realizzate