Introduzione
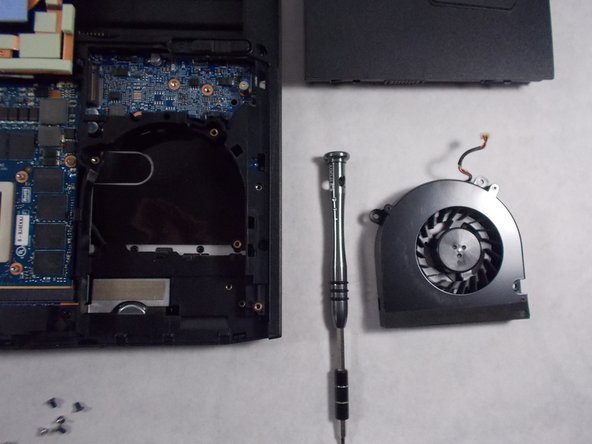
This guide will show how to replace the two cooling fans inside the Sytem76 Serval WS. It will show step by step how to remove the old fans and safely install new fans. You will need to replace the fans if they stop working.
If the fans are working after the repair and your laptop continues to overheat, you may need to clean the fans or replace thermal paste.
Cosa ti serve
-
-
Unscrew and remove the 4 screws circled in red. Then remove the plastic bottom panel.
-
-
-
-
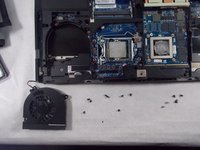
If needed, clean off the old thermal paste from the CPU, GPU, and heatsink using isopropyl alcohol and a microfiber cloth. Apply new thermal paste before reassembly.
-
Clean the dust from the heatsink fins.
-


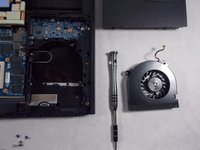
To reassemble your device, follow these instructions in reverse order.
To reassemble your device, follow these instructions in reverse order.
Team

UMass Dartmouth, Team S1-G4, Valliere Spring 2019 Membro di UMass Dartmouth, Team S1-G4, Valliere Spring 2019
UMASSD-VALLIERE-S19S1G4
4 Membri
3 Guide realizzate