Salta al contenuto principale

Spark Test

Cosa ti serve

  1. Spark Test, Safety precautions: passo 1, immagine 1 di 2 Spark Test, Safety precautions: passo 1, immagine 2 di 2
    • Flip the power switch into the STOP position.

    • Make sure the engine is cool to the touch before proceeding.

  2. Spark Test, Remove the muffler cover: passo 2, immagine 1 di 2 Spark Test, Remove the muffler cover: passo 2, immagine 2 di 2
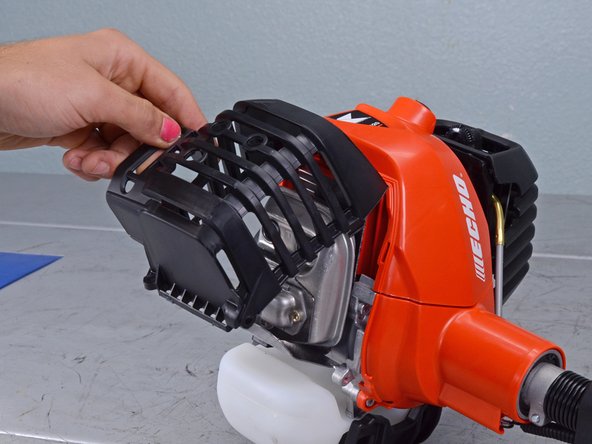
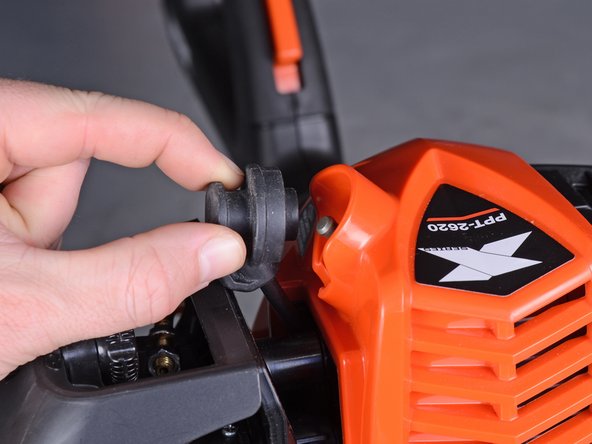
    • Use a T27 Torx screwdriver to remove the two screws securing the bottom of the muffler cover to the motor.

  3. Spark Test: passo 3, immagine 1 di 3 Spark Test: passo 3, immagine 2 di 3 Spark Test: passo 3, immagine 3 di 3
    • Tilt the muffler cover up, hinging along the top edge, until it can be removed from the motor cover.

    • Remove the muffler cover.

  4. Spark Test: passo 4, immagine 1 di 2 Spark Test: passo 4, immagine 2 di 2
    • Pull the spark plug boot straight off of the spark plug.

  5. Spark Test, Connect the spark tester: passo 5, immagine 1 di 2 Spark Test, Connect the spark tester: passo 5, immagine 2 di 2
    • Connect the spark plug boot to the left terminal of the ignition checker.

  6. Spark Test: passo 6, immagine 1 di 1
    • Connect the ignition checker alligator clip to a metal surface on the motor to ground the accessory cord.

  7. Spark Test: passo 7, immagine 1 di 1
    • Set the spark gap to 6 mm by turning the spark gap adjustment knob counterclockwise.

    • Do not set the spark gap unnecessarily wide—a high voltage may damage the ignition coil.

  8. Spark Test: passo 8, immagine 1 di 1
    • Flip the power switch into the ON position.

  9. Spark Test: passo 9, immagine 1 di 3 Spark Test: passo 9, immagine 2 di 3 Spark Test: passo 9, immagine 3 di 3
    • Hold the spark tester by the handle on the bottom. Do not touch the terminals or spark window while the test is being conducted.

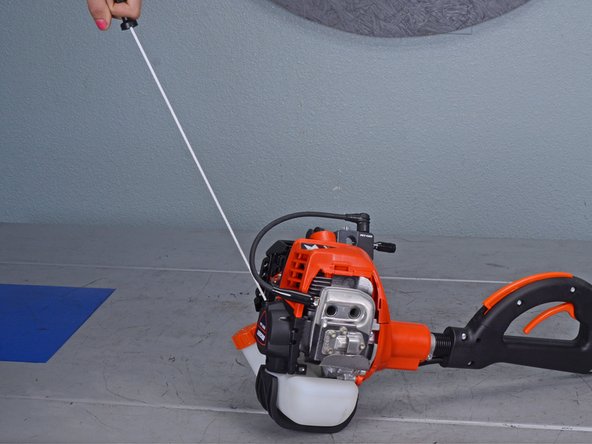
    • Watch for a spark in the spark window while a second person pulls the starter to crank the engine.

    • Consult the ignition checker instruction manual to troubleshoot the device.

Conclusione

To reassemble your device, follow these instructions in reverse order.

Sam Omiotek

Membro da: 02/25/19

74.639 Reputazione

288 Guide realizzate

0 Commenti

Aggiungi Commento

Visualizza Statistiche:

Ultime 24 Ore: 0

Ultimi 7 Giorni: 3

Ultimi 30 Giorni: 14

Tutti i Tempi: 305