Introduzione
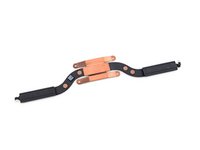
Usa questa guida per sostituire il dissipatore.
Cosa ti serve
-
-
Rimuovi le seguenti viti Pentalobe P5 che fissano il case inferiore del MacBook Pro:
-
Otto viti da 3,0 mm
-
Due viti da 2,3 mm
-
-
-
-
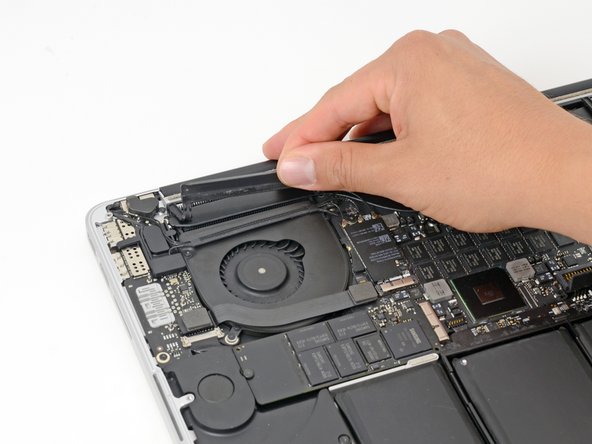
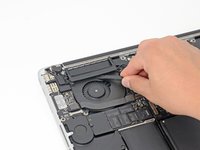
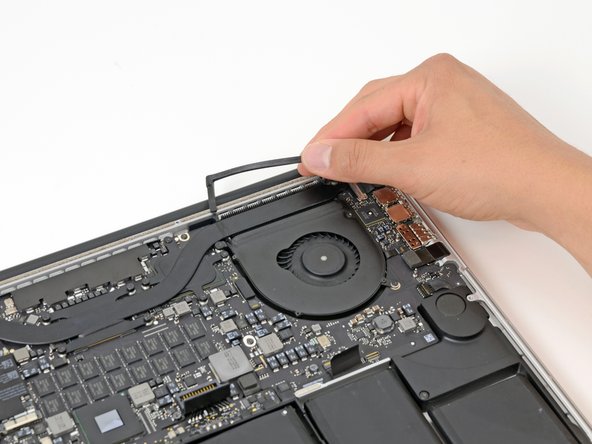
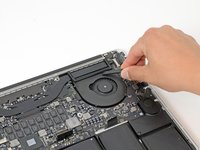
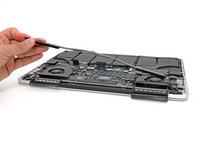
Inserisci l'estremità piatta di uno spudger sotto la copertura in gomma del dissipatore di calore sulla ventola destra.
-
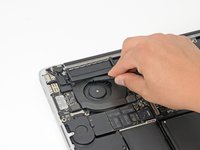
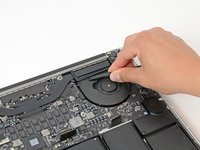
Fai scorrere lo spudger sotto tutta la lunghezza della copertura, staccando l'adesivo.
-
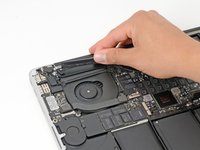
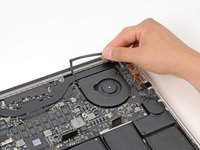
Solleva la copertura e ruotala via dal dissipatore di calore.
-


Per riassemblare il dispositivo, segui le istruzioni nell'ordine inverso.
Annulla: non ho completato questa guida.
Altre 24 persone hanno completato questa guida.
Un ringraziamento speciale a questi traduttori:
100%

Acn0w ci sta aiutando ad aggiustare il mondo! Vuoi partecipare?
Inizia a tradurre ›

6Commenti sulla guida
Half of photos are with mac that has only integrated graphics, half with one that has discrete GPU. This frustrates.
Because of fact that this is about heatsink, it's kinda important to point the difference out.
He could at least just add a note on the heatsink screw photo.
do one with the discrete gpu and integrated graphics please
For the discrete GPU, there are 4 screws surrounding a square copper plate, just unscrew those 4 and follow the steps above. It’s very similar to the integrated graphics board, but with 4 extra screws.