Cosa ti serve
-
Questo passaggio è privo di traduzione. Aiuta a tradurlo
-
What you should do first is have the DVD Player plugged in and eject the tray to the open position.
-
Then gently pry off the silver face of the tray.
-
-
Questo passaggio è privo di traduzione. Aiuta a tradurlo
-
Unscrew the two screws on either side of the unit.
-
Next, Unscrew the three screws on the back of the Unit circled in black.
-
Then, Detach the outer casing by sliding it off pulling back.
-
-
Questo passaggio è privo di traduzione. Aiuta a tradurlo
-
Detach the power cable that connects to the power Supply Board.
-
Then Remove the Ribbon Cable Connector from the power supply (labeled in Black)
-
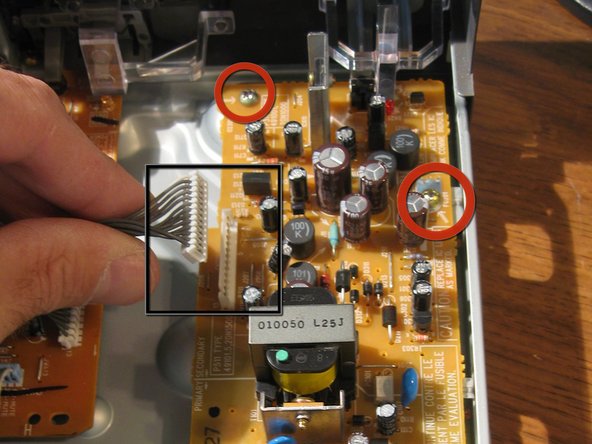
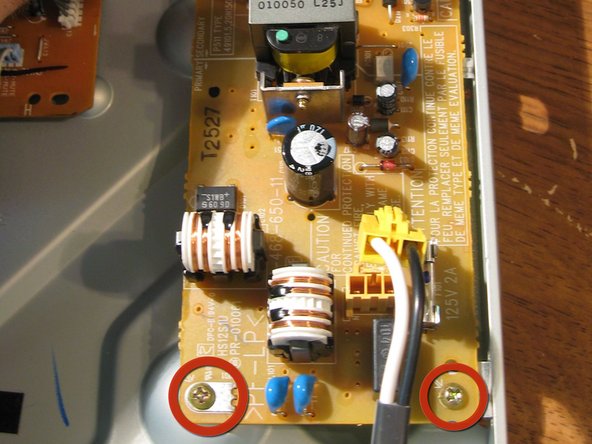
Then remove the Four Screws (labeled in Red) holding the power supply to the Bottom of the unit.
-
Remove power Supply Board
-
-
-
Questo passaggio è privo di traduzione. Aiuta a tradurlo
-
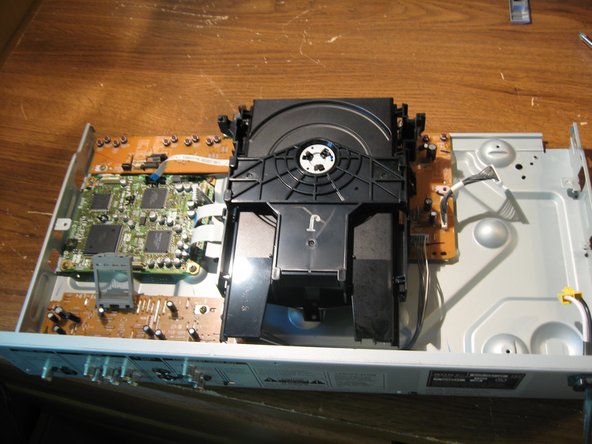
Remove the single screw on the right side of the LCD Board. (labeled in Yellow, We will remove the rest later in the teardown.
-
There are three screws holding the Tray down to the bottom of the unit- Remove them
-
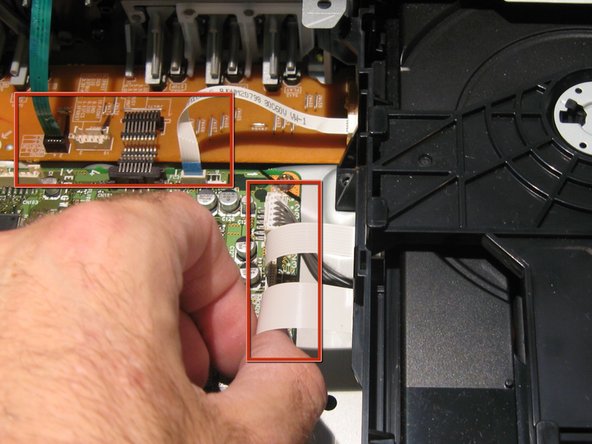
Gently remove all connectors (6) in the image highlighted with red boxes
-
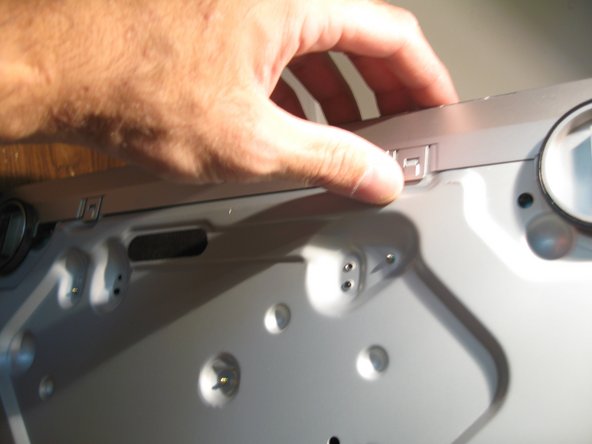
Turn the unit over. release the two clips on the underside and then the two on either side of the unit in order to Remove the Front Face.
-
-
Questo passaggio è privo di traduzione. Aiuta a tradurlo
-
Unscrew the two screws on either side of the cd tray Retaining mount.
-
Remove Cd Tray.
-
-
Questo passaggio è privo di traduzione. Aiuta a tradurlo
-
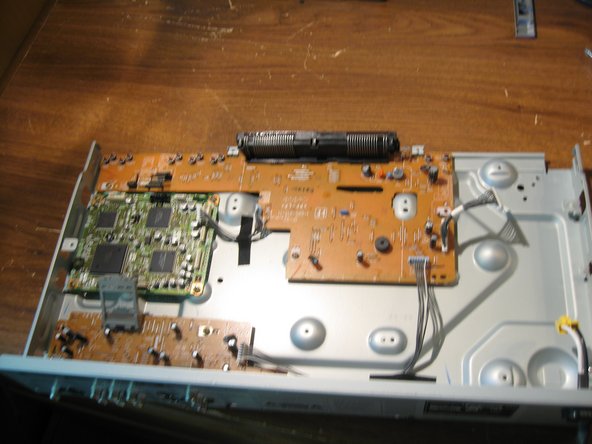
Unattach the two connectors (labeled in Black) From the I/O Board.
-
The one on the left prys open and has a little spring action. The one othe right is simply a power connector.
-
-
Questo passaggio è privo di traduzione. Aiuta a tradurlo
-
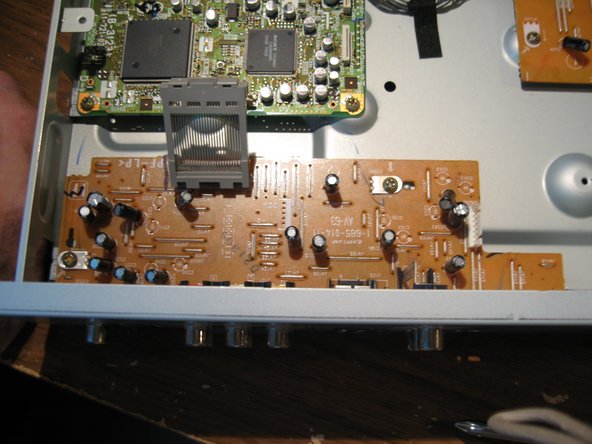
In order to remove the I/O Board you are going to go to the back of the unit and remove the six (labeled in red) Screws.
-
Now remove the Input/Output Board being careful with the connectors and the switch on the lower right
-
-
Questo passaggio è privo di traduzione. Aiuta a tradurlo
-
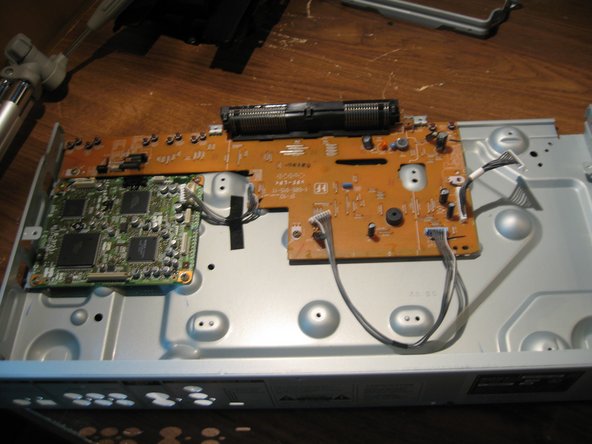
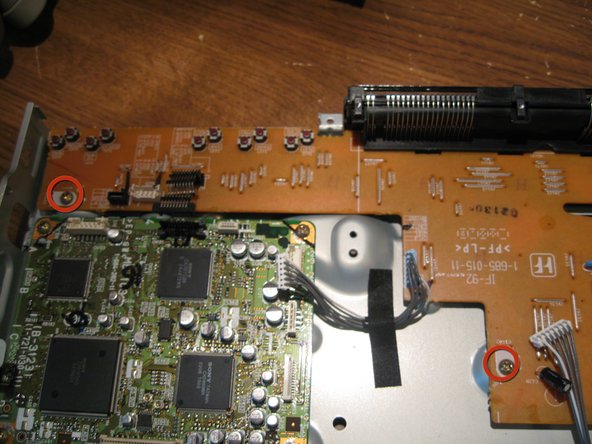
This is the Processing Board. It is directly connected to the I/O Board and to the Front panel/LCD board. I looked up a couple of the IC's and found that the one on the top right is a MPEG-Chip. Then the Small top left IC is a 32bit microcontroller. Couldn't find any more without having to hunt down Datasheets.
-
Unscrew the four screws (Circled in red) in order to remove the Processing board.
-
Then the remaining two from the Front Pane/ LCD Board.
-
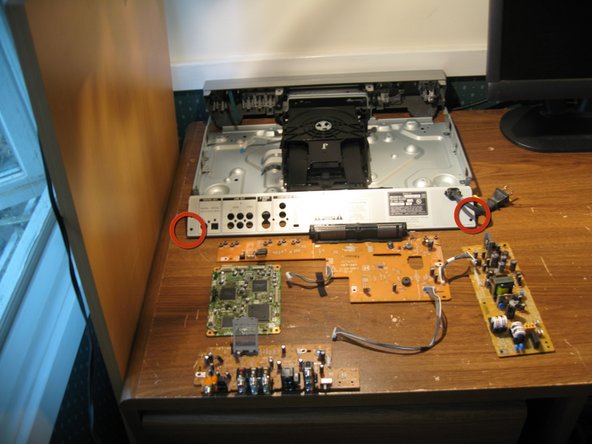
The Rear panel can be removed if needed i have circled in this last picture as to where they were located.
-
Besides the case and cd/ tray at the top of the last picture there is the LCD board , the Processing Board, The I/O Board and the Power supply (in Counterclockwise)And that is a completely dis-assembled Sony DVD Player.
-