Salta al contenuto principale

Sony CPF-IP001 Main Speakers Replacement

Cosa ti serve

  1. Sony CPF-IP001 Main Speakers Replacement, Main Speaker Housing Disassembly: passo 1, immagine 1 di 1
    • Remove two 6mm Phillips #0 screws.

    • Remove two 7.5 mm Phillips #0 screws.

    • Remove seven 4 mm Phillips #0 screws.

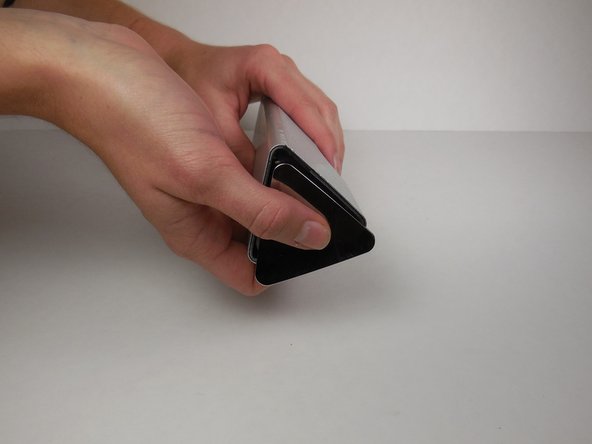
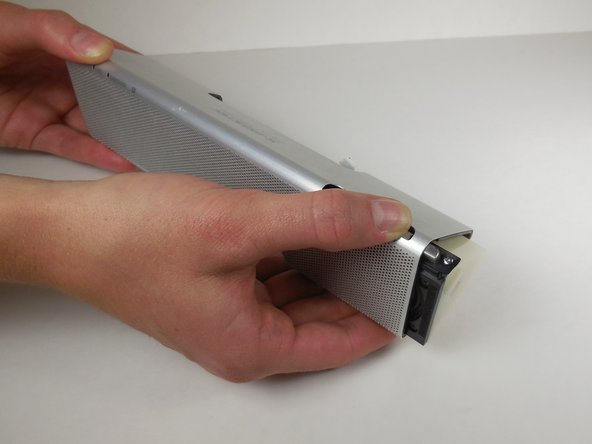
  2. Sony CPF-IP001 Main Speakers Replacement: passo 2, immagine 1 di 3 Sony CPF-IP001 Main Speakers Replacement: passo 2, immagine 2 di 3 Sony CPF-IP001 Main Speakers Replacement: passo 2, immagine 3 di 3
    • Remove six 4 mm Phillips #0 screws from the metal backing.

    • Remove six 5 mm Phillips #0 screws from the metal backing.

    • Using the plastic opening tool, remove the metal plate from the main speaker by gently pulling on it.

  3. Sony CPF-IP001 Main Speakers Replacement: passo 3, immagine 1 di 2 Sony CPF-IP001 Main Speakers Replacement: passo 3, immagine 2 di 2
    • Remove the plastic dock cover by using two fingers to push the attached metal piece forward and slide it out of the holes.

  4. Sony CPF-IP001 Main Speakers Replacement: passo 4, immagine 1 di 3 Sony CPF-IP001 Main Speakers Replacement: passo 4, immagine 2 di 3 Sony CPF-IP001 Main Speakers Replacement: passo 4, immagine 3 di 3
    • Using the plastic opening tool, detach the wires connected to the metal plate

    • When disconnecting the wires, be careful not to pull on the wires themselves. Use the plastic opening tool and the connector to disconnect it.

    • Use the plastic opening tool to remove wires connected to the circuit board on the far right.

    • Use the tweezers to remove wires connected to the circuit board in between the two black wires.

    • Use the tweezers to press the release tab on the front and back of the plastic white wire head.

    • Once the tab is pressed on both sides, lift up to slide wire head out of socket.

  5. Sony CPF-IP001 Main Speakers Replacement: passo 5, immagine 1 di 1
    • Remove two 5 mm Phillips #0 screws.

  6. Sony CPF-IP001 Main Speakers Replacement: passo 6, immagine 1 di 3 Sony CPF-IP001 Main Speakers Replacement: passo 6, immagine 2 di 3 Sony CPF-IP001 Main Speakers Replacement: passo 6, immagine 3 di 3
    • Using the metal spudger, loosen the metal cap at the end of the speaker.

    • Slide down the loosened cap to remove it from the end of the speaker.

    • Simultaneously push down on the buttons and slide the speaker out from the casing.

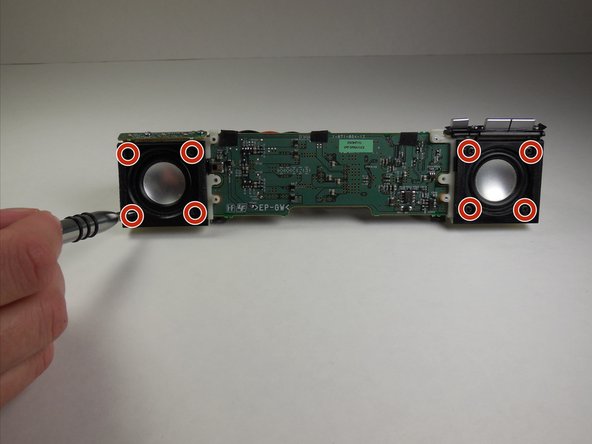
  7. Sony CPF-IP001 Main Speakers Replacement, Main Speakers: passo 7, immagine 1 di 2 Sony CPF-IP001 Main Speakers Replacement, Main Speakers: passo 7, immagine 2 di 2
    • Remove eight 5 mm Phillips #0 screws.

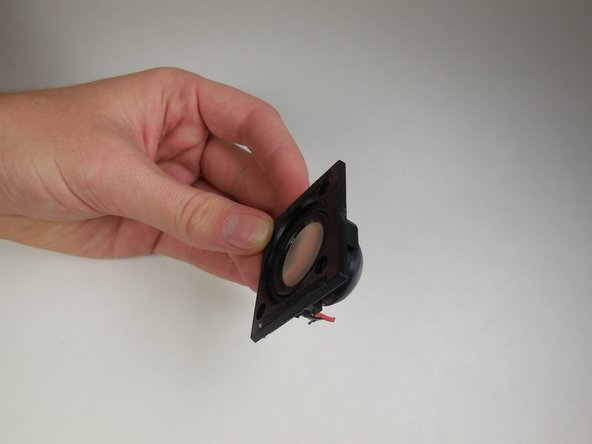
  8. Sony CPF-IP001 Main Speakers Replacement: passo 8, immagine 1 di 2 Sony CPF-IP001 Main Speakers Replacement: passo 8, immagine 2 di 2
    • Gently pry the speaker out from the housing using the metal spudger.

    • Use wire cutters to cut the red and black wires, or desolder the speaker wires to remove the speaker. See iFixit's guide on How To Solder and Desolder Connections.

Conclusione

To reassemble your device, follow these instructions in reverse order.

Altre 4 persone hanno completato questa guida.

Team

Cal Poly, Team 6-14, Maness Spring 2015 Membro di Cal Poly, Team 6-14, Maness Spring 2015

CPSU-MANESS-S15S6G14

4 Membri

8 Guide realizzate

Un commento

Hi! Does anybody happen to know the model of the speakers? (Or a compatible replacement). I want to give this guide a try and replace my speakers. Thanks!

alecambo - Replica

Aggiungi Commento

Visualizza Statistiche:

Ultime 24 Ore: 0

Ultimi 7 Giorni: 0

Ultimi 30 Giorni: 7

Tutti i Tempi: 528