Questa versione può contenere modifiche errate. Passa all'ultima istantanea verificata.
Cosa ti serve
-
Questo passaggio è privo di traduzione. Aiuta a tradurlo
-
Use the plastic opening tool to remove the four rubber pads from the bottom of the device.
-
-
Questo passaggio è privo di traduzione. Aiuta a tradurlo
-
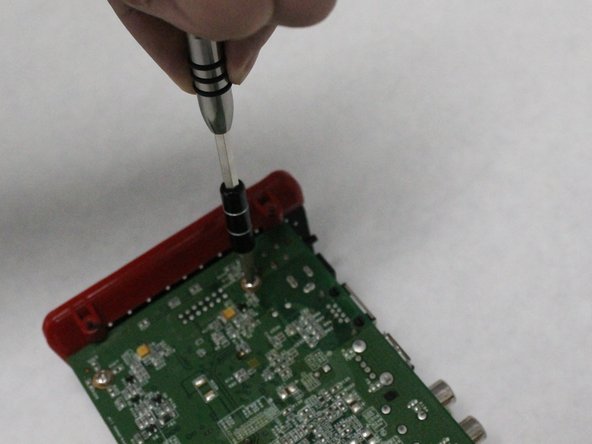
Remove the four black 5mm screws using the PH1 screwdriver.
-
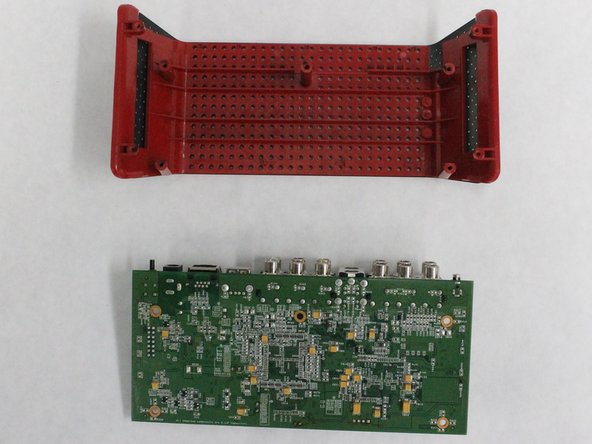
Gently pull and separate the two case covers.
-
-
-
Questo passaggio è privo di traduzione. Aiuta a tradurlo
-
Remove the five silver screws on the motherboard using the PH1 screwdriver.
-
Gently slide and separate the motherboard from the base.
-
-
Questo passaggio è privo di traduzione. Aiuta a tradurlo
-
Desolder all three lead prongs.
-
Gently pull the DC power connector from the motherboard.
-


Team

IUPUI, Team 2-2, Harley SU 2016 Membro di IUPUI, Team 2-2, Harley SU 2016
IUPUI-HARLEY-SU16S2G2
5 Membri
2 Guide realizzate