Salta al contenuto principale

Set-Top Box Numb Button Replacement

Cosa ti serve

  1. Set-Top Box Numb Button Replacement, Numb Button: passo 1, immagine 1 di 3 Set-Top Box Numb Button Replacement, Numb Button: passo 1, immagine 2 di 3 Set-Top Box Numb Button Replacement, Numb Button: passo 1, immagine 3 di 3
    • Make sure the box is not plugged in before starting!

    • Remove the 5 screws holding the outer casing in place: 3 can be found on the back and 1 on either side of the box.

    • Slide the casing backwards.

  2. Set-Top Box Numb Button Replacement: passo 2, immagine 1 di 3 Set-Top Box Numb Button Replacement: passo 2, immagine 2 di 3 Set-Top Box Numb Button Replacement: passo 2, immagine 3 di 3
    • Disconnect the front of the by lifting the 2 connectors . You can also apply extra pressure on the front from below.

    • Tilt the front forward and remove it.

    • Remove the connector by pressing the upper part of it and carefully pulling it.

    • Be carefull not to damage the cables and circuit board!

  3. Set-Top Box Numb Button Replacement: passo 3, immagine 1 di 3 Set-Top Box Numb Button Replacement: passo 3, immagine 2 di 3 Set-Top Box Numb Button Replacement: passo 3, immagine 3 di 3
    • Undo the 4 screws of the front panel.

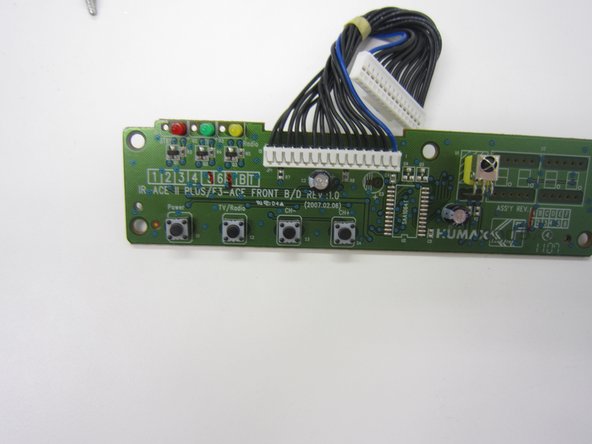
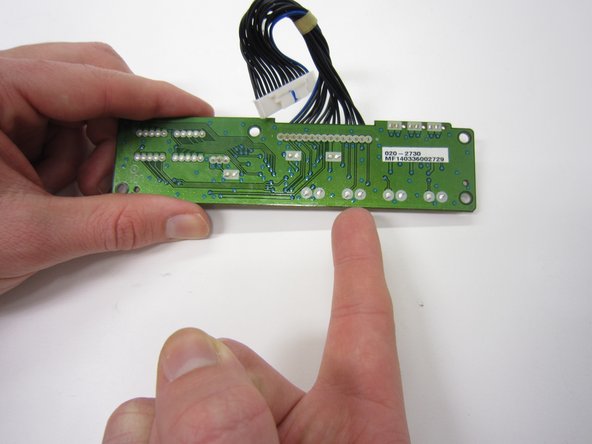
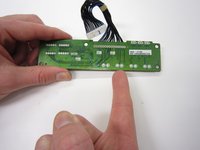
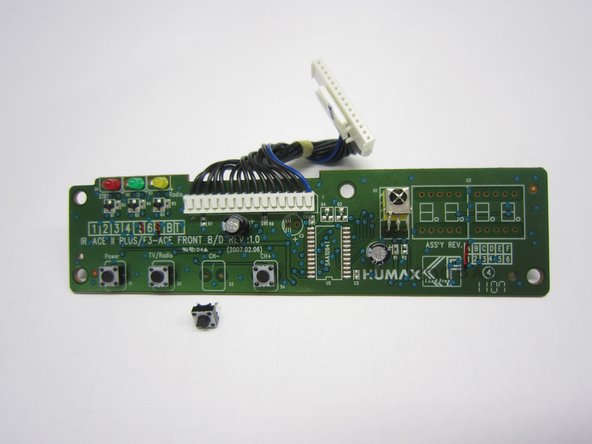
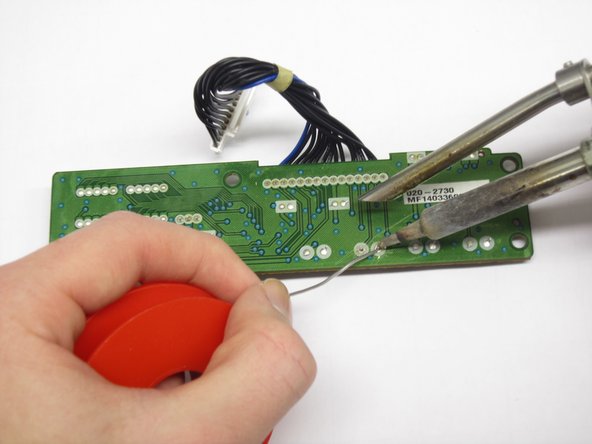
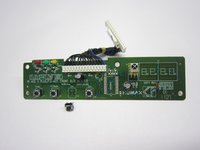
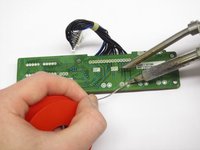
    • Locate your broken button. For instance, the third button from the left (front view), is the CH- button.

  4. Set-Top Box Numb Button Replacement: passo 4, immagine 1 di 3 Set-Top Box Numb Button Replacement: passo 4, immagine 2 di 3 Set-Top Box Numb Button Replacement: passo 4, immagine 3 di 3
Conclusione

To reassemble your device, follow these instructions in reverse order.

0 Commenti

Aggiungi Commento

Visualizza Statistiche:

Ultime 24 Ore: 0

Ultimi 7 Giorni: 1

Ultimi 30 Giorni: 11

Tutti i Tempi: 417