Salta al contenuto principale

Samsung Galaxy Y Charging port and headphone jack Replacement

Cosa ti serve

  1. Samsung Galaxy Y Charging port and headphone jack Replacement, Back Panel: passo 1, immagine 1 di 3 Samsung Galaxy Y Charging port and headphone jack Replacement, Back Panel: passo 1, immagine 2 di 3 Samsung Galaxy Y Charging port and headphone jack Replacement, Back Panel: passo 1, immagine 3 di 3
    • Use the blue plastic opening tool to pry the back-panel off of the device.

  2. Samsung Galaxy Y Charging port and headphone jack Replacement, Charging port and headphone jack: passo 2, immagine 1 di 3 Samsung Galaxy Y Charging port and headphone jack Replacement, Charging port and headphone jack: passo 2, immagine 2 di 3 Samsung Galaxy Y Charging port and headphone jack Replacement, Charging port and headphone jack: passo 2, immagine 3 di 3
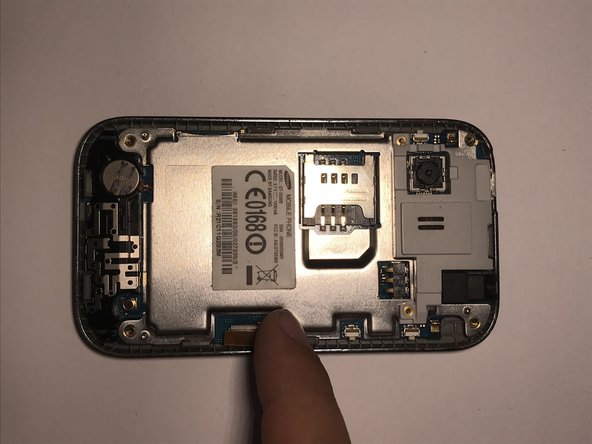
    • Use the screwdriver with a PH000 screwdriver head to remove the four 5mm screws located in the corner of the interior back panel.

    • Remove the SD card as well by sliding the card out of it's slot.

  3. Samsung Galaxy Y Charging port and headphone jack Replacement: passo 3, immagine 1 di 3 Samsung Galaxy Y Charging port and headphone jack Replacement: passo 3, immagine 2 di 3 Samsung Galaxy Y Charging port and headphone jack Replacement: passo 3, immagine 3 di 3
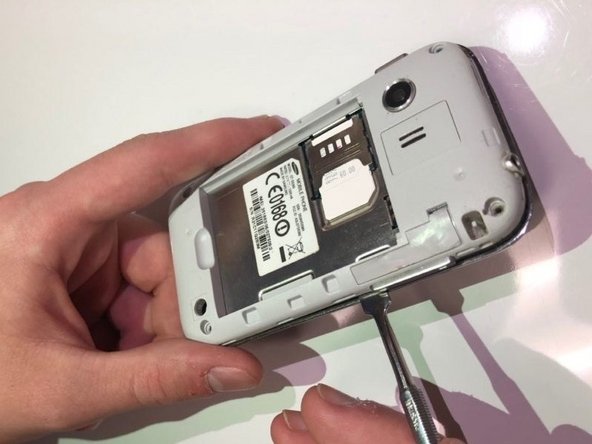
    • Use metal pry tool to separate the interior back panel from the interior hardware and screen.

  4. Samsung Galaxy Y Charging port and headphone jack Replacement: passo 4, immagine 1 di 3 Samsung Galaxy Y Charging port and headphone jack Replacement: passo 4, immagine 2 di 3 Samsung Galaxy Y Charging port and headphone jack Replacement: passo 4, immagine 3 di 3
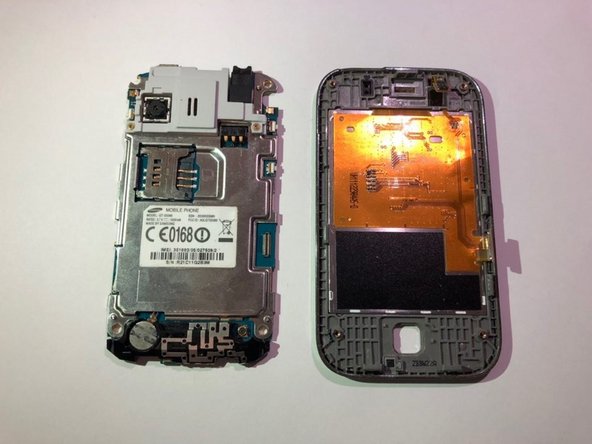
    • Disconnect the orange motherboard connection, then remove interior hardware from the front screen display.

  5. Samsung Galaxy Y Charging port and headphone jack Replacement: passo 5, immagine 1 di 3 Samsung Galaxy Y Charging port and headphone jack Replacement: passo 5, immagine 2 di 3 Samsung Galaxy Y Charging port and headphone jack Replacement: passo 5, immagine 3 di 3
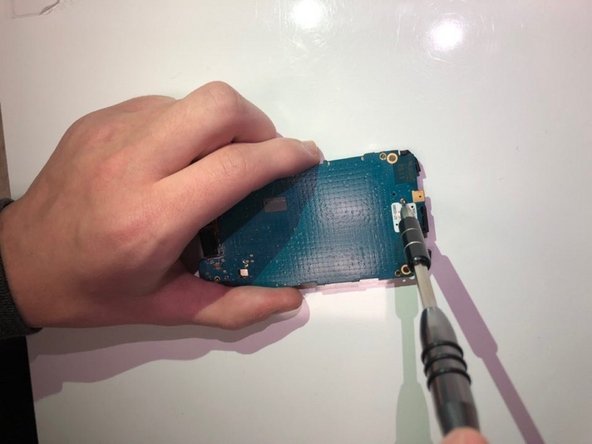
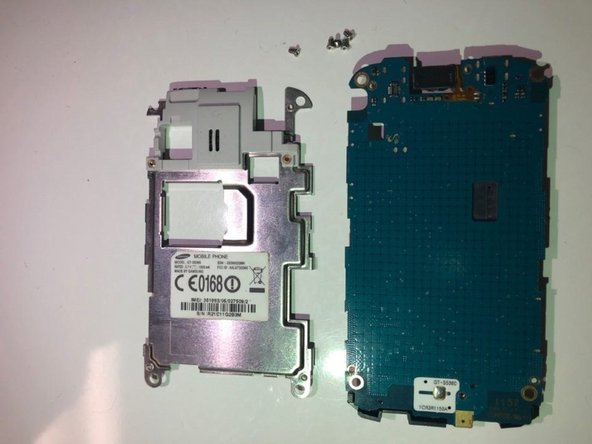
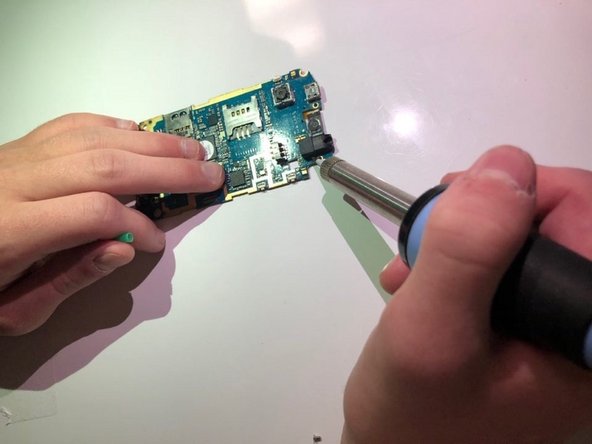
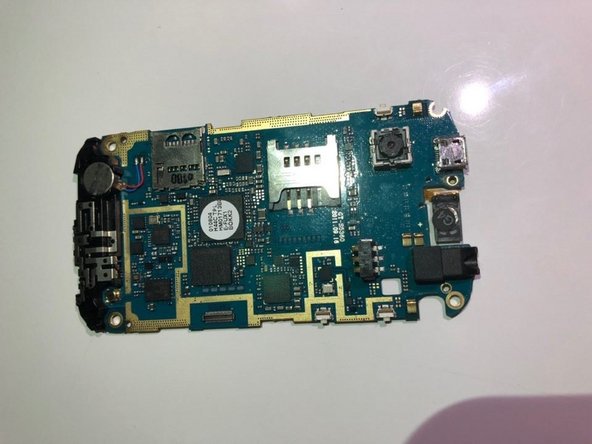
    • Use a Phillips #000 screwdriver to remove the five 2mm screws located in the corner of the silver protective panel.

    • If the motherboard is cracked or damaged, then replace with a new one.

  6. Samsung Galaxy Y Charging port and headphone jack Replacement: passo 6, immagine 1 di 3 Samsung Galaxy Y Charging port and headphone jack Replacement: passo 6, immagine 2 di 3 Samsung Galaxy Y Charging port and headphone jack Replacement: passo 6, immagine 3 di 3
Conclusione

To reassemble your device, follow these instructions in reverse order.

Un'altra persona ha completato questa guida.

0 Commenti

Aggiungi Commento

Visualizza Statistiche:

Ultime 24 Ore: 1

Ultimi 7 Giorni: 3

Ultimi 30 Giorni: 5

Tutti i Tempi: 612