Salta al contenuto principale

Questa guida ha delle modifiche più recenti. Passa all'ultima versione non verificata.

Samsung Galaxy S7 Active Screen Replacement

Cosa ti serve

  1. Samsung Galaxy S7 Active Screen Replacement, Samsung Galaxy S7 Active Disassembly: passo 1, immagine 1 di 1
    • Melt the adhesive on the screen by applying a blow dryer directly on the screen.

    • Your phone is hot, please do not touch it with your bare hand.

  2. Samsung Galaxy S7 Active Screen Replacement: passo 2, immagine 1 di 1
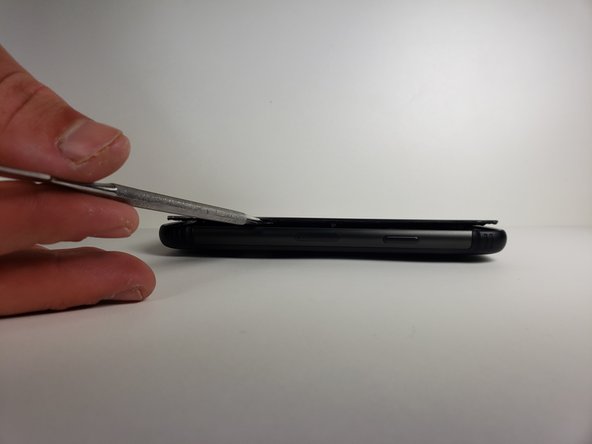
    • Wedge the metal spudger in between the screen and the frame to begin separating them.

    • It would be easier to separate the screen from the sealing adhesive on the frame if you with more than one metal spudger.

    • Your phone might no longer be watertight after you reassemble it.

  3. Samsung Galaxy S7 Active Screen Replacement: passo 3, immagine 1 di 2 Samsung Galaxy S7 Active Screen Replacement: passo 3, immagine 2 di 2
    • Slide the metal spudger around the phone at least once.

    • It would be easier to slide your metal spudger if you apply the blow dryer to where you are currently sliding.

  4. Samsung Galaxy S7 Active Screen Replacement: passo 4, immagine 1 di 1
    • Lift the screen up with your hands.

    • Please wash your hands thoroughly with hot water and soap after you finish.

  5. Samsung Galaxy S7 Active Screen Replacement, Screen: passo 5, immagine 1 di 3 Samsung Galaxy S7 Active Screen Replacement, Screen: passo 5, immagine 2 di 3 Samsung Galaxy S7 Active Screen Replacement, Screen: passo 5, immagine 3 di 3
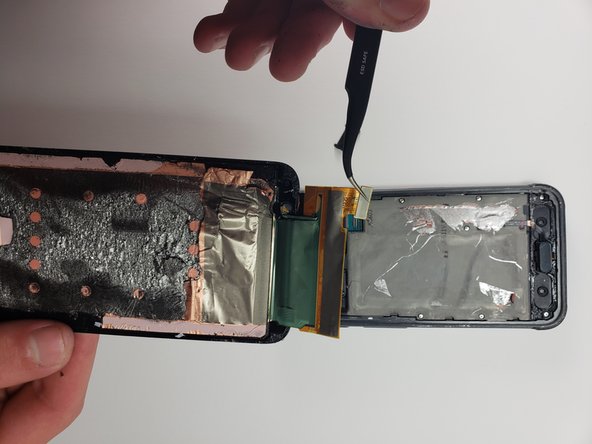
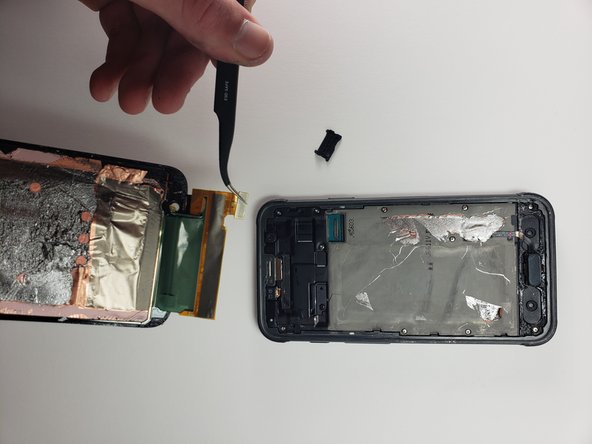
    • Use the tweezers to disconnect the screen from the phone by detaching the connection.

  6. Samsung Galaxy S7 Active Screen Replacement: passo 6, immagine 1 di 3 Samsung Galaxy S7 Active Screen Replacement: passo 6, immagine 2 di 3 Samsung Galaxy S7 Active Screen Replacement: passo 6, immagine 3 di 3
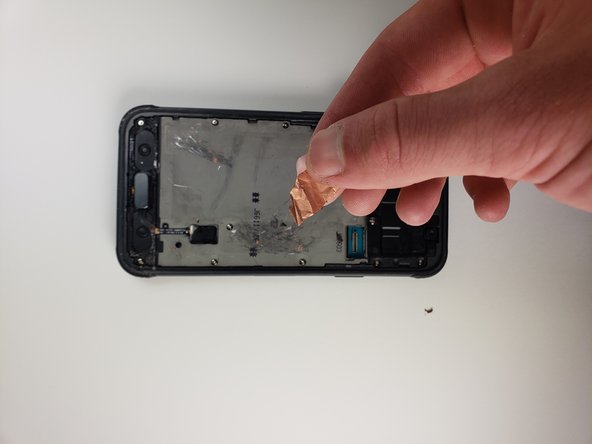
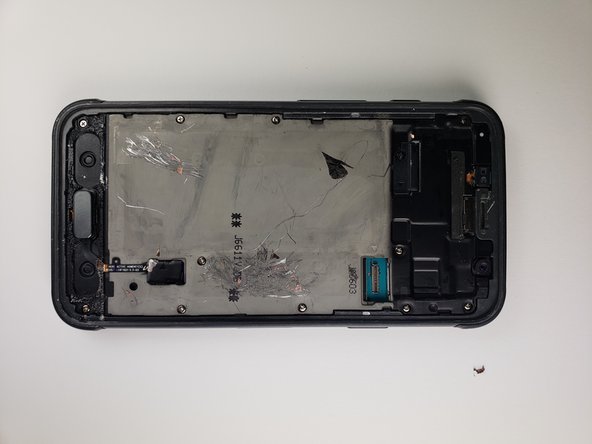
    • Clean the rest of the adhesive left on the phone by scraping it off with a metal tool.

    • Apply rubbing alcohol on the adhesive to make sure phone is free of any adhesive. Do this by applying some rubbing alcohol onto a napkin.

    • Lightly proceed to clean the phone with that napkin.

Conclusione

To reassemble your device, follow these instructions in reverse order.

Altre 3 persone hanno completato questa guida.

Erick Vazquez

Membro da: 04/18/18

180 Reputazione

1 Guida realizzata

Team

Cal Poly, Team S18-G1, Livingston Spring 2018 Membro di Cal Poly, Team S18-G1, Livingston Spring 2018

CPSU-LIVINGSTON-S18S18G1

4 Membri

15 Guide realizzate

3 Commenti

Do you know where i can find a replacement screen assembly, cant find one anywhere

Sam Ellis - Replica

I bought a digitizer with fog and polarizer and a new front glass, it came with the loca. What else do I need to make the complete LCD screen assembly?

Michael Shep - Replica

The instructions are excessively brief. The photos are insufficient to convey the details of this operation. Attempted and damaged my phone.

RAC - Replica

Aggiungi Commento

Visualizza Statistiche:

Ultime 24 Ore: 0

Ultimi 7 Giorni: 0

Ultimi 30 Giorni: 16

Tutti i Tempi: 9,049