Cosa ti serve
-
-
Using a heat gun, heat the back of the device to loosen the adhesive securing the back cover.
-
Use a suction cup to lift the abck cover from the frame and insert a pick or plastic tool in between to pry the cover loose.
-
Work around the whole back cover to separate the back cover and frame.
-
If the adhesive is hard to remove, heat the area up again to loosen it.
-
The back cover is glass, so care is needed that it doesn't break.
-
-
-
-
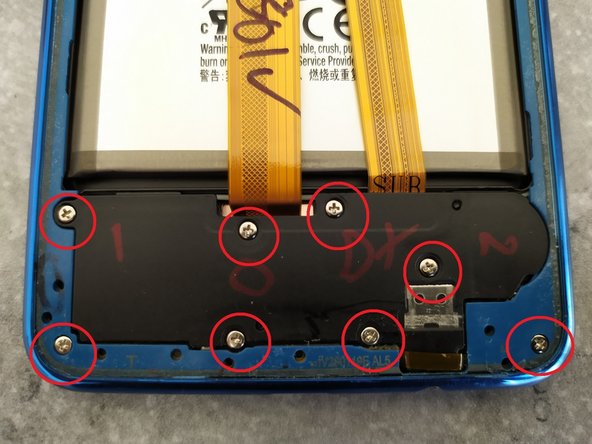
Remove the 7 screws on the upper half of the frame.
-
Remove the 8 screws on the lower half of the frame.
-
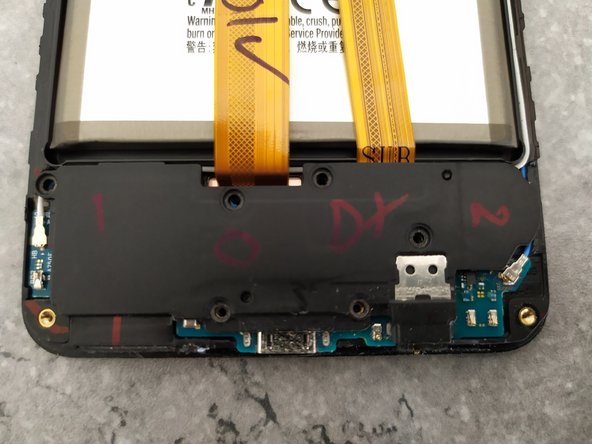
The frame can now be removed by pushing it away from the screen. It is held in place by little clips.
-
If the screen does not come lose, insert a plastic pick or spudger to release the frame.
-
-
-
Disconnect the battery.
-
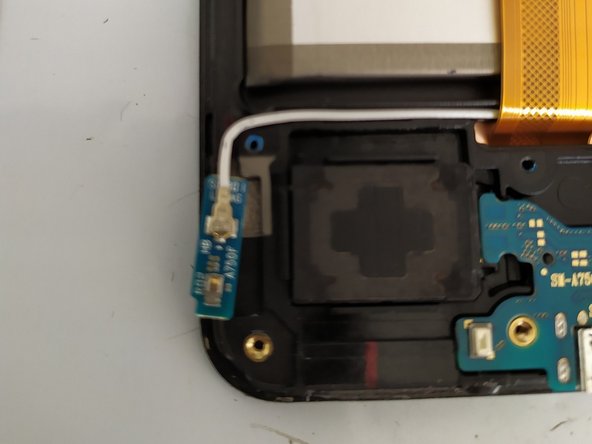
Remove the black plastic cover from the daughter board
-
On the left side of the daughter board is another small board. This can either be pried loose and removed or the cable can be disconnected.
-
-
-
Disconnect the 2 cables; the left is for the Display the right connects the mainboard and daughter board.
-
Remove the mainboard screw.
-
The camera can remain connected to the mainboard as it can be removed as one piece.
-
Remove the right cable from the daughter board below.
-
-
-
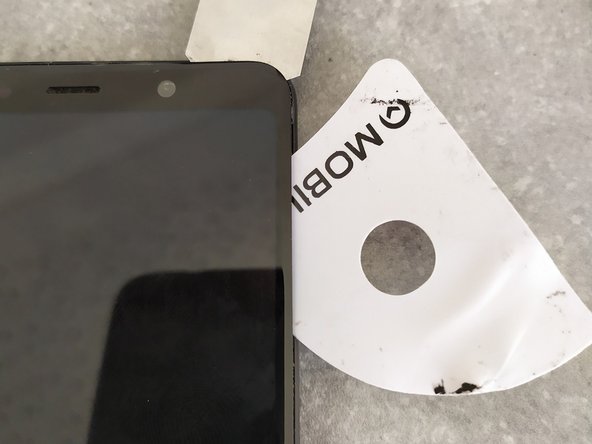
Use a heat gun to heat up the front of the display.
-
Insert a thin tooll between the glass and the frame to create a small gap.
-
Insert a plastic tool and work around the edge of the glass to separate the display from the frame.
-
The LCD is also glued, so it is difficult to remove the glass without breaking the LCD. For this guide, replacement of the glass and LCD was conducted.
-
Once the screen has been removed, remove any excess adhesive from the frame.
-
Insert the display cable through the hole. Connect it to the mainboard and test it before glueing it to the frame.
-
To reassemble, complete the same steps in reverse.
-


To reassemble your device, follow these instructions in reverse order.
To reassemble your device, follow these instructions in reverse order.
Annulla: non ho completato questa guida.
Altre 4 persone hanno completato questa guida.
Un commento
Your comment is too short. Please write something over 12 characters. It is currently 9 characters.