Salta al contenuto principale

Samsubg Galaxy Tab A 10.1 S-Pen Home Button Replacement

Cosa ti serve

  1. Samsubg Galaxy Tab A 10.1 S-Pen Home Button Replacement, Battery: passo 1, immagine 1 di 2 Samsubg Galaxy Tab A 10.1 S-Pen Home Button Replacement, Battery: passo 1, immagine 2 di 2
    • Remove all external power and turn off the tablet.

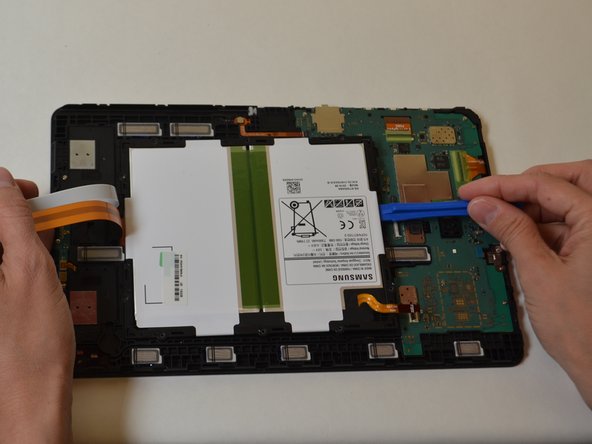
    • Insert a plastic opening tool between the screen and rear casing.

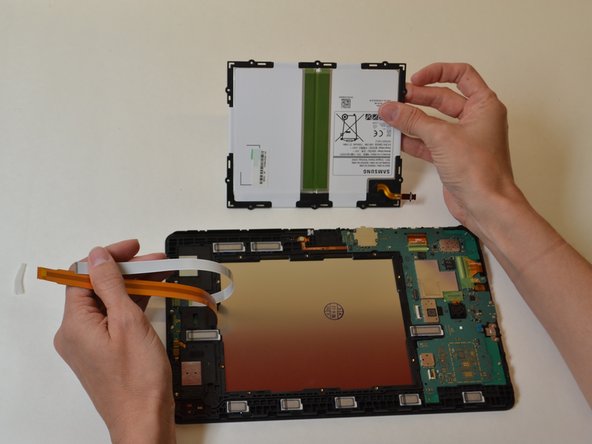
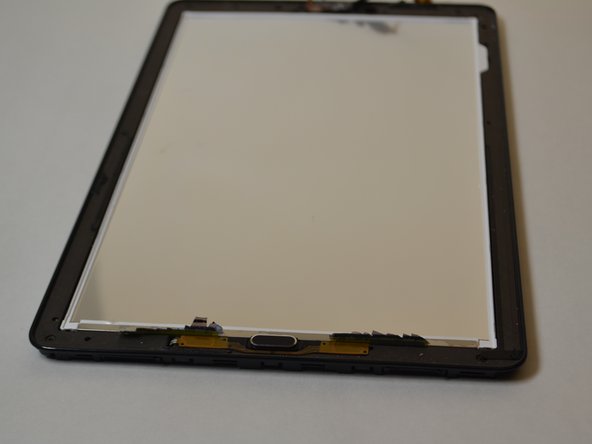
    • Pry the screen and rear casing apart.

  2. Samsubg Galaxy Tab A 10.1 S-Pen Home Button Replacement: passo 2, immagine 1 di 3 Samsubg Galaxy Tab A 10.1 S-Pen Home Button Replacement: passo 2, immagine 2 di 3 Samsubg Galaxy Tab A 10.1 S-Pen Home Button Replacement: passo 2, immagine 3 di 3
    • Remove the three green pieces of tape covering the white, black, and gold ribbon cables.

    • Use a spudger to flip up the retaining flap on the three ribbon cable ZIF sockets.

    • Pull the ribbon cables out of the sockets.

  3. Samsubg Galaxy Tab A 10.1 S-Pen Home Button Replacement: passo 3, immagine 1 di 3 Samsubg Galaxy Tab A 10.1 S-Pen Home Button Replacement: passo 3, immagine 2 di 3 Samsubg Galaxy Tab A 10.1 S-Pen Home Button Replacement: passo 3, immagine 3 di 3
    • Remove the ten 4mm Phillips #000 screws from the battery.

    • Use a plastic opening tool to pry up the battery.

    • Remove the battery.

  4. Samsubg Galaxy Tab A 10.1 S-Pen Home Button Replacement, Home Button: passo 4, immagine 1 di 2 Samsubg Galaxy Tab A 10.1 S-Pen Home Button Replacement, Home Button: passo 4, immagine 2 di 2
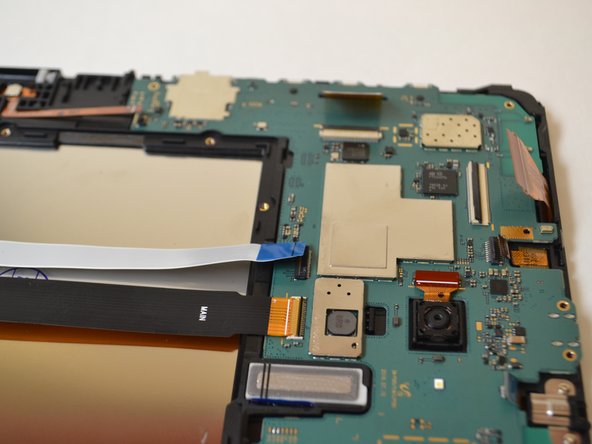
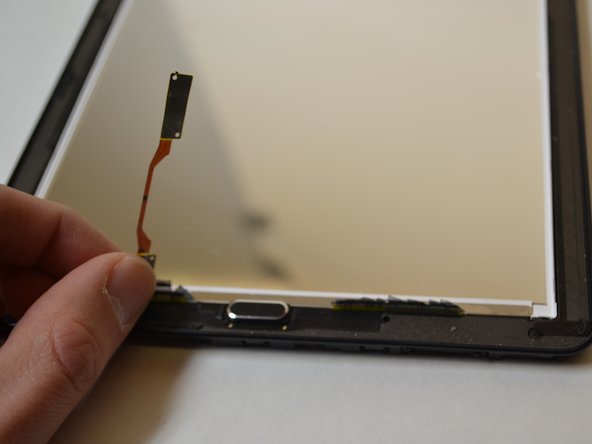
    • Remove the green protective tape from the three ZIF connectors on the motherboard.

    • Use a spudger to flip up the retaining flap on the three ribbon cable ZIF sockets.

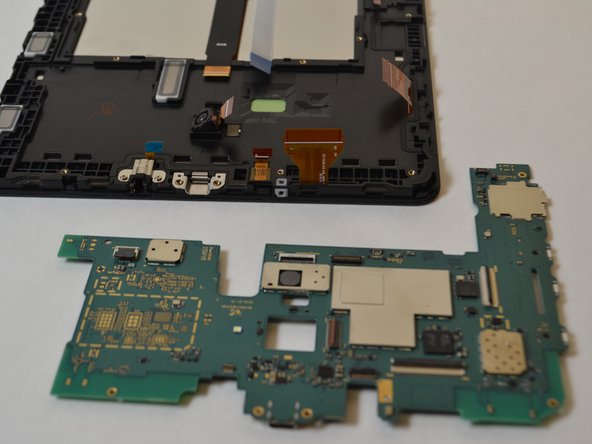
    • Pull the ribbon cables out of their sockets.

  5. Samsubg Galaxy Tab A 10.1 S-Pen Home Button Replacement: passo 5, immagine 1 di 2 Samsubg Galaxy Tab A 10.1 S-Pen Home Button Replacement: passo 5, immagine 2 di 2
    • Remove the six 4mm Phillips #000 screws from the motherboard.

    • Remove the motherboard.

  6. Samsubg Galaxy Tab A 10.1 S-Pen Home Button Replacement: passo 6, immagine 1 di 2 Samsubg Galaxy Tab A 10.1 S-Pen Home Button Replacement: passo 6, immagine 2 di 2
    • Insert a plastic opening tool between the screen and bezel.

    • Slide the plastic opening tool around the perimeter while applying a prying motion.

    • Remove the screen from the display.

    • Applying heat may be needed to loosed the glue.

  7. Samsubg Galaxy Tab A 10.1 S-Pen Home Button Replacement: passo 7, immagine 1 di 2 Samsubg Galaxy Tab A 10.1 S-Pen Home Button Replacement: passo 7, immagine 2 di 2
    • Locate the Home button on the front of the panel and carefully lift the gold ribbon surrounding it from RIGHT to LEFT.

  8. Samsubg Galaxy Tab A 10.1 S-Pen Home Button Replacement: passo 8, immagine 1 di 1
    • Using your Phillips #000 screwdriver Remove the two 4mm Phillips #000 screws from the home button.

  9. Samsubg Galaxy Tab A 10.1 S-Pen Home Button Replacement: passo 9, immagine 1 di 1
    • Remove the home button by sliding it to the left or right while pulling up.

Conclusione

To reassemble your device, follow these instructions in reverse order.

Un'altra persona ha completato questa guida.

Guneet Bawa

Membro da: 04/12/18

670 Reputazione

4 Guide realizzate

Team

UW Tacoma, Team S1-G5, Liner Spring 2018 Membro di UW Tacoma, Team S1-G5, Liner Spring 2018

UWT-LINER-S18S1G5

5 Membri

8 Guide realizzate

0 Commenti

Aggiungi Commento

Visualizza Statistiche:

Ultime 24 Ore: 0

Ultimi 7 Giorni: 2

Ultimi 30 Giorni: 11

Tutti i Tempi: 1,958