Introduzione
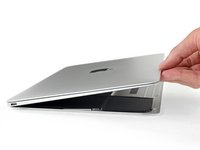
Use this guide to replace your Retina MacBook 2016's lower case assembly together with the battery as a single unit.
The battery is strongly glued into place and removing it from the lower case is beyond the scope of this guide, but it may be removed with a liquid solvent and gentle prying.
Cosa ti serve
-
Attrezzo utilizzato in questo passaggio:Magnetic Project Mat$16.96
-
Remove the following eight screws securing the lower case:
-
Two 1.8 mm P5 Pentalobe screws
-
Four 2.9 mm P5 Pentalobe screws
-
Two 6.1 mm P5 Pentalobe screws
-
-
-
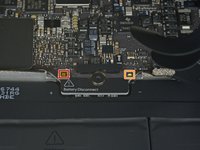
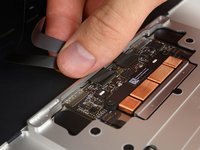
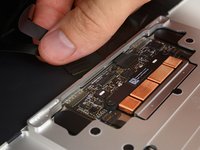
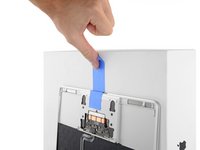
Use the flat end of a spudger to press and hold the small gold 'battery disconnect' button.
-
If the power LED is lit up, continue holding the button until the LED goes dark, and then release. This may take up to 10 seconds.
-
If the LED does not light, release the button after 5-10 seconds. Press and hold it again for 5-10 seconds, and release. Finally, press and hold it a third time for 5-10 seconds, and release.
-
-
-
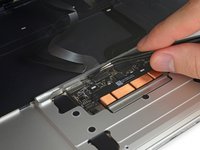
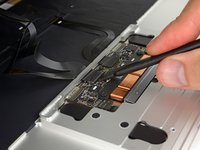
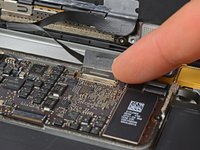
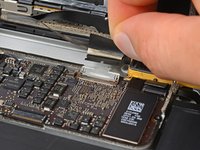
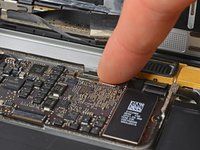
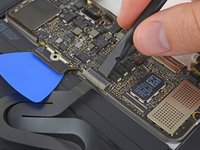
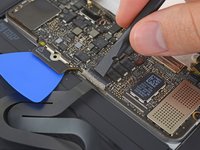
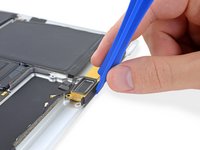
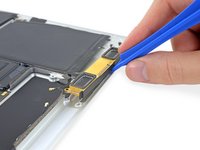
Use a spudger to carefully flip up the retaining flap on the trackpad cable ZIF connector.
-
-
-
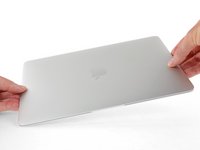
Carefully close the MacBook and flip it over once again, so that the Apple logo faces up.
-
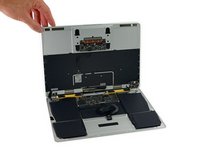
Lifting from the front edge, raise the upper case/display assembly to about a 90° angle, and prop it up against something sturdy so you don't have to hold it.
-
Add a piece of tape near the track pad to secure the upper case and prevent accidental movement.
-
-
Attrezzo utilizzato in questo passaggio:Battery Blocker$3.99
-
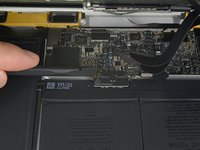
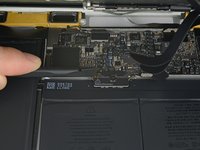
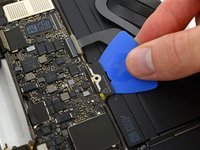
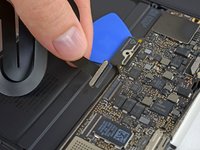
As an added precaution, you may physically disconnect the battery by inserting a battery isolation pick between the logic board and the battery connector.
-
-
-
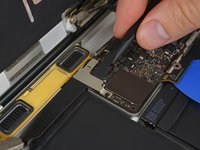
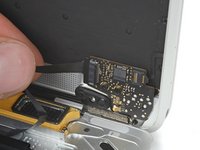
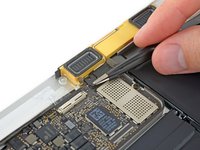
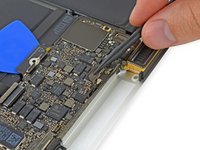
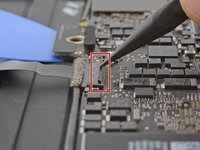
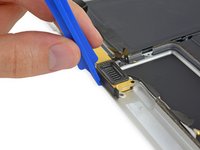
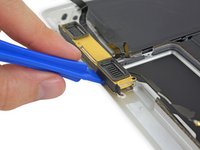
Remove the two screws securing the USB-C port cable bracket:
-
1.1 mm Phillips #00 screw
-
3.5 mm T5 Torx screw
-
-
-
Attrezzo utilizzato in questo passaggio:Tweezers$4.99
-
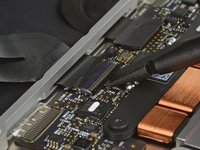
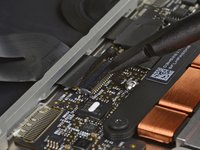
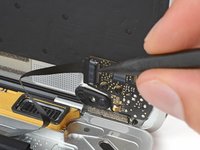
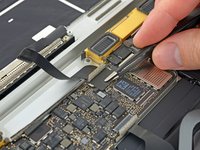
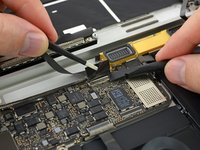
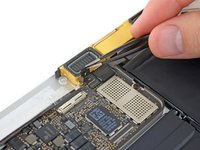
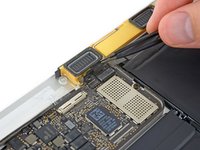
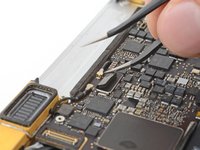
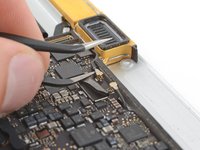
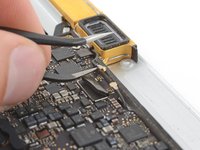
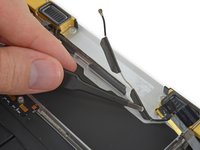
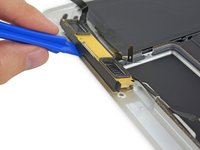
Use tweezers to peel back the tape covering the display cable connector.
-
-
Attrezzo utilizzato in questo passaggio:Tweezers$4.99
-
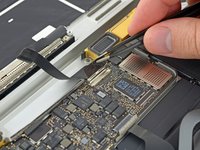
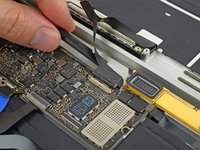
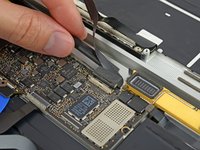
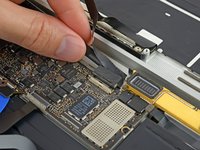
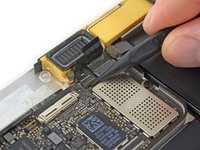
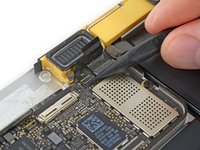
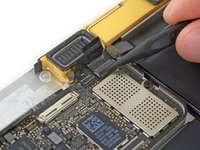
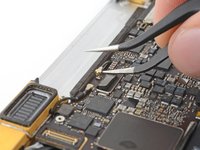
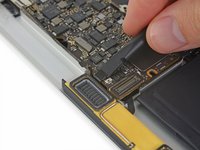
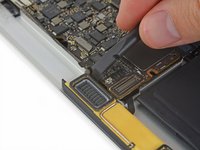
Use tweezers to peel up the tape covering the two ZIF connectors—one for the right speaker cable, and one for the audio jack board cable.
-
-
Attrezzo utilizzato in questo passaggio:Tweezers$4.99
-
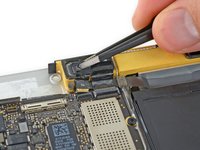
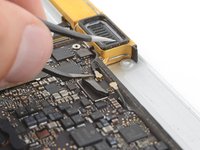
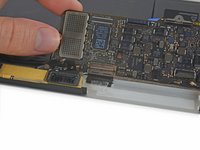
Using tweezers, remove the foam pad covering the screw on the left side of the right speaker.
-
-
-
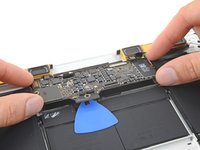
Prepare an iOpener and heat the lower case directly beneath the right speaker for 1-2 minutes, in order to soften up the adhesive securing the speaker.
-
-
Attrezzo utilizzato in questo passaggio:Tweezers$4.99
-
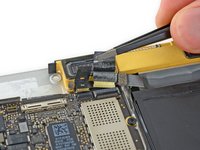
Using tweezers, remove the foam pad covering the screw on the right side of the left speaker.
-
-
-
Prepare an iOpener and heat the lower case directly beneath the left speaker, in order to soften up the adhesive securing the speaker.
-
-
-
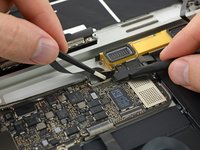
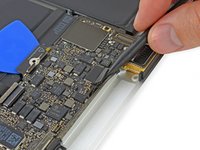
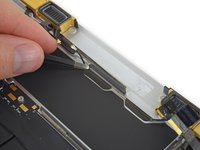
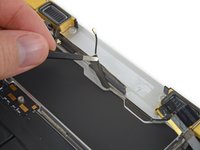
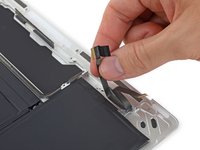
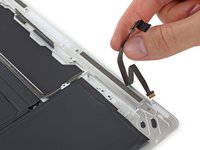
Carefully peel away the audio board ribbon cable from the adhesive securing it to the lower case.
-
Remove the audio board ribbon cable.
-


To reassemble your device, follow these instructions in reverse order.
Annulla: non ho completato questa guida.
Altre 5 persone hanno completato questa guida.

1Commento della guida
This guide was perfect! This is my first mac repair, after a couple of iPhone screens and battery replacement so it's definitely a step up in difficulty. The guide was very clear and easy to follow. Top notch! I went from a 1370 cycle battery to 300 in about 30-40min of repair and a 50 pounds bottom plate with battery!
Thanks Adam and thank you iFixit for providing all of this! I am slowly getting addicted to this repair thing :)