Introduzione
Make sure you look at the Samsung P241 Troubleshooting Guide first to see if you can solve your problem without taking the DVD player apart.
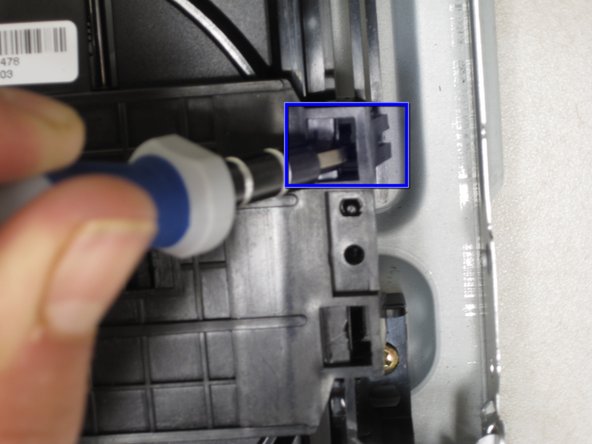
If the disc tray does not come out when you press the “Eject Disc” button, listen for the sound of the motor. If it sounds like a motor is trying to open the drive but something is preventing it, the disc drive is probably jammed and you can refer to this guide to open it up and remove the jam.
If the disc drive does not open when the machine is ON and it makes no noise whatsoever, then the electronics on motherboard or in the disc drive are probably damaged. In order to fix this problem, you will have to replace the disc drive and/or motherboard. Refer to the laser repair guide to remove the disc drive, and refer to the main board repair guide to replace the motherboard.
Cosa ti serve
-
-
With the back of the DVD player facing you, remove the three 1 cm black screws on the right, left, and top sides using a Phillips #1 screwdriver.
-
-
-
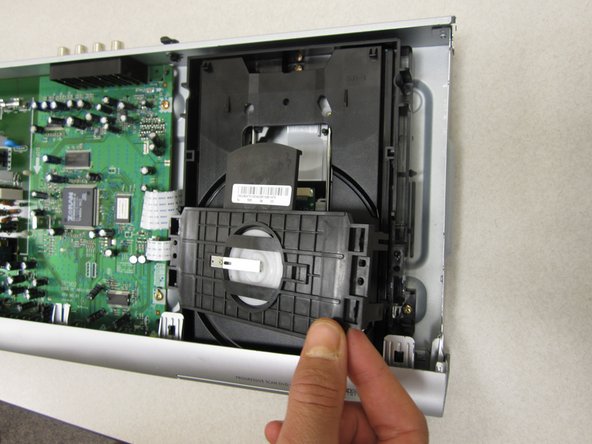
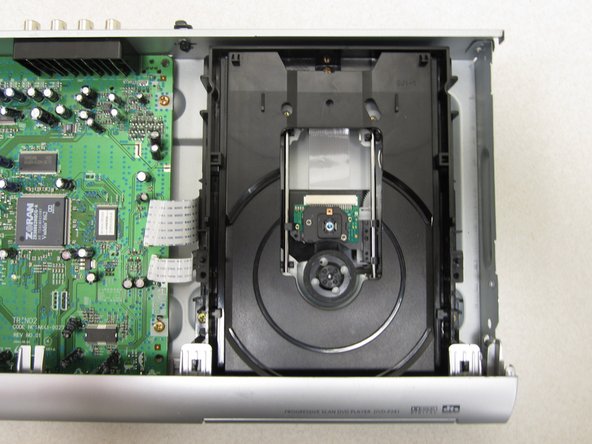
After the top cover has been removed, locate the disc drive on the right hand side of the DVD player.
-
-


To reassemble your device, follow these instructions in reverse order.
To reassemble your device, follow these instructions in reverse order.
Annulla: non ho completato questa guida.
Un'altra persona ha completato questa guida.

Team

Cal Poly, Team 14-7, Forte Winter 2011 Membro di Cal Poly, Team 14-7, Forte Winter 2011
CPSU-FORTE-W11S14G7
5 Membri
7 Guide realizzate