Questa versione può contenere modifiche errate. Passa all'ultima istantanea verificata.
Cosa ti serve
-
Questo passaggio è privo di traduzione. Aiuta a tradurlo
-
Remove the two 5mm screws from the bottom of the device using a Phillips #000 screwdriver.
-
-
-
Questo passaggio è privo di traduzione. Aiuta a tradurlo
-
Place the plastic opening tool between the case and the screen.
-
Slide the tool clockwise around the case until all the clips are removed.
-
-
Questo passaggio è privo di traduzione. Aiuta a tradurlo
-
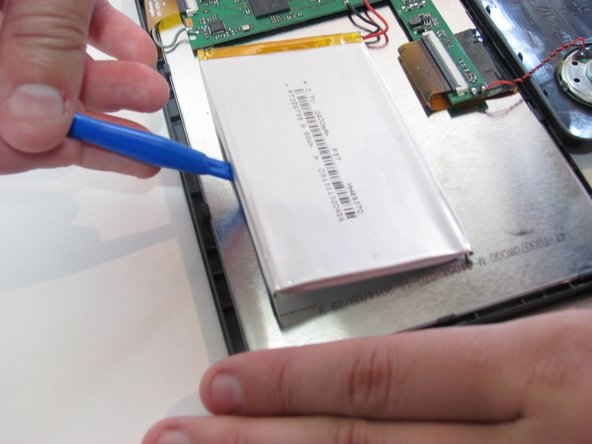
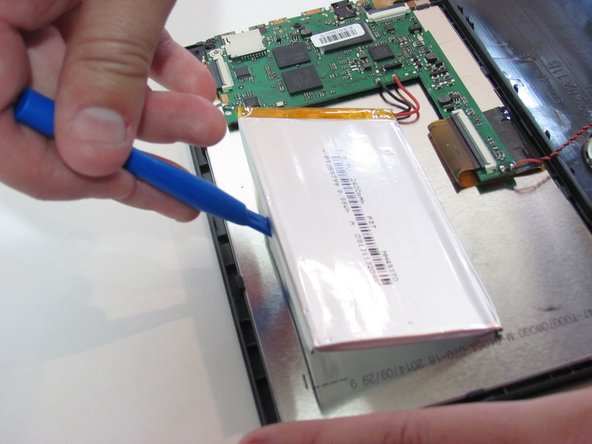
Desolder the two wires that connect the battery to the motherboard.
-
Using the blue plastic opening tool, lift the battery away from the device.
-


Annulla: non ho completato questa guida.
Altre 2 persone hanno completato questa guida.


Un commento
Umm, which battery do you need for it? Seems that’s a part that is kind of important.