Salta al contenuto principale
RCA Pro10 Edition Power/Volume Buttons Replacement

RCA Pro10 Edition Power/Volume Buttons Replacement

Dayne Russell

Dayne Russell e 4 altri collaboratori

Ultimo aggiornamento il April 19, 2019

Nessuna stima
Moderato
Attrezzi Non Corretti
Necessarie Immagini Migliori
Introduzione Migliore

Cosa ti serve

Strumenti

Mostra di più…

  1. RCA Pro10 Edition Power/Volume Buttons Replacement, Speaker: passo 1, immagine 1 di 2 RCA Pro10 Edition Power/Volume Buttons Replacement, Speaker: passo 1, immagine 2 di 2
    • Using a separating tool, look for a seam in the plastic casing that looks most accessible.

    • Use the prying tool to separate the front and back casing, working your way around the perimeter.

    • Utilize a card tool or a pick to assist in keeping the case separated.

    • To reassemble the device simply align the two casing halves and pinch to snap together or press down on the edges while the device in on a table.

  2. RCA Pro10 Edition Power/Volume Buttons Replacement: passo 2, immagine 1 di 1
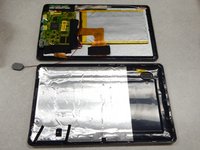
    • Flip over the back of the device while keeping it close to the front, the speaker is attached to it.

    • Remove the yellow tape securing the speaker to the back casing.

  3. RCA Pro10 Edition Power/Volume Buttons Replacement: passo 3, immagine 1 di 2 RCA Pro10 Edition Power/Volume Buttons Replacement: passo 3, immagine 2 di 2
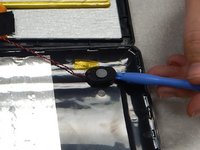
    • Use the separating tool to pry the speaker from its surface.

    • Use caution when removing the speaker, you may damage the screen.

    • Cut or desolder the wires to replace or repair the speaker.

  4. RCA Pro10 Edition Power/Volume Buttons Replacement, Camera: passo 4, immagine 1 di 3 RCA Pro10 Edition Power/Volume Buttons Replacement, Camera: passo 4, immagine 2 di 3 RCA Pro10 Edition Power/Volume Buttons Replacement, Camera: passo 4, immagine 3 di 3
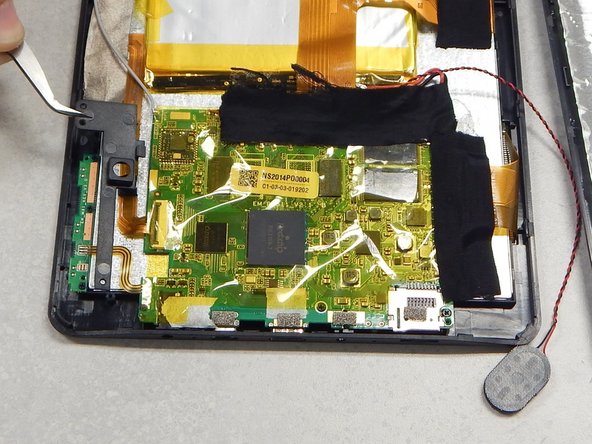
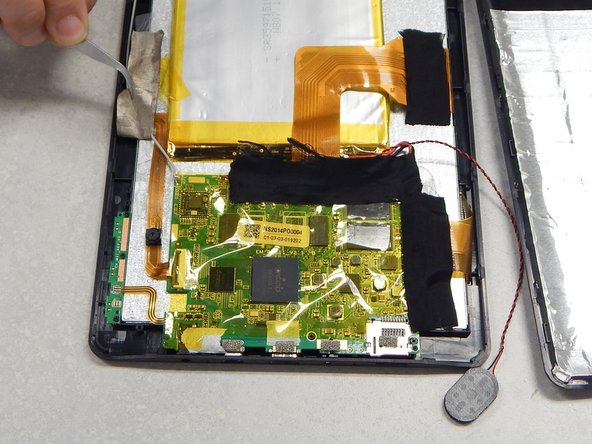
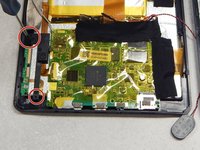
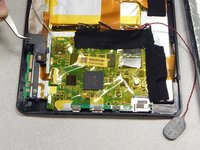
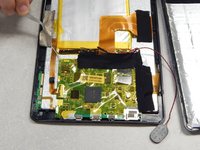
    • Using a P00 Phillips screwdriver, remove the three screws securing the black plastic camera housing and remove it.

    • Peel back the beige tape while holding down the camera ribbon cable to prevent tears

  5. RCA Pro10 Edition Power/Volume Buttons Replacement: passo 5, immagine 1 di 2 RCA Pro10 Edition Power/Volume Buttons Replacement: passo 5, immagine 2 di 2
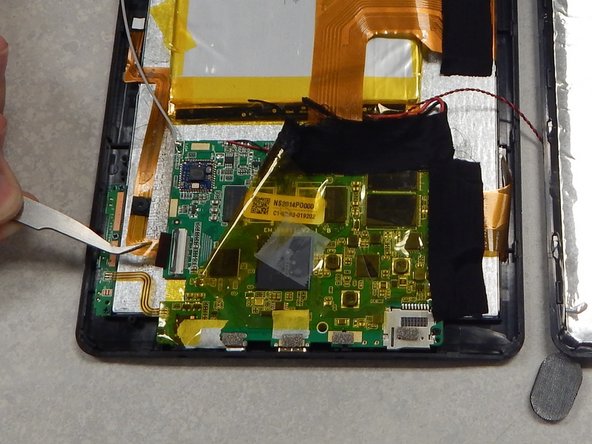
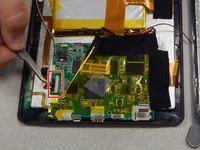
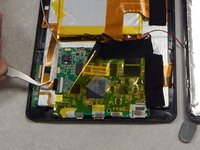
    • Lift the locking tab that is securing the camera ribbon cable.

    • Slide the ribbon cable out from the connector and remove from casing.

  6. RCA Pro10 Edition Power/Volume Buttons Replacement, Power/Volume Buttons: passo 6, immagine 1 di 1
    • Use a P00 Phillips screwdriver to remove the three screws securing the button board.

    • Desolder the contacts on the button board to remove or replace it.

Conclusione

To reassemble your device, follow these instructions in reverse order.

Dayne Russell

Membro da: 01/27/15

401 Reputazione

4 Guide realizzate

Team

1Commento della guida

What is the part number for the Power/Volume Buttons? Where can I purchase one?

EvanSnow - Replica

Aggiungi Commento

Visualizza Statistiche:

Ultime 24 Ore: 0

Ultimi 7 Giorni: 1

Ultimi 30 Giorni: 5

Tutti i Tempi: 1,045