Salta al contenuto principale

Protocol Kaptur GPS Main Circuit Board Replacement

Cosa ti serve

  1. Protocol Kaptur GPS Main Circuit Board Replacement, Battery: passo 1, immagine 1 di 2 Protocol Kaptur GPS Main Circuit Board Replacement, Battery: passo 1, immagine 2 di 2
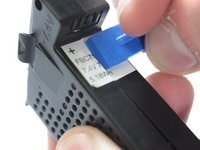
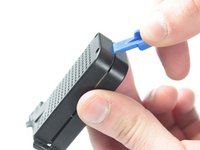
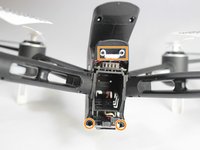
    • The battery is accessible through the back of the drone.

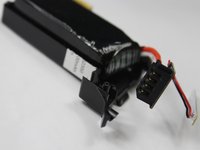
    • Press the tabs on both sides of the white stripe to pull the battery out.

  2. Protocol Kaptur GPS Main Circuit Board Replacement: passo 2, immagine 1 di 3 Protocol Kaptur GPS Main Circuit Board Replacement: passo 2, immagine 2 di 3 Protocol Kaptur GPS Main Circuit Board Replacement: passo 2, immagine 3 di 3
    • Remove the screws starting with the three smaller ones on the top part of the battery.

    • Remove the three screws on the other side.

    • There are two screws tucked under where the yellow circle is located. You will need to remove the other screws first before you get to these two.

    • There should be one 7 mm Phillips head screw, three 6 mm Phillips head screws, and four 5 mm Phillips head screws.

  3. Protocol Kaptur GPS Main Circuit Board Replacement: passo 3, immagine 1 di 2 Protocol Kaptur GPS Main Circuit Board Replacement: passo 3, immagine 2 di 2
    • Remove the top piece, and gently pry the two halves apart. Divide the sticker if necessary.

  4. Protocol Kaptur GPS Main Circuit Board Replacement: passo 4, immagine 1 di 2 Protocol Kaptur GPS Main Circuit Board Replacement: passo 4, immagine 2 di 2
    • The battery is now removable from its container.

    • During reassembly, make sure the outlet is returned to its holder and faces the correct direction.

  5. Protocol Kaptur GPS Main Circuit Board Replacement, Main Circuit Board: passo 5, immagine 1 di 2 Protocol Kaptur GPS Main Circuit Board Replacement, Main Circuit Board: passo 5, immagine 2 di 2
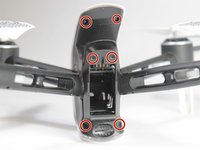
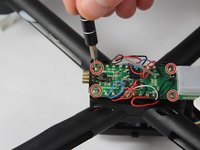
    • Remove the 4x 7mm screws on the top and bottom, and the 2x 5mm screws from the middle, then remove the back part of the housing.

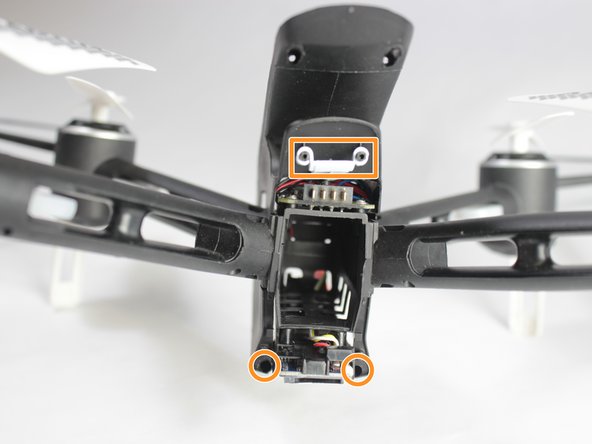
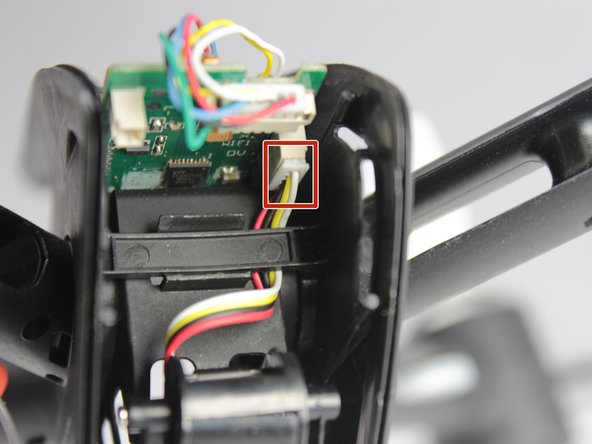
    • Remove the two hidden screws at the bottom, and the white power button.

    • There will be 6x 7 mm Phillips head screws, and 2x 5 mm Phillips head screws.

  6. Protocol Kaptur GPS Main Circuit Board Replacement: passo 6, immagine 1 di 3 Protocol Kaptur GPS Main Circuit Board Replacement: passo 6, immagine 2 di 3 Protocol Kaptur GPS Main Circuit Board Replacement: passo 6, immagine 3 di 3
    • Unplug all the cords from the circuit boards.

    • Carefully slide the main body right off the arms.

  7. Protocol Kaptur GPS Main Circuit Board Replacement: passo 7, immagine 1 di 2 Protocol Kaptur GPS Main Circuit Board Replacement: passo 7, immagine 2 di 2
    • Remove the four 4mm Phillips screws.

    • Desolder all cords on the circuit board, and pull the board up and out.

    • It is important to keep track of where the leads came from. Red/Blue and Black/White pairings belong to motors, whereas Black/Red pairings belong to lights. The ports are labeled on the board.

Conclusione

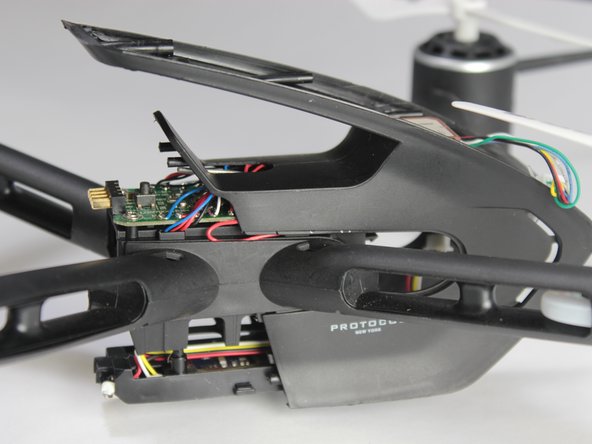
To reassemble your device, follow these instructions in reverse order.

Un'altra persona ha completato questa guida.

Team

UW Stout, Team S8-G6, Ogden Spring 2018 Membro di UW Stout, Team S8-G6, Ogden Spring 2018

UWSTOUT-OGDEN-S18S8G6

3 Membri

4 Guide realizzate

0 Commenti

Aggiungi Commento

Visualizza Statistiche:

Ultime 24 Ore: 0

Ultimi 7 Giorni: 0

Ultimi 30 Giorni: 3

Tutti i Tempi: 763