Questa guida ha delle modifiche più recenti. Passa all'ultima versione non verificata.
Introduzione
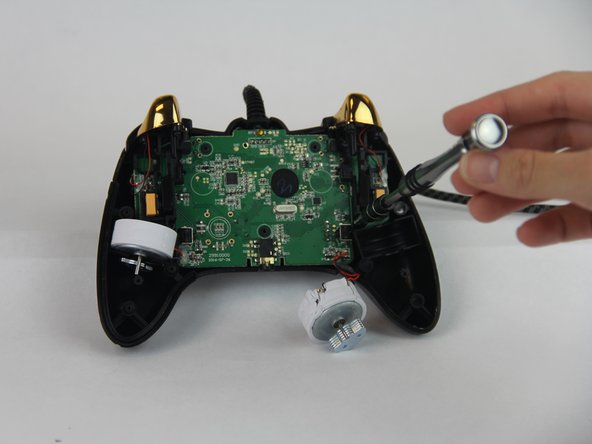
Analog stick is one of the main component of the controller, which enables us to move or change camera angle in a game. The following steps will show you how to replace it.
Cosa ti serve
-
-
Remove the (9) nine 9.2mm screws with a JIS #1 screwdriver.
-
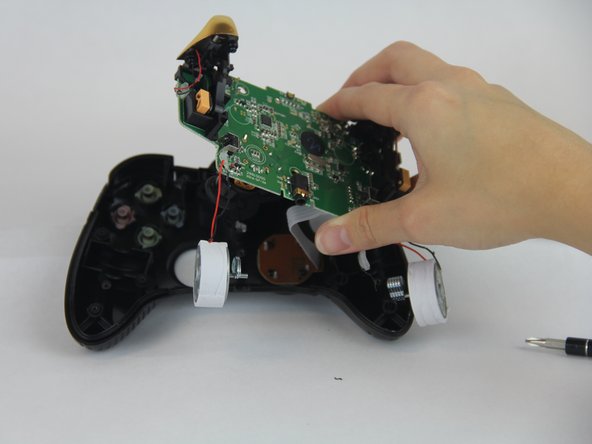
Remove the two bottom plastic grip covers.
-
-


To reassemble your device, follow these instructions in reverse order.
To reassemble your device, follow these instructions in reverse order.
Annulla: non ho completato questa guida.
Altre 7 persone hanno completato questa guida.
Team

USF Tampa, Team S14-G4, Boczar Fall 2017 Membro di USF Tampa, Team S14-G4, Boczar Fall 2017
USFT-BOCZAR-F17S14G4
4 Membri
5 Guide realizzate
3 Commenti
Hi I’m looking those analog stick but I’m only finding the plastic and they are to big they are called different or something ?
Have you found a replacement yet? I ran into the same problem a couple of months ago, the potenciometers that I ordered did not fit into the motherboard. I even tried some other ones from a generic USB controler to no avail. Manufacturers do not report the sizes of the potenciometers, so it’s a bet everytime. I yet have to find a potentiometer that fits…
Any joy on purchasing these