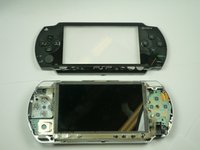
Introduzione
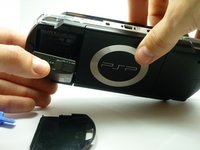
I pulsanti della PSP possono incepparsi o non funzionare correttamente. Questa guida ti mostrerà come accedere ai pulsanti per la riparazione, la pulizia, o la sostituzione.
Cosa ti serve
-
-
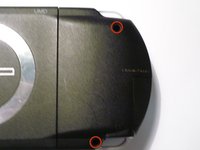
Rimuovi le quattro viti indicate con un cacciavite a croce di dimensioni #00.
-
-
-
-
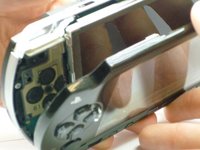
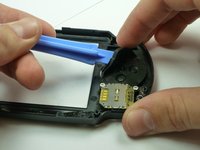
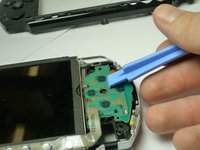
Se i pulsanti delle frecce non funzionano in modo corretto, gira l'involucro esterno e individua l'interno dei pulsanti, come illustrato.
-
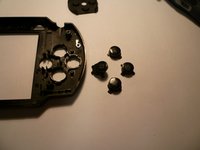
Rimuovi con attenzione il retro in gomma nera dei pulsanti.
-
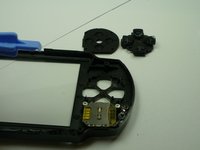
Pulisci l'interno della gomma e l'esterno dei pulsanti con un panno.
-
-
-
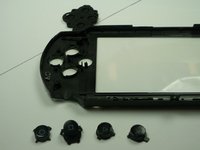
Se i pulsanti funzione (x, quadrato, cerchio, triangolo) devono essere sostituiti, trova il supporto in gomma nera corrispondente all'interno dell'involucro.
-
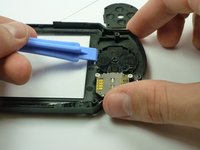
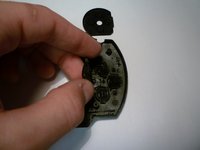
Rimuovi con attenzione la gomma posteriore per esporre il lato posteriore dei pulsanti come illustrato. (Questo può essere fatto con le mani).
-
-
-
Una volta che i pulsanti sono stati sostituiti correttamente, le gomme posteriori vanno rimesse sui pulsanti, fai riferimento a Sostituzione della scocca anteriore per riattaccare l'involucro.
-


Per riassemblare il dispositivo, segui le istruzioni in ordine inverso.
Annulla: non ho completato questa guida.
Altre 34 persone hanno completato questa guida.
Un ringraziamento speciale a questi traduttori:
100%


Questi traduttori ci stanno aiutando ad aggiustare il mondo! Vuoi partecipare?
Inizia a tradurre ›

Team

Cal Poly, Team 5-6, Forte Winter 2010 Membro di Cal Poly, Team 5-6, Forte Winter 2010
CPSU-FORTE-W10S5G6
5 Membri
34 Guide realizzate
13Commenti sulla guida
Great guide. I highly Recomend this to anyone that needs to replace their PSP buttons
Otimo guia recomendo.
use magnetised screwdriver i had a normal one and it was a pain in the ass to put those tiny little bastards back
Thank you this was a great guide