Introduzione
The antenna array is arguably the second most important component to the OnHub router, and in this guide we'll show you how to replace this essential part. A word of caution before proceeding, the gold connections for the wires are delicate. If they do get bent you can bend them back into place if you are careful.
Cosa ti serve
-
-
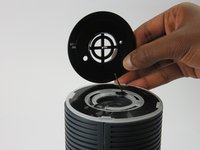
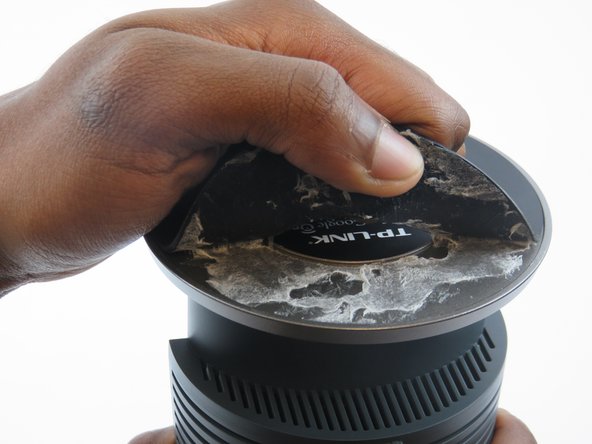
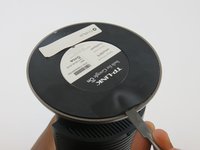
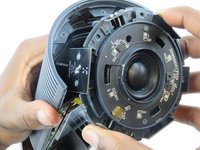
While holding the base firmly using the palm of one hand, remove the cowl (cover) by turning the cowl counterclockwise until a snap is heard. Once disengaged, pull upwards.
-
-
-
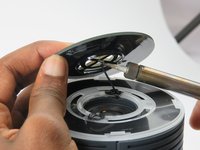
Remove the wire connection to the antenna by soldering it off.
-
For help with soldering and de-soldering check out the iFixit Soldering Guide
-
-
-
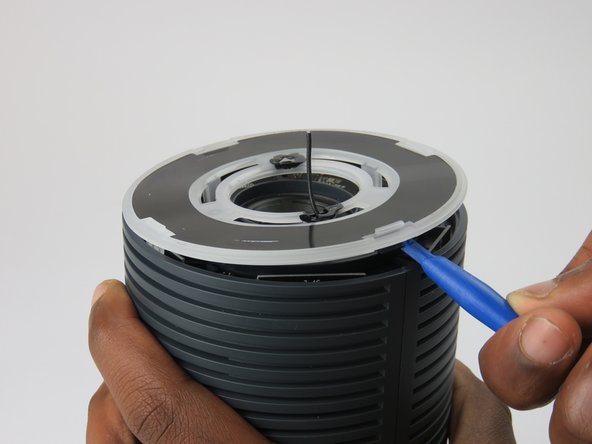
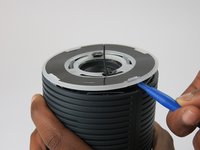
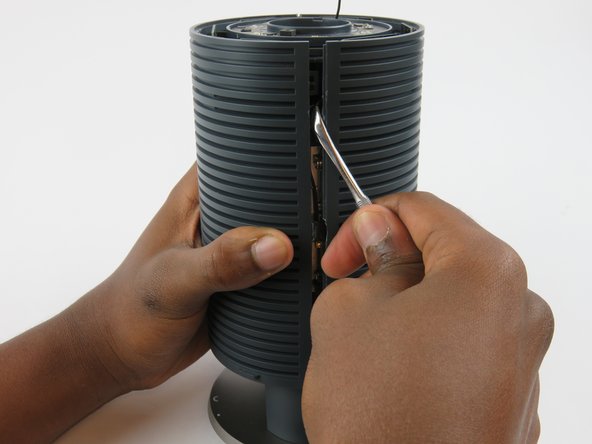
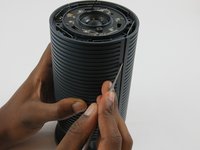
You must remove the plastic cover found just above the speaker.
-
Wedge the plastic opening tool under the cover and apply pressure in an upward direction.
-
There are four clips that you are removing. When disengaged, these clips will make a snapping noise.
-
-
-
-
On the bottom of the OnHub is two screws holding the casing to the base.
-
To access these screws, you must remove the rubber pad that is glued to the base.
-
To remove the pad, slide a metal spudger under the edge of the pad. Pry the pad away from the base, removing the glue.
-
Once the pad is pulled up enough to grab, peel it the rest of the way exposing the screws.
-
-
-
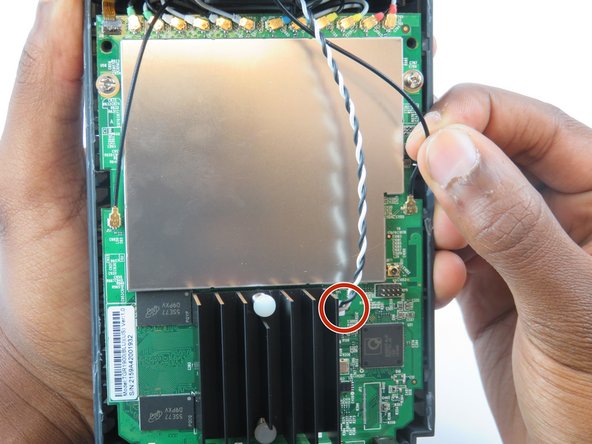
Underneath the speaker is an intertwined black and white wire.
-
Disconnect the wire from its connection to the motherboard.
-
-
-
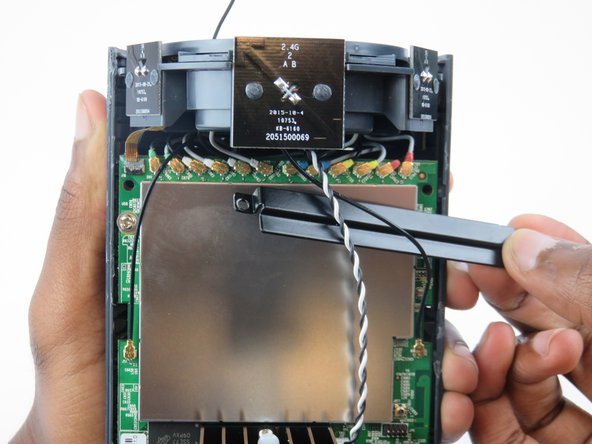
There is a black, horizontal brace covering 12 wire connections.
-
Remove the brace, held by two screws
-


To reassemble your device, follow these instructions in reverse order.
Annulla: non ho completato questa guida.
Altre 3 persone hanno completato questa guida.
Team

USF Tampa, Team 3-3, Sullivan Spring 2016 Membro di USF Tampa, Team 3-3, Sullivan Spring 2016
USFT-SULLIVAN-S16S3G3
3 Membri
10 Guide realizzate