Salta al contenuto principale
Unisciti alla Community delle riparazioni - Crea un account
Nook Simple Touch with GlowLight Screen Replacement

Nook Simple Touch with GlowLight Screen Replacement

Sydney Segear

Sydney Segear e 2 altri collaboratori

Ultimo aggiornamento il 2 giu 2023

10 minuti
Moderato

Introduzione

Vai al passo 1

Does your Nook Simple Touch with GlowLight have problems with its screen? Is the screen cracked, frozen, or won’t turn on? You may need to replace the screen.

Before using this guide make sure you check out our trouble shooting page to rule out other issues.

Never work on a device that is plugged into a power outlet. Before starting this guide, ensure that the Nook is powered off and the power adapter is disconnected.

Cosa ti serve

Strumenti

Mostra di più…

  1. Nook Simple Touch with GlowLight Screen Replacement, Power Button: passo 1, immagine 1 di 1
    • Place the Nook with the screen facing down.

  2. Nook Simple Touch with GlowLight Screen Replacement: passo 2, immagine 1 di 1
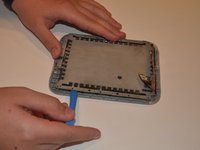
    • Wedge the opening tool between the power button and the upper edge of the device.

    • Push the opening tool down to pry the power button up.

  3. Nook Simple Touch with GlowLight Screen Replacement: passo 3, immagine 1 di 1
    • Using your fingers, gently remove the power button.

  4. Nook Simple Touch with GlowLight Screen Replacement, Back Cover: passo 4, immagine 1 di 1
    • Remove the single screw using a T4 Torx screwdriver.

  5. Nook Simple Touch with GlowLight Screen Replacement: passo 5, immagine 1 di 1
    • Slide the back cover down towards you in the direction of the charging port.

  6. Nook Simple Touch with GlowLight Screen Replacement, Battery: passo 6, immagine 1 di 2 Nook Simple Touch with GlowLight Screen Replacement, Battery: passo 6, immagine 2 di 2
    • Detach the white cable connector from the motherboard.

    • Remove the battery from the device.

  7. Nook Simple Touch with GlowLight Screen Replacement, Motherboard: passo 7, immagine 1 di 1
    • Remove eleven screws from the motherboard using the T4 screwdriver.

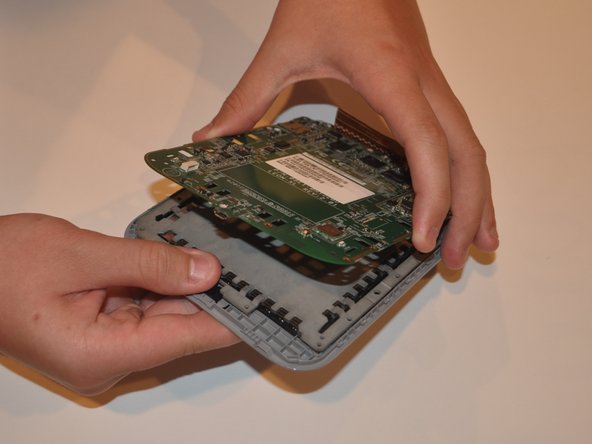
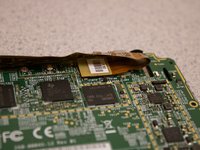
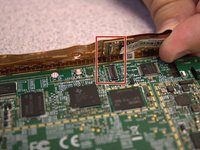
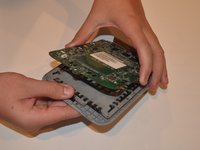
  8. Nook Simple Touch with GlowLight Screen Replacement: passo 8, immagine 1 di 3 Nook Simple Touch with GlowLight Screen Replacement: passo 8, immagine 2 di 3 Nook Simple Touch with GlowLight Screen Replacement: passo 8, immagine 3 di 3
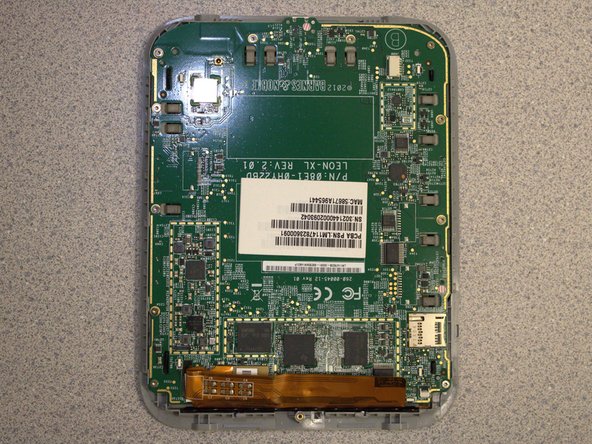
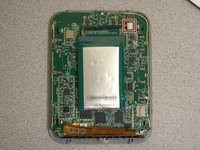
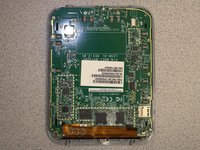
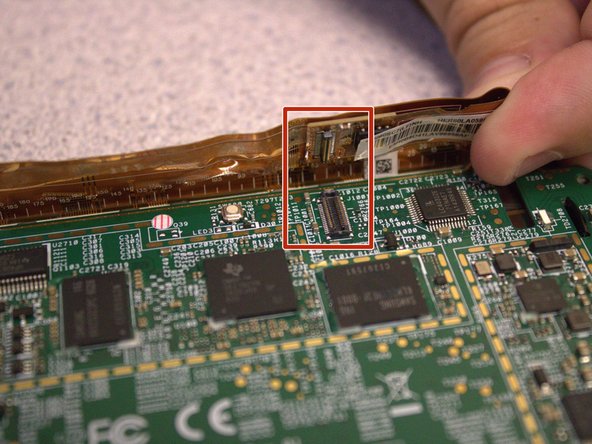
    • Disconnect the orange ribbon cable from the motherboard.

    • Using your fingers, gently lift the motherboard from the display.

  9. Nook Simple Touch with GlowLight Screen Replacement, Screen: passo 9, immagine 1 di 2 Nook Simple Touch with GlowLight Screen Replacement, Screen: passo 9, immagine 2 di 2
    • Insert the iFixit opening tool between the display and the front case.

    • Gently move to iFixit opening tool around the perimeter to release the set of tape strips.

  10. Nook Simple Touch with GlowLight Screen Replacement: passo 10, immagine 1 di 2 Nook Simple Touch with GlowLight Screen Replacement: passo 10, immagine 2 di 2
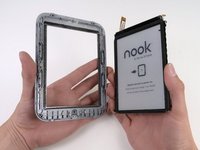
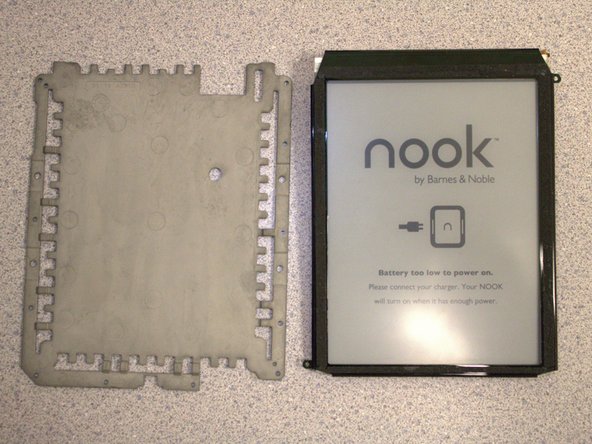
    • Turn the display over. Pry the display bezel from the display assembly with the iFixit opening tool.

Conclusione

To reassemble your device, follow these instructions in reverse order.

0Commenti sulla guida

Aggiungi Commento

Visualizza Statistiche:

Ultime 24 Ore: 1

Ultimi 7 Giorni: 7

Ultimi 30 Giorni: 23

Tutti i Tempi: 870