Salta al contenuto principale
Unisciti alla Community delle riparazioni - Crea un account

Nintendo Switch Pro Controller Front Button Replacement

Cosa ti serve

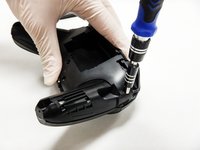
  1. Nintendo Switch Pro Controller Front Button Replacement, Remove the screws: passo 1, immagine 1 di 1
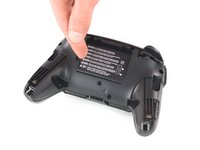
    • Flip the controller over so the model stickers face the ceiling.

    • Use a JIS #00 screwdriver to remove the two black 8.4 mm screws that secure the handles, located at the ends of the handles.

    Chiedi a FixBot
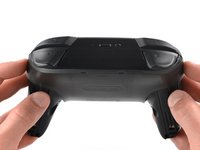
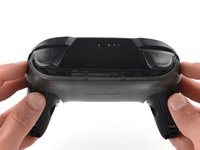
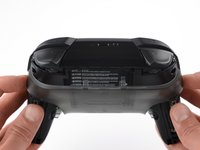
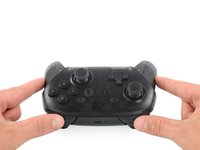
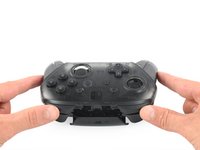
  2. Nintendo Switch Pro Controller Front Button Replacement, Remove the handle covers: passo 2, immagine 1 di 3 Nintendo Switch Pro Controller Front Button Replacement, Remove the handle covers: passo 2, immagine 2 di 3 Nintendo Switch Pro Controller Front Button Replacement, Remove the handle covers: passo 2, immagine 3 di 3
    • Carefully remove the handle covers by pulling them away from the main body.

    Chiedi a FixBot
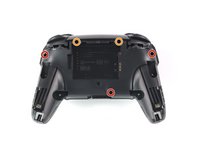
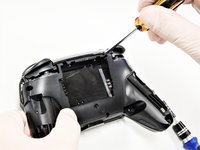
  3. Nintendo Switch Pro Controller Front Button Replacement, Remove the screws: passo 3, immagine 1 di 1
    • Use a JIS #00 screwdriver to remove the four silver 6.8 mm screws that secure the clear back plastic cover.

    Chiedi a FixBot
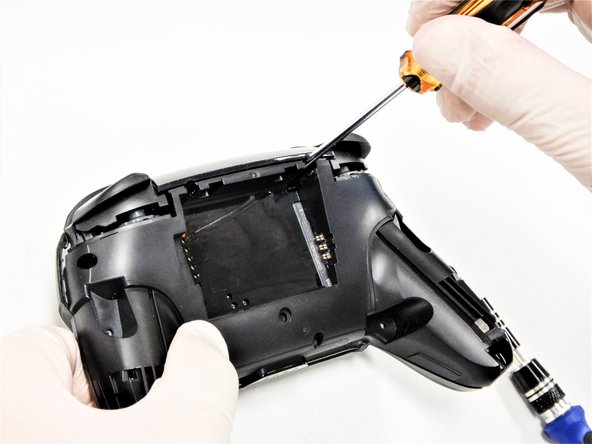
  4. Nintendo Switch Pro Controller Front Button Replacement, Unclip the plastic cover: passo 4, immagine 1 di 3 Nintendo Switch Pro Controller Front Button Replacement, Unclip the plastic cover: passo 4, immagine 2 di 3 Nintendo Switch Pro Controller Front Button Replacement, Unclip the plastic cover: passo 4, immagine 3 di 3
    • Carefully pry away the clear plastic cover using your fingernail.

    Chiedi a FixBot
  5. Nintendo Switch Pro Controller Front Button Replacement, Remove the clear plastic cover: passo 5, immagine 1 di 1
    • Remove the clear plastic cover.

    Chiedi a FixBot
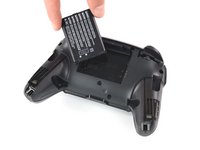
  6. Nintendo Switch Pro Controller Front Button Replacement, Remove the battery: passo 6, immagine 1 di 3 Nintendo Switch Pro Controller Front Button Replacement, Remove the battery: passo 6, immagine 2 di 3 Nintendo Switch Pro Controller Front Button Replacement, Remove the battery: passo 6, immagine 3 di 3
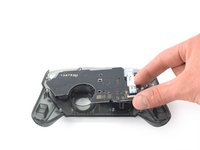
    • Remove the lithium-ion battery by using a fingernail or plastic opening tool to pry it up on the left side.

    • Only a small amount of force is needed.

    Chiedi a FixBot
  7. Nintendo Switch Pro Controller Front Button Replacement, Remove the screws: passo 7, immagine 1 di 3 Nintendo Switch Pro Controller Front Button Replacement, Remove the screws: passo 7, immagine 2 di 3 Nintendo Switch Pro Controller Front Button Replacement, Remove the screws: passo 7, immagine 3 di 3
    • Use a Phillips #1 screwdriver to remove the five 5 mm screws from the back of the controller.

    • The two case screws above the handgrips and the single case screw below the battery bay have a shallow seat. These three screws can be easily removed.

    • The two case screws adjacent to the ZR and ZL shoulder buttons have a deep seat. Use an extension or a narrow PH1 Phillips screwdriver with a longer shaft to reach these screws.

    Chiedi a FixBot
  8. Nintendo Switch Pro Controller Front Button Replacement: passo 8, immagine 1 di 3 Nintendo Switch Pro Controller Front Button Replacement: passo 8, immagine 2 di 3 Nintendo Switch Pro Controller Front Button Replacement: passo 8, immagine 3 di 3
    • There's an adhesive pad located in the center of each handle. It will require a bit of force to pry away the front cover, but be mindful of the attached ribbon cable.

    • Delicately take off the plastic cover from the controller.

    • Don't completely remove the front cover just yet, as it's still attached to the motherboard via a white ribbon cable.

    Chiedi a FixBot
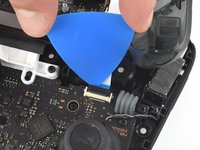
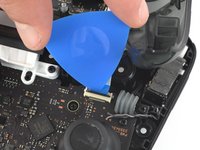
  9. Nintendo Switch Pro Controller Front Button Replacement, Open the flap: passo 9, immagine 1 di 2 Nintendo Switch Pro Controller Front Button Replacement, Open the flap: passo 9, immagine 2 di 2
    • Use the tip of an opening pick to open the black flap of the ZIF connector by pushing it upwards.

    Chiedi a FixBot
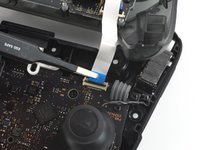
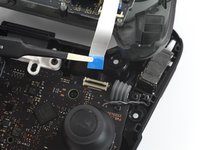
  10. Nintendo Switch Pro Controller Front Button Replacement, Disconnect the interconnect cable: passo 10, immagine 1 di 2 Nintendo Switch Pro Controller Front Button Replacement, Disconnect the interconnect cable: passo 10, immagine 2 di 2
    Strumento utilizzato in questo passaggio:
    Tweezers
    $4.99
    • Use your fingers or a pair of blunt nose tweezers to disconnect the interconnect cable from its connector.

    Chiedi a FixBot
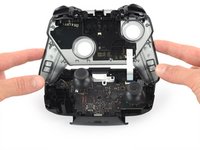
  11. Nintendo Switch Pro Controller Front Button Replacement, Remove the front case: passo 11, immagine 1 di 1
    • Remove the front case.

    Chiedi a FixBot
  12. Nintendo Switch Pro Controller Front Button Replacement, Remove the screws: passo 12, immagine 1 di 1
    • Remove the two 6.8 mm-long screws on the top circuit board using a Phillips screwdriver.

    Chiedi a FixBot
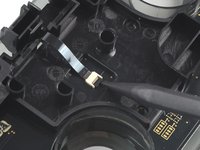
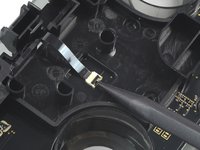
  13. Nintendo Switch Pro Controller Front Button Replacement, Open the ZIF connector: passo 13, immagine 1 di 2 Nintendo Switch Pro Controller Front Button Replacement, Open the ZIF connector: passo 13, immagine 2 di 2
    • Use a spudger to flip up the locking tab on the ZIF connector.

    Chiedi a FixBot
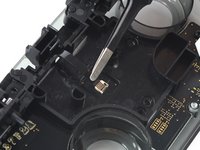
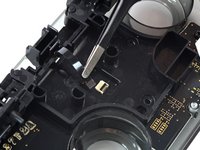
  14. Nintendo Switch Pro Controller Front Button Replacement: passo 14, immagine 1 di 2 Nintendo Switch Pro Controller Front Button Replacement: passo 14, immagine 2 di 2
    • Remove the black ribbon cable from its connector.

    • Only a small amount of force should be needed to remove the ribbon cable.

    Chiedi a FixBot
  15. Nintendo Switch Pro Controller Front Button Replacement: passo 15, immagine 1 di 2 Nintendo Switch Pro Controller Front Button Replacement: passo 15, immagine 2 di 2
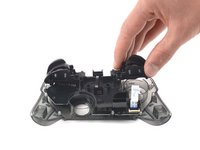
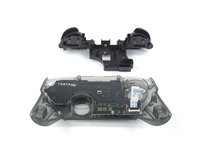
    • Remove the trigger buttons from the plastic cover.

    Chiedi a FixBot
  16. Nintendo Switch Pro Controller Front Button Replacement, Unscrew front button board: passo 16, immagine 1 di 1
    • Use a Phillips screwdriver to remove the 5 mm-long screw securing the front button board.

    • There may be an additional screw. If so, remove it now.

    Chiedi a FixBot
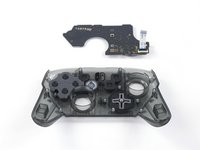
  17. Nintendo Switch Pro Controller Front Button Replacement, Remove the board: passo 17, immagine 1 di 2 Nintendo Switch Pro Controller Front Button Replacement, Remove the board: passo 17, immagine 2 di 2
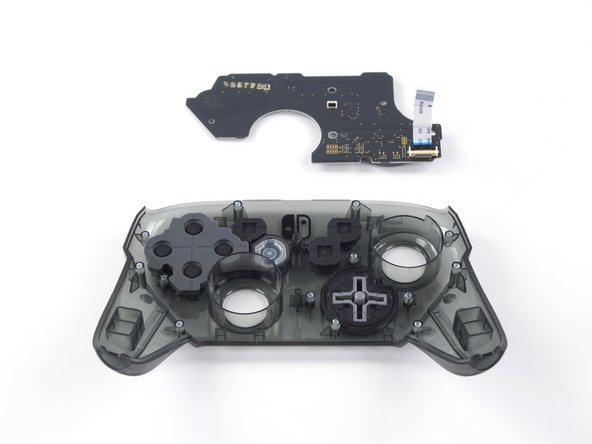
    • Remove the front button board.

    Chiedi a FixBot
Conclusione

To reassemble your device, follow these instructions in reverse order.

Altre 9 persone hanno completato questa guida.

Team

Cal Poly, Team S11-G2, Regan Fall 2019 Membro di Cal Poly, Team S11-G2, Regan Fall 2019

CPSU-REGAN-F19S11G2

5 Membri

45 guide realizzate

4Commenti sulla guida

Hey Daniel! Thank you very much for this tutorial.

May I ask you, do you know the part code of this specific board or where I can find it online?? My pro controller d-pad came malfunctioning from factory and I think I’ll challenge myself to try and buy a new one to replace it.

Tassio - Rispondi Condividi

I broke the locking tab on the ZIF connector what can I do?

Jonathan Martinez - Rispondi Condividi

I’ve been looking myself and can’t find any replacement button board to buy - just asking again if anyone knows how to find or where to buy one?

Brandon Green - Rispondi Condividi

if anyone else is reading this article... I easily found a nice set of replacement buttons that fit well on zedlabz. they're made in china and they are good quality rigid plastic with pleasant texturizing so they are easy to grip and press. happy fixing!

George Harrison Fricklas - Rispondi Condividi

Aggiungi Commento

Visualizza Statistiche:

Ultime 24 Ore: 11

Ultimi 7 Giorni: 43

Ultimi 30 Giorni: 248

Tutti i Tempi: 18,656