Introduzione
Use this guide to replace a worn out or unresponsive D-pad on your Nintendo 64 controller.
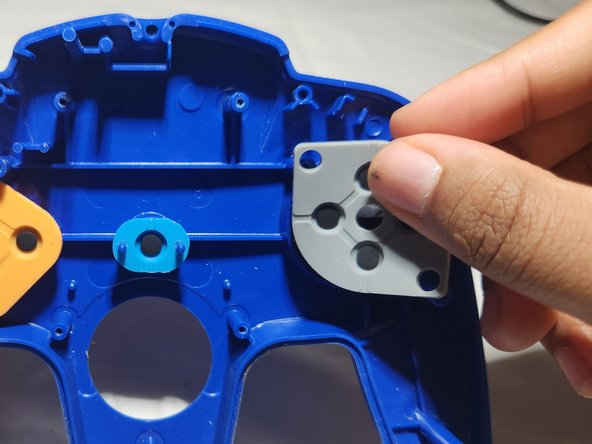
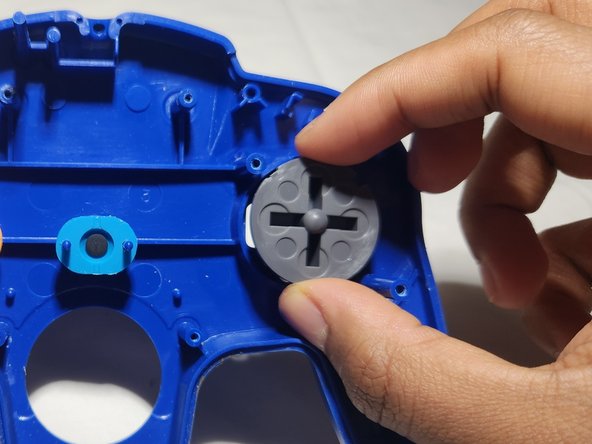
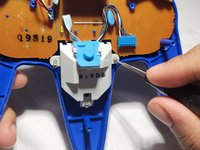
The D-pad is an input component allowing you to control the up, right, left, and down direction of movement within a game. Over time, continuous use of the D-pad can render it non-functional. Fortunately, replacement of the D-pad is fairly easy and you can go back to playing your favorite Nintendo 64 games in no time.
Make sure to inspect your controller for any possible defects that may make repairs difficult or dangerous. If there are any loose wires, consider replacing the cable. If any of the screws are stripped, this guide has many helpful tips for removing these screws. Additionally, make sure your controller is disconnected from your Nintendo 64 system before you begin.
Cosa ti serve
-
-
Use a Phillips #0 screwdriver to remove the seven 10 mm screws from the body.
-
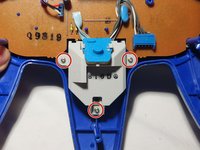
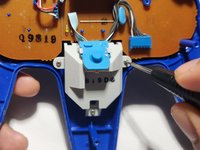
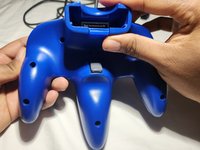
Remove the two 6 mm Phillips #0 screws from the expansion slot.
-
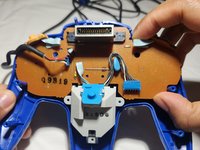
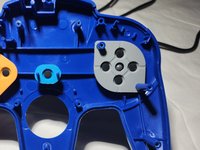
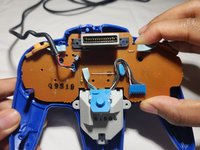
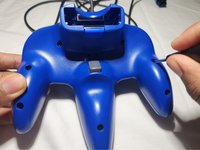
Separate the back cover from the front and set it aside.
-
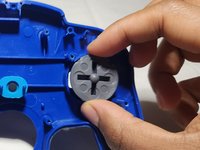
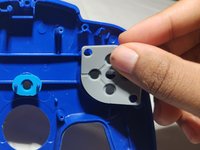
-


Happy gaming!
Happy gaming!
Annulla: non ho completato questa guida.
Un'altra persona ha completato questa guida.

Team

Austin Community College, Team 2-1, Watkins Summer 2023 Membro di Austin Community College, Team 2-1, Watkins Summer 2023
AUSTINCC-WATKINS-SU23S2G1
1 Membro
1 Guida realizzata